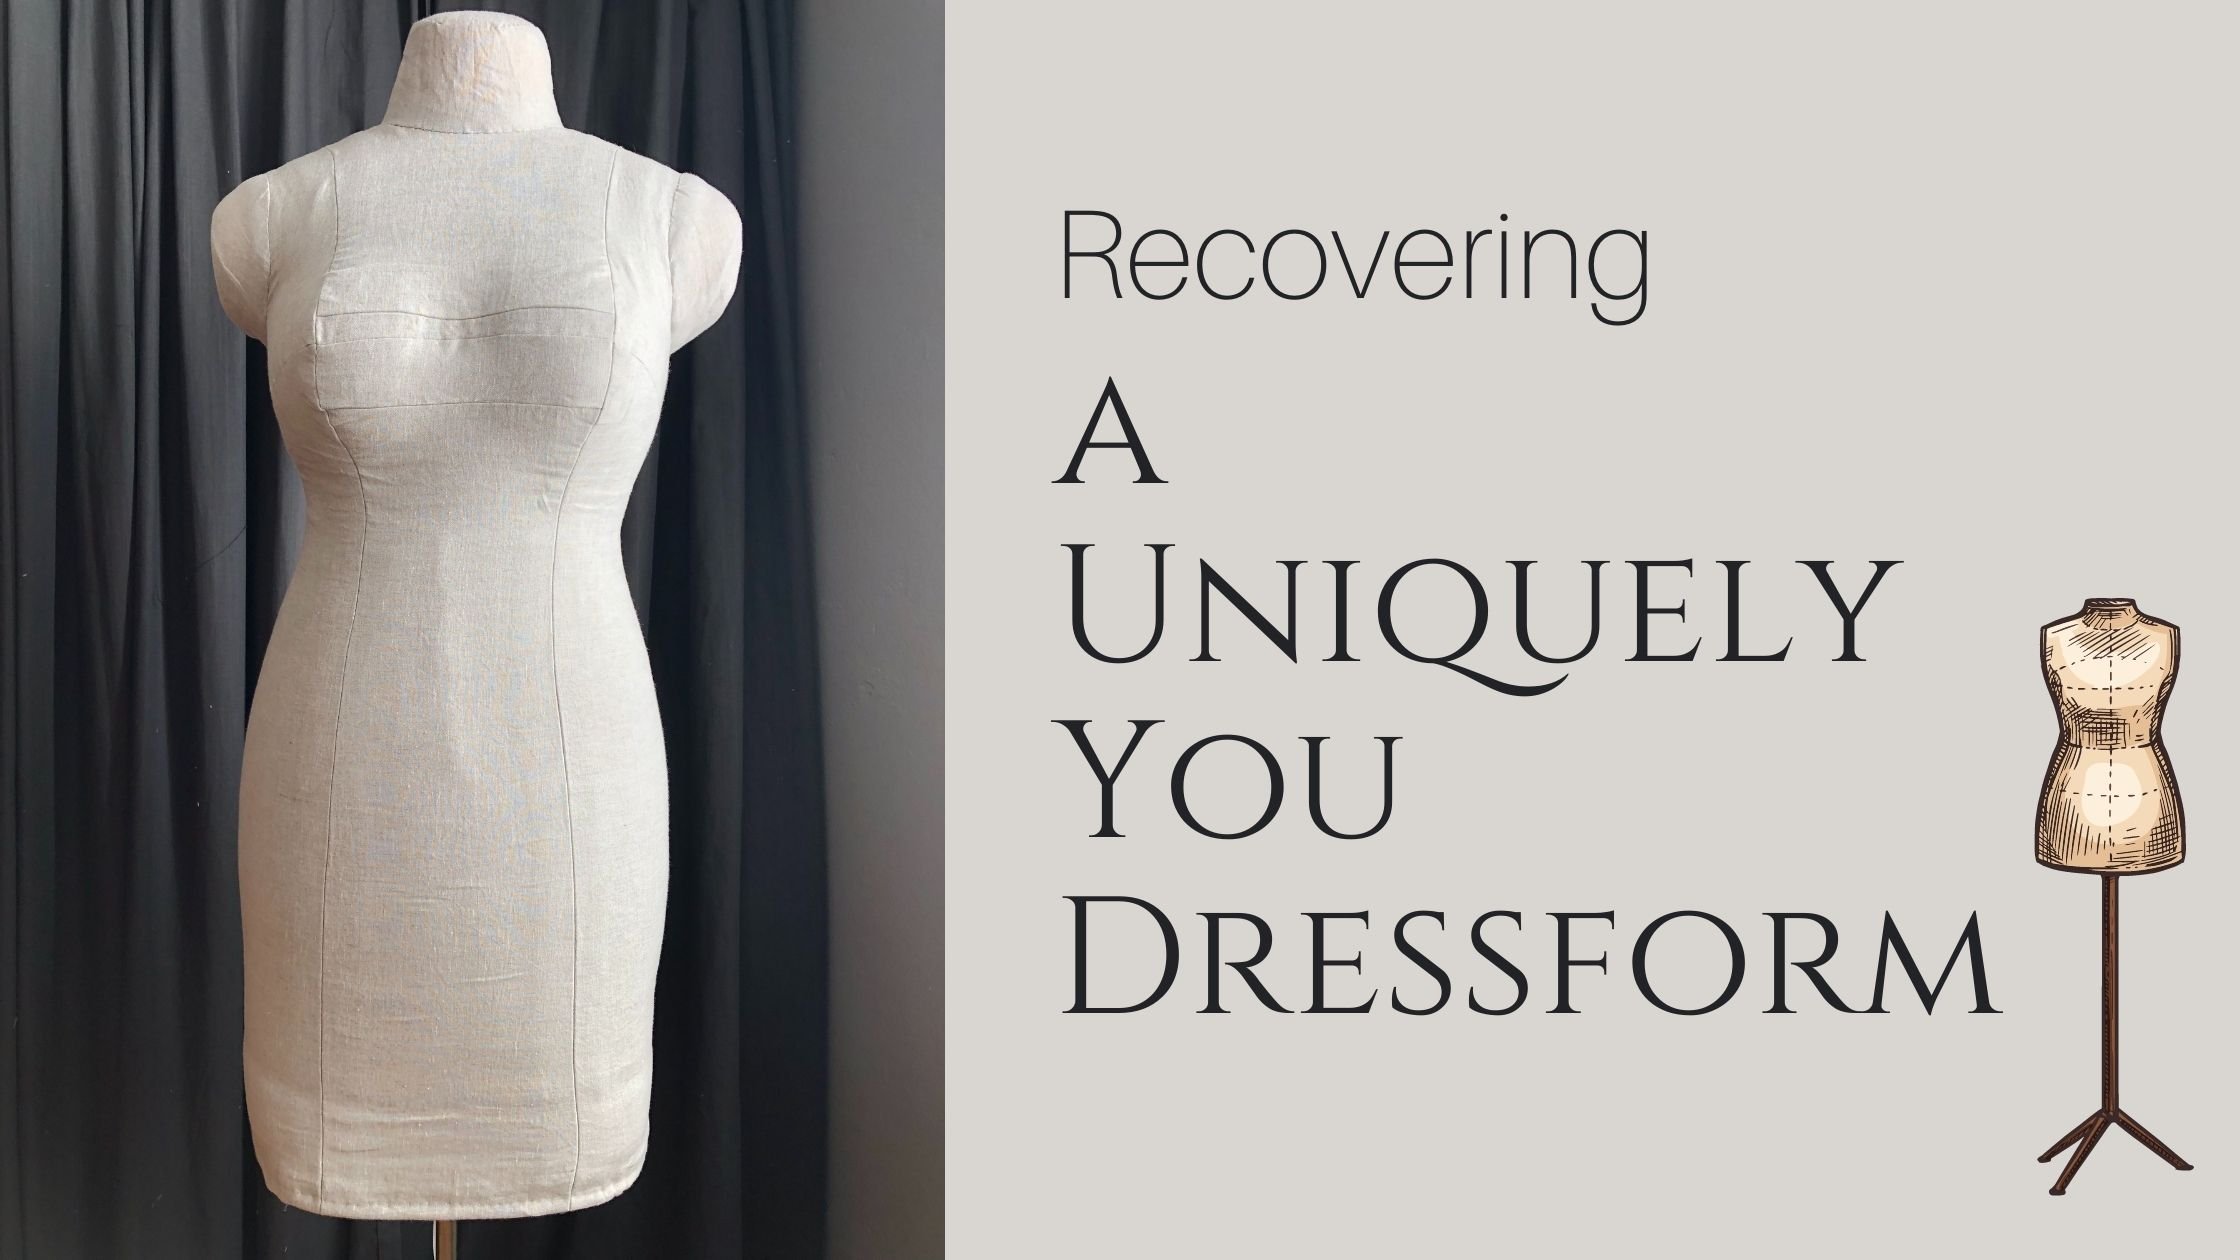
Apparently I’m a magnet for dress forms. The universe must want me to keep doing what I’m doing because I seem to attract them out of thin air. My first dress form was the adjustable kind. I got it as a gift when I was in high school. That one got rickety pretty fast and then I believe I somehow acquired a display form that I could use for photo shoots maybe 15 years later. My next dress form acquisition was an investment purchase of a model from. I’m not sure that company even exists anymore, but I had started a bridal gown business and needed one for pattern making. Then I found a vintage french couture form at a Paris Flea Market. It was not cheap, but one of my tour companions offered to pack it as luggage on the airplane. I still have her. She is beautiful! Then a few years ago, PGM sent me a dress form because I operated a school and they had a special program for fashion schools at the time. And then last year, a friend texted me that there was a dress form on the corner, so I nabbed that one fast. And most recently, I spotted a dress form at a vintage yard sale.
The form itself is not vintage, mind you but the sellers were selling lots of vintage clothing. You might wonder, “With all those other dress forms, why would you NEED another?” This is a question I asked myself as well. The truth is that all of my dress forms are currently being used by our Fashion Studies Students and there is not a free form for me to work with. AND, this one just happened to be almost exactly my size.
I also, just moved my sewing things into a room in our house that was previously occupied as a study/art room by our daughter. She moved out about a month ago and I seized the space for my own creative pursuits. I was thinking that having a dress form at home would be a great tool for working on projects. So, there you go. I did it. I bought the squishy dress form, because I had heard it was good with Corsets and I decided to recover it.
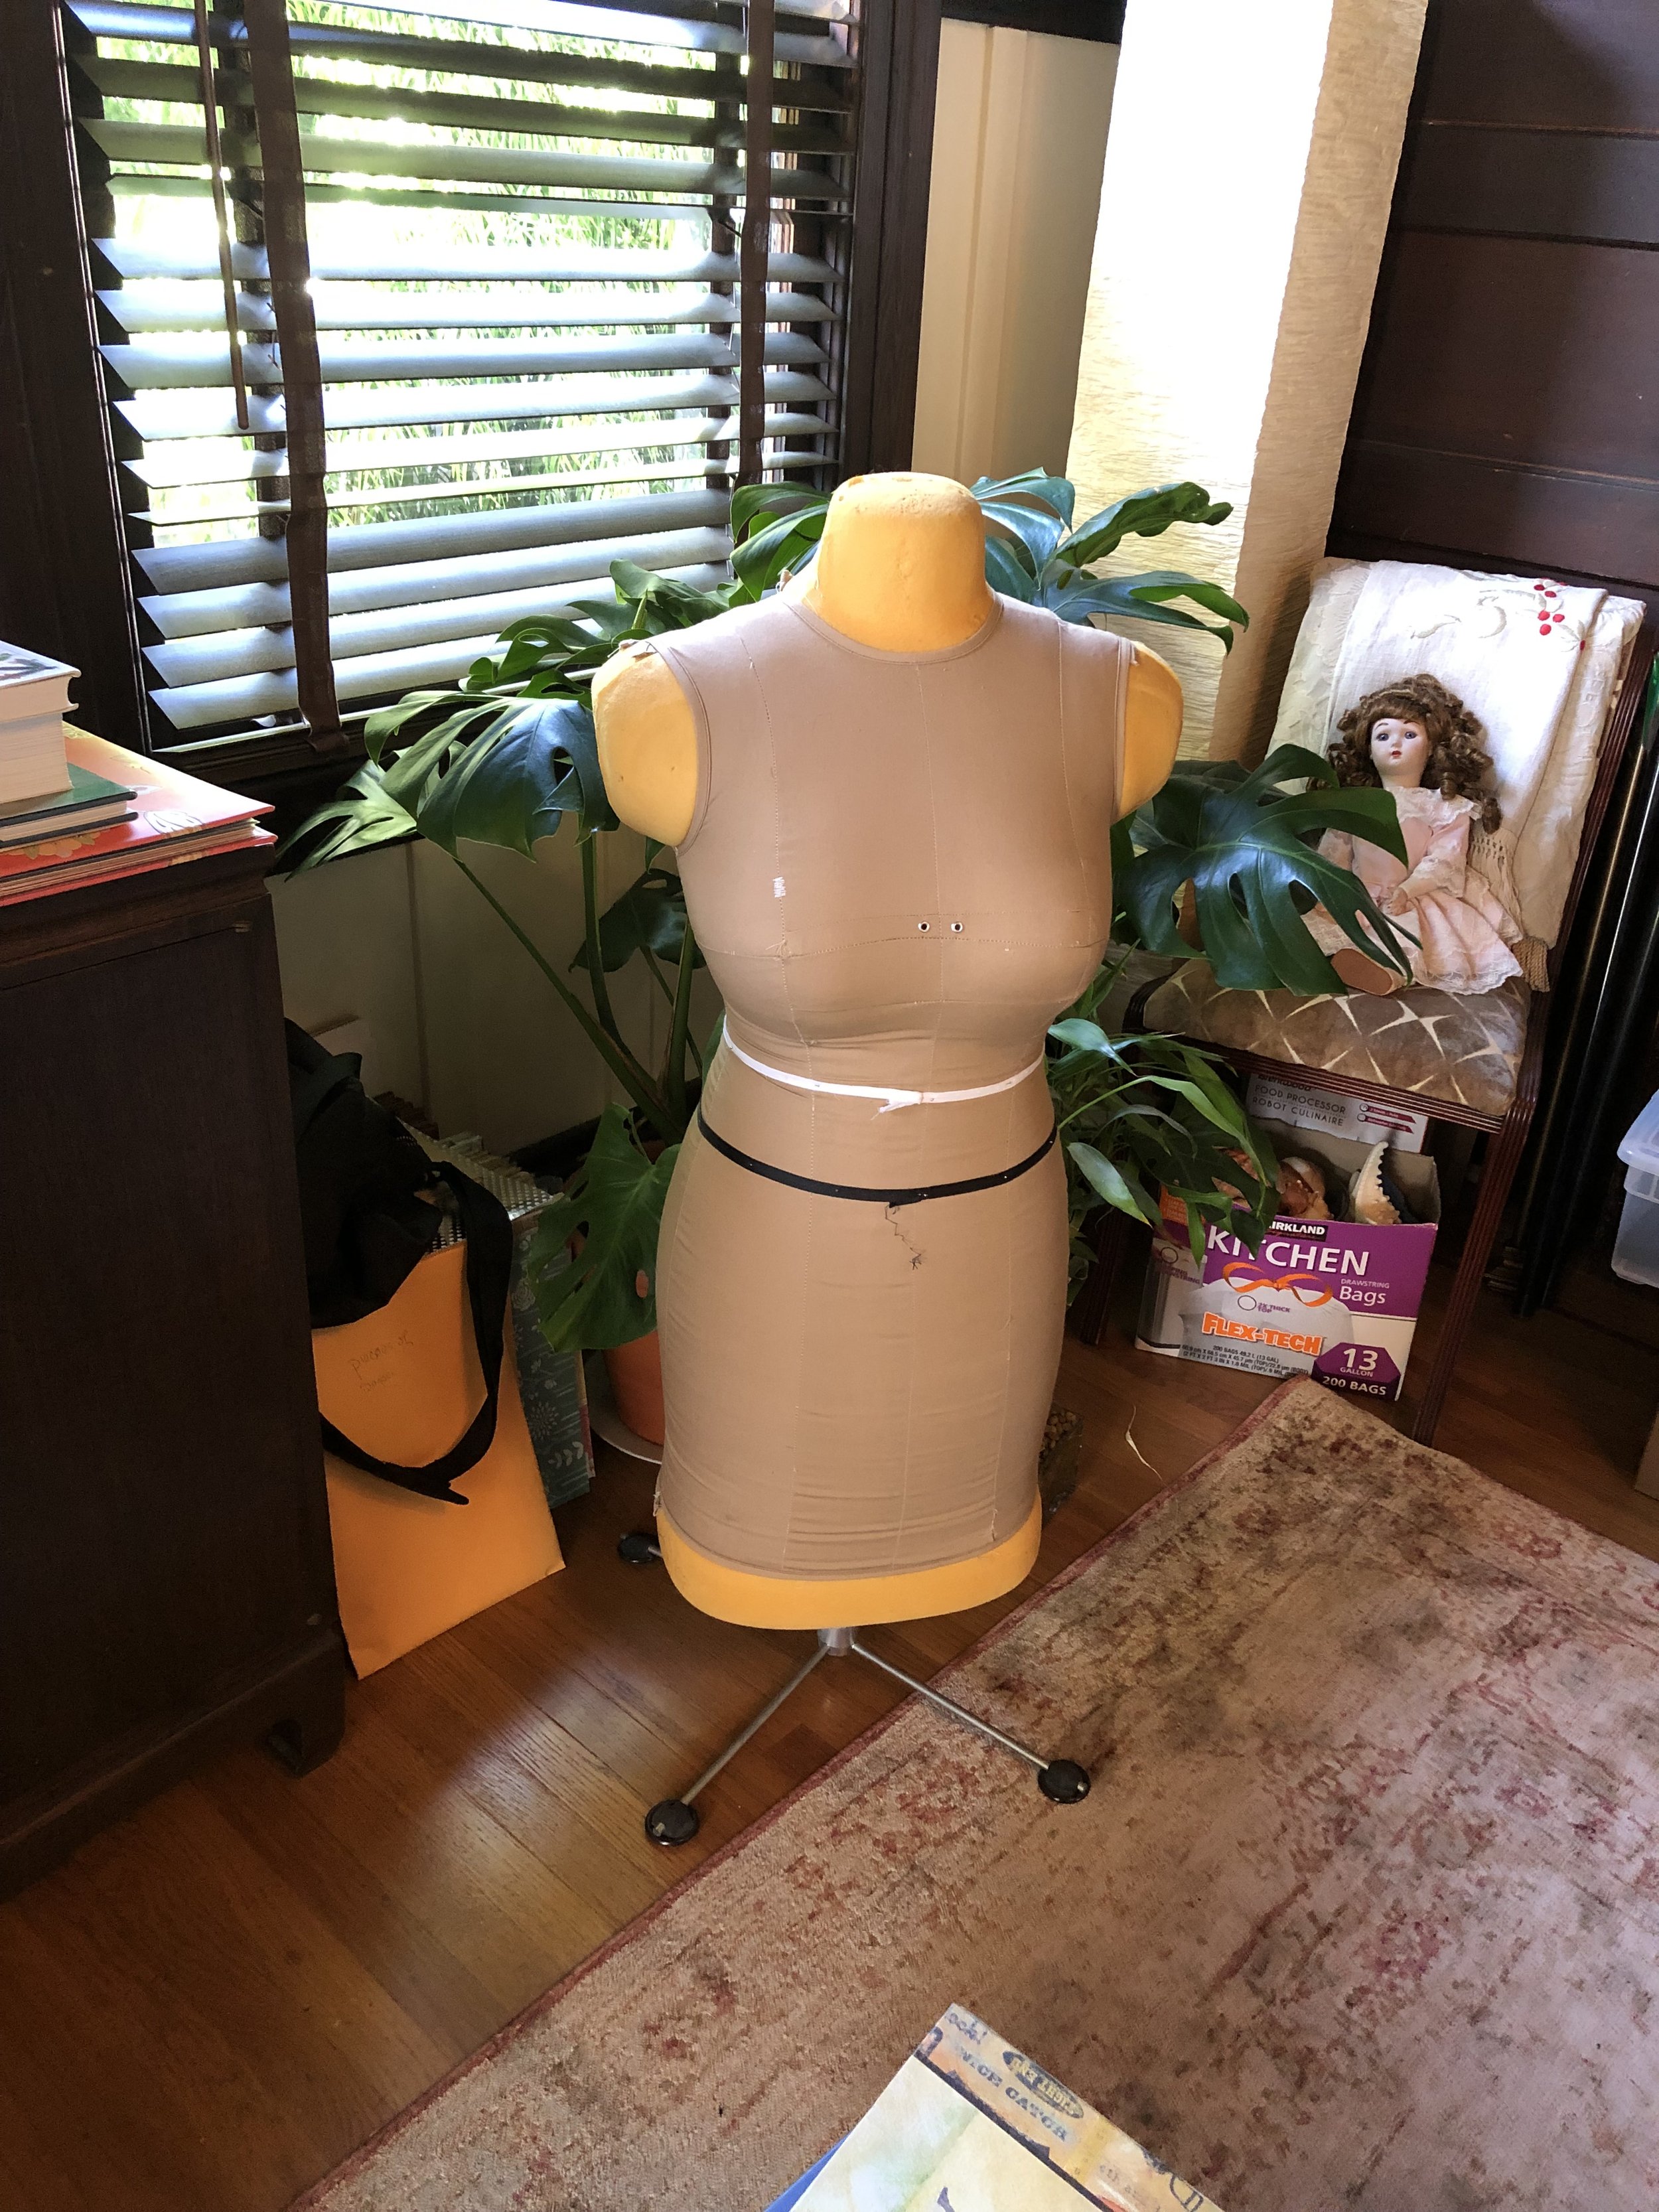
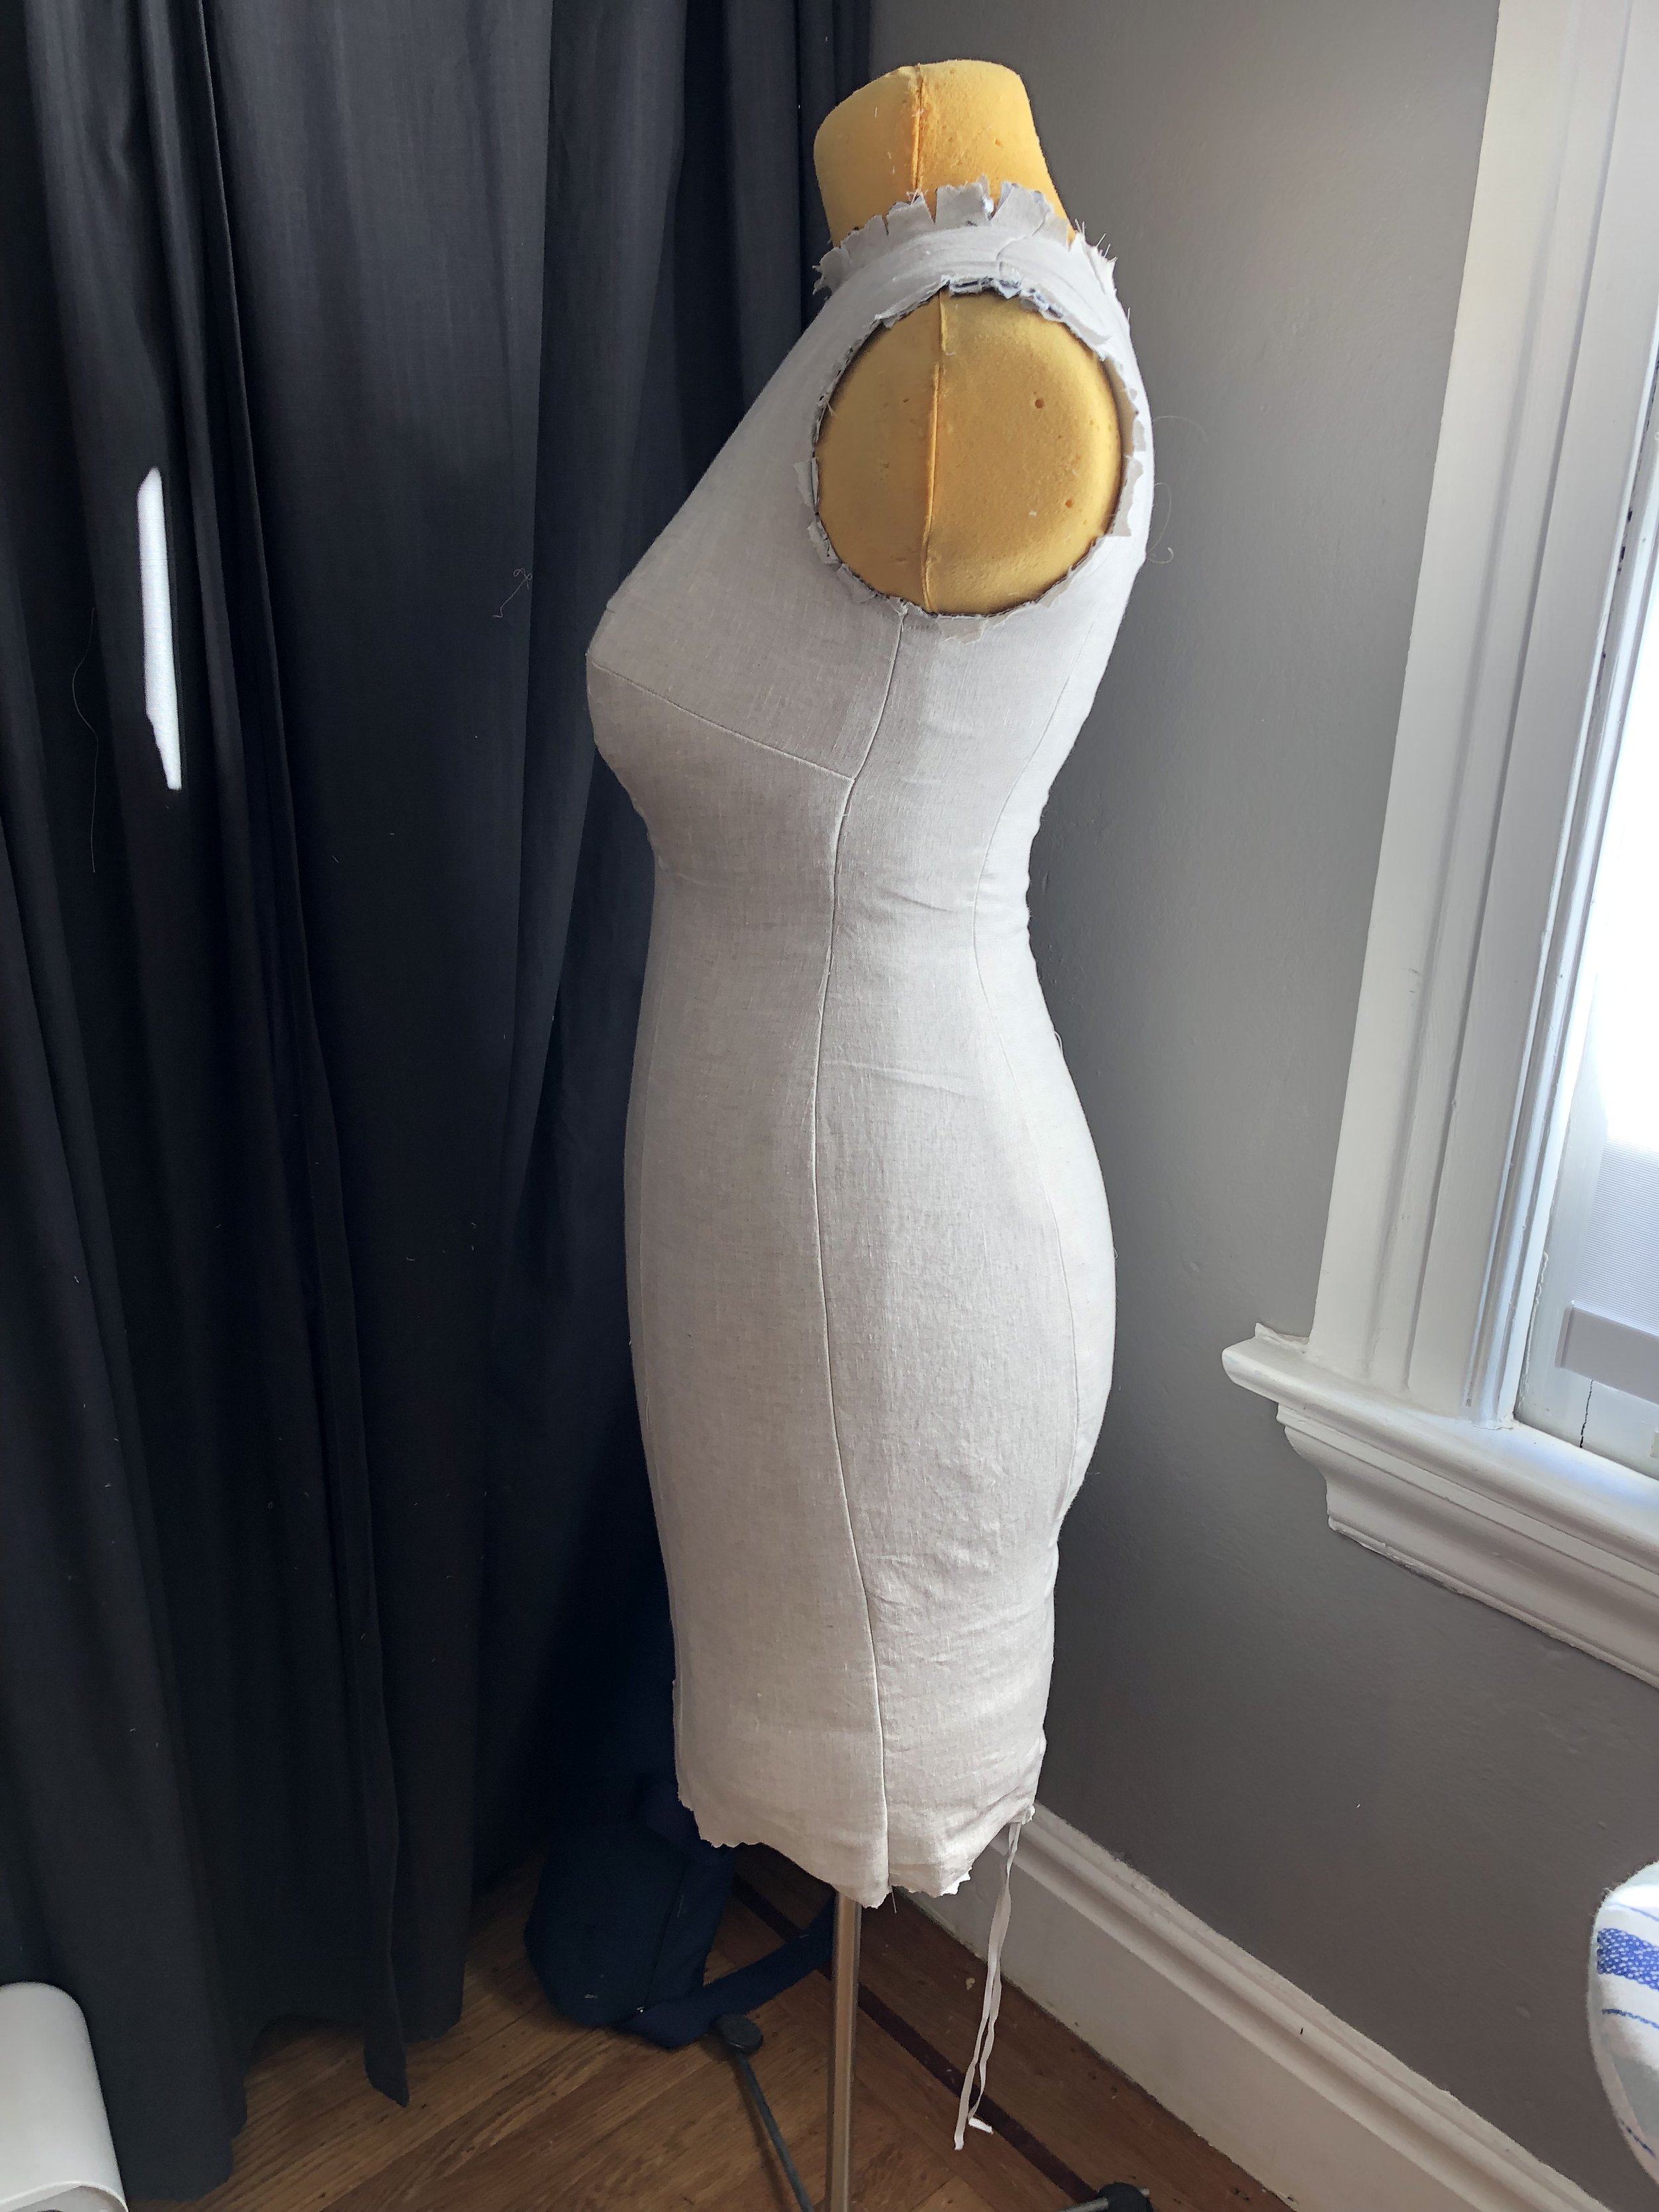
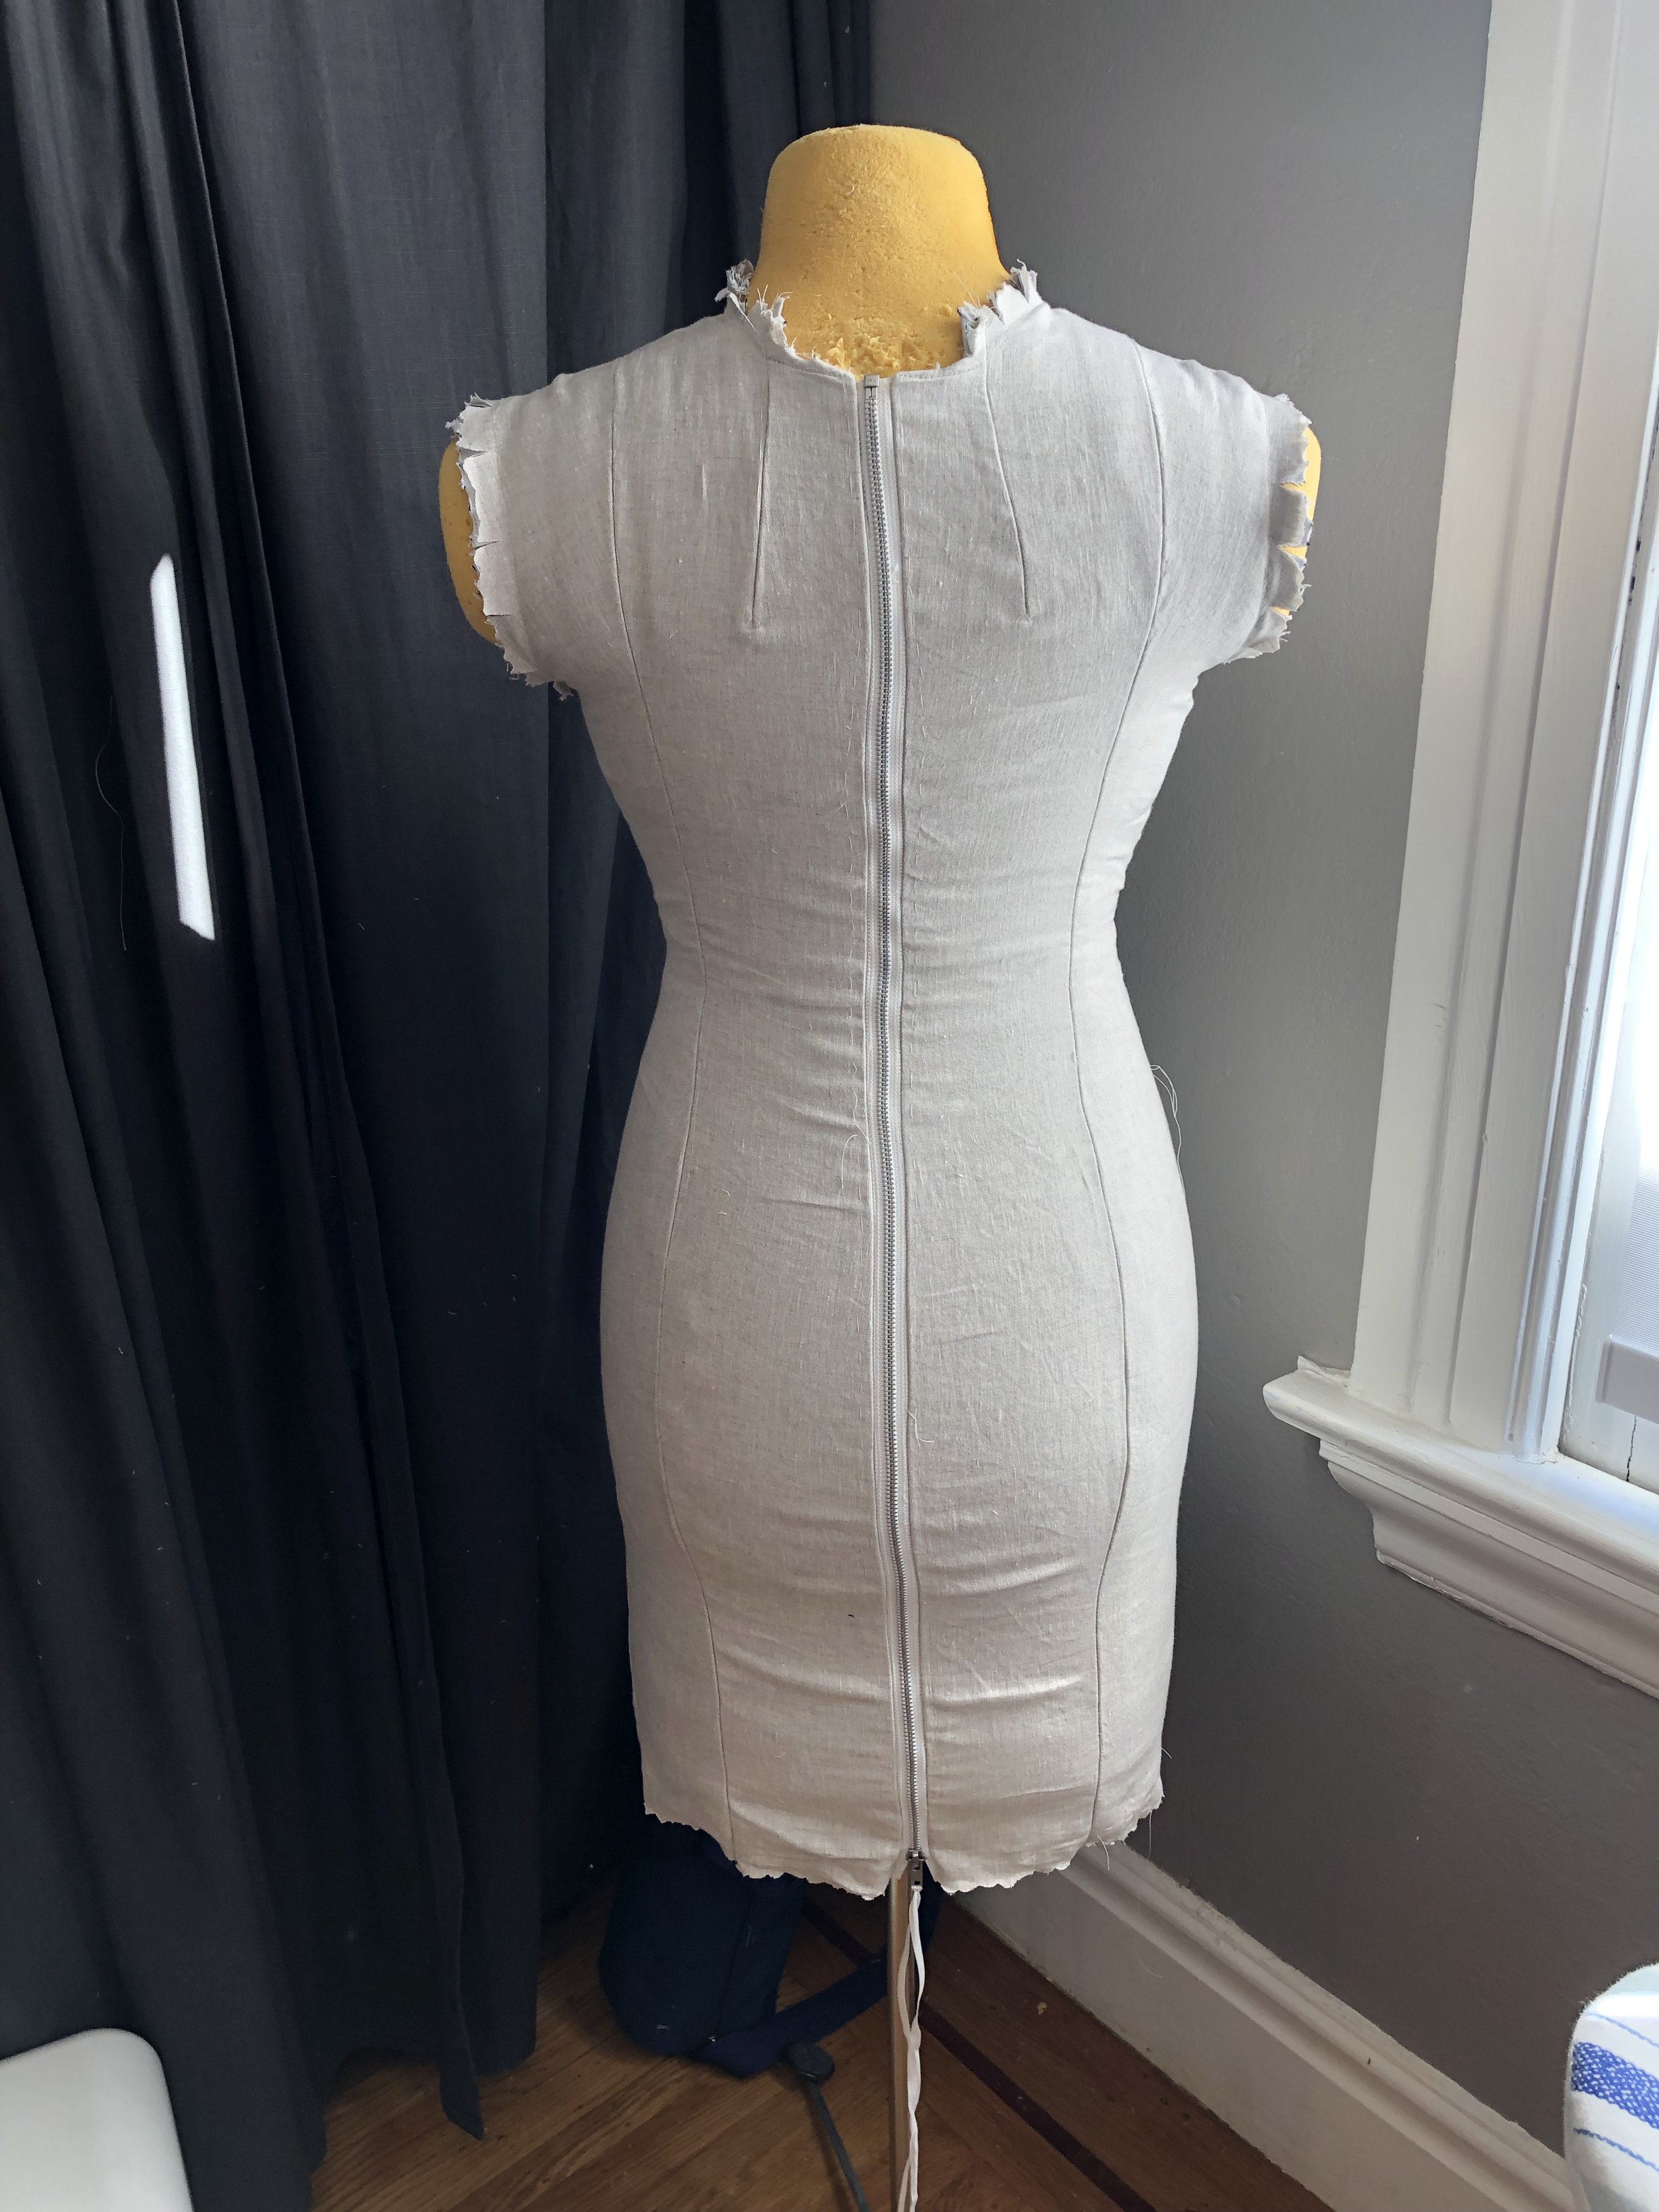
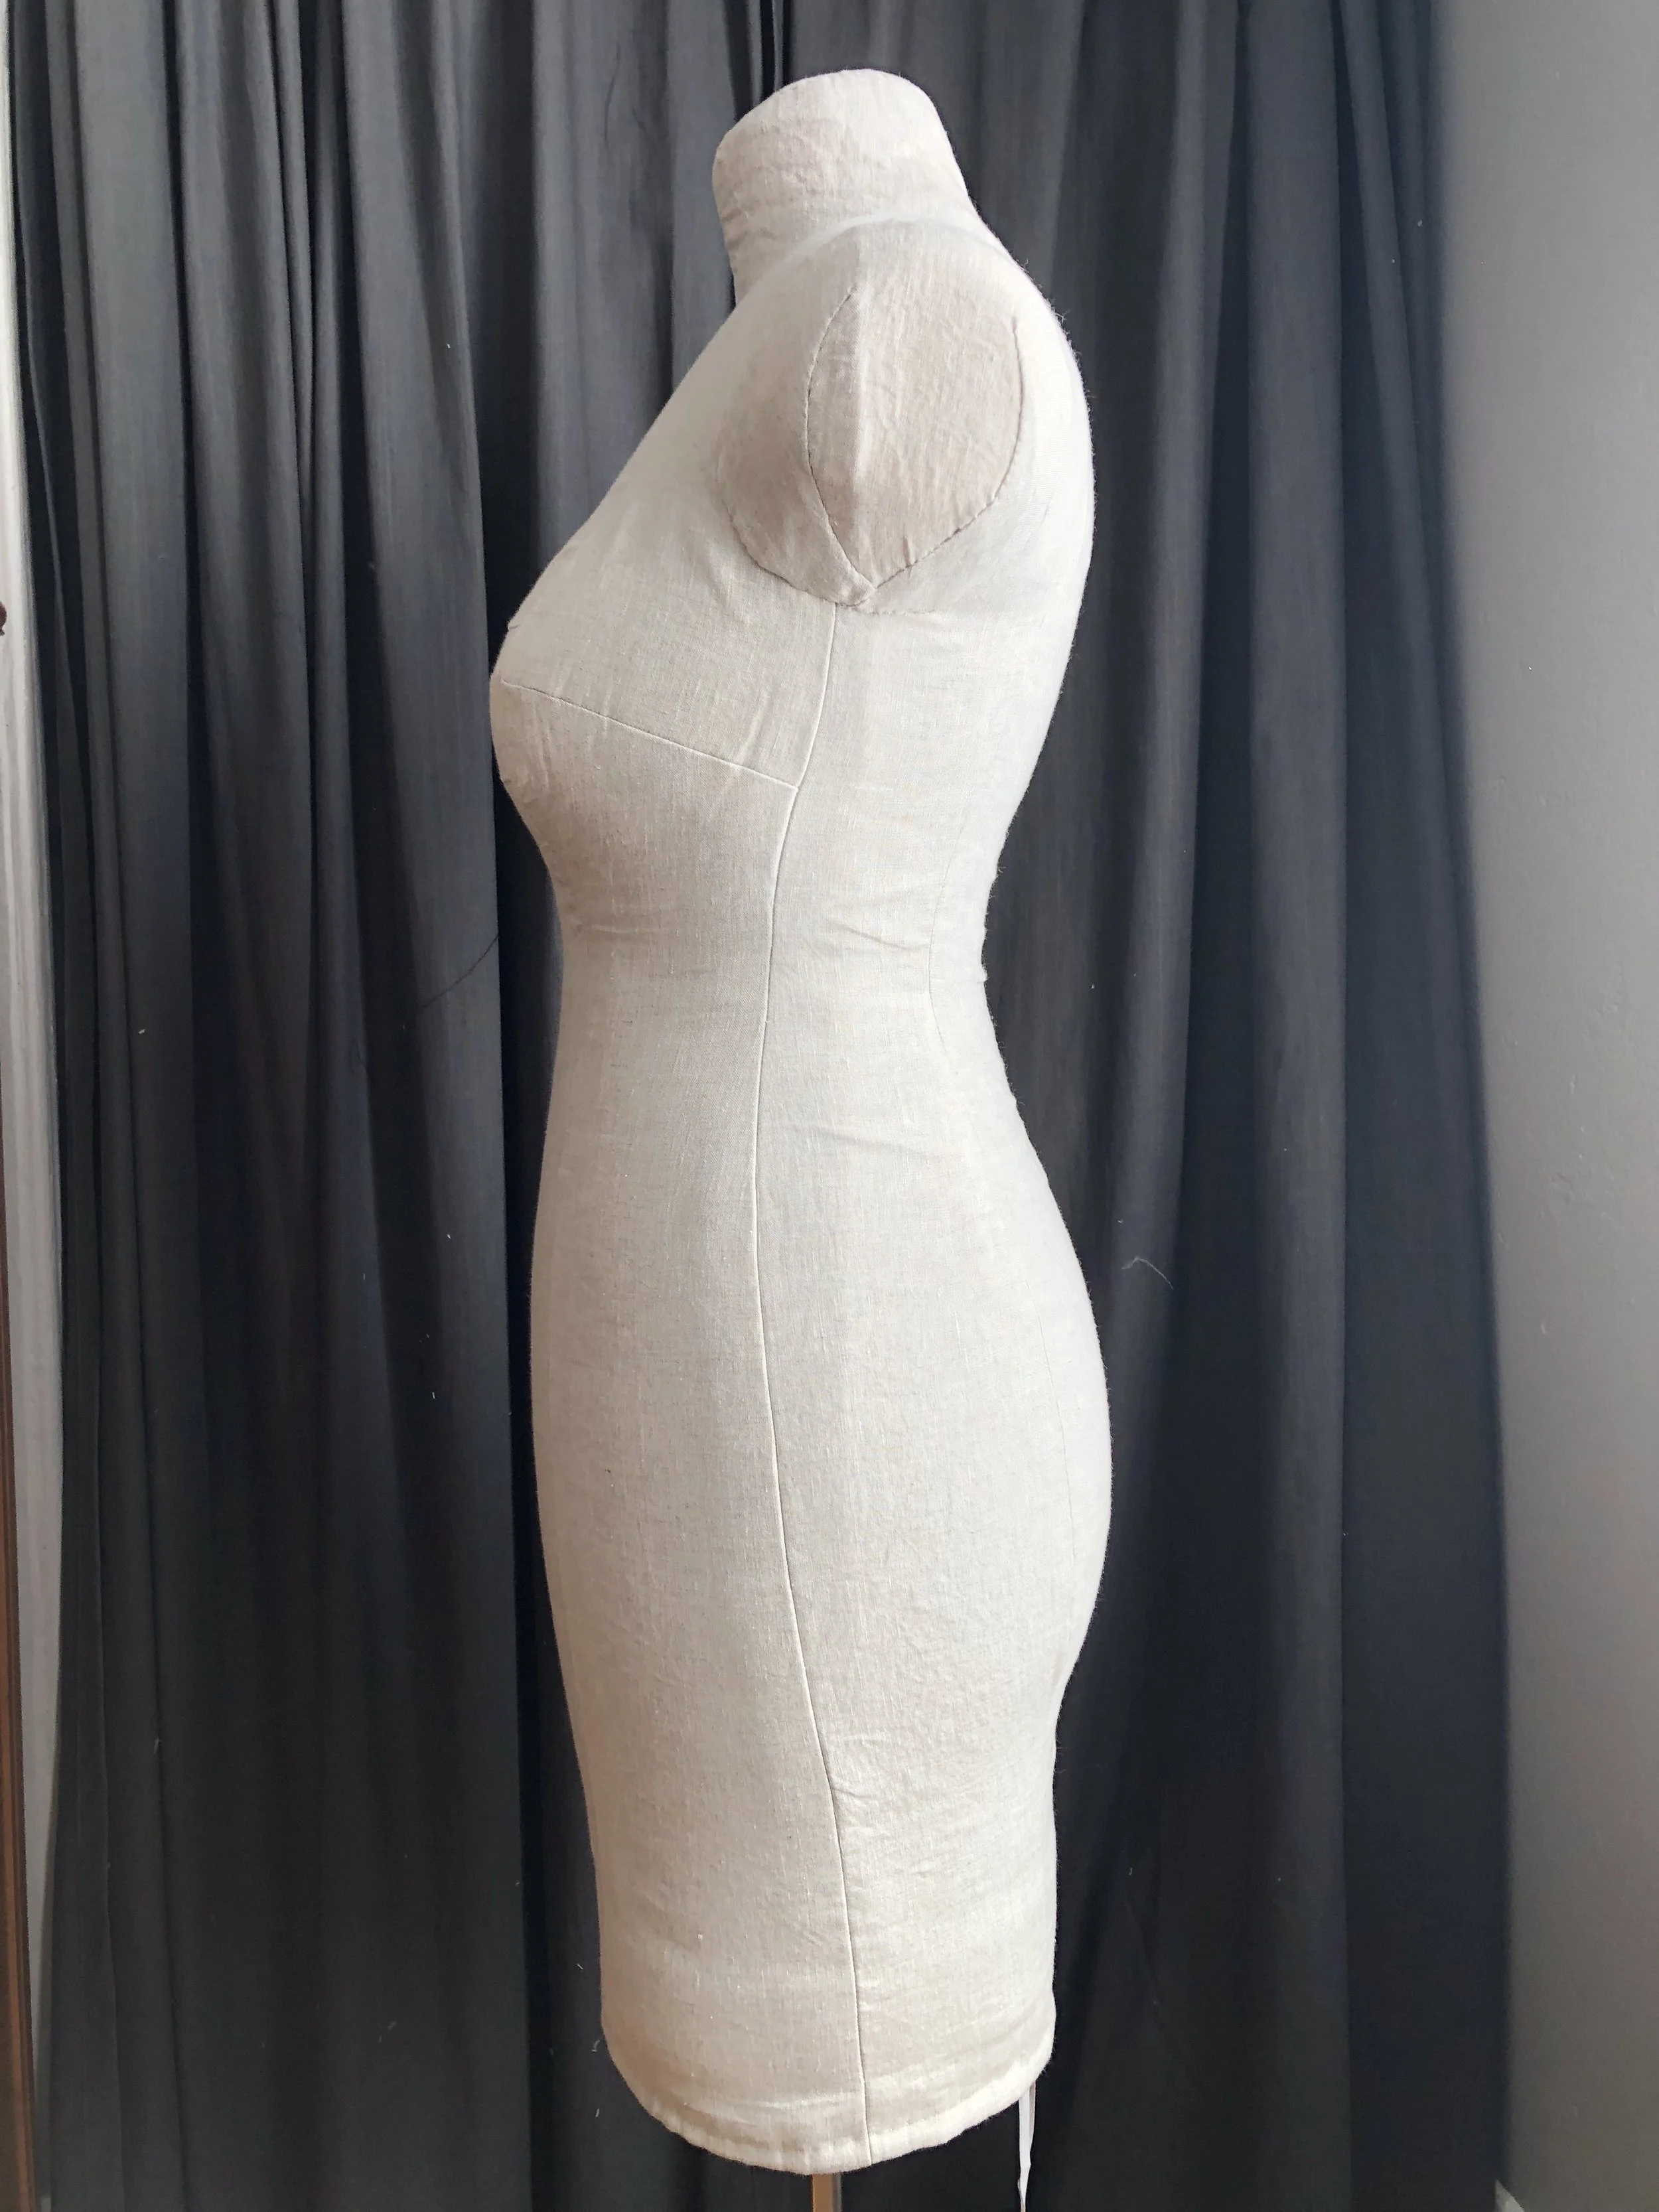
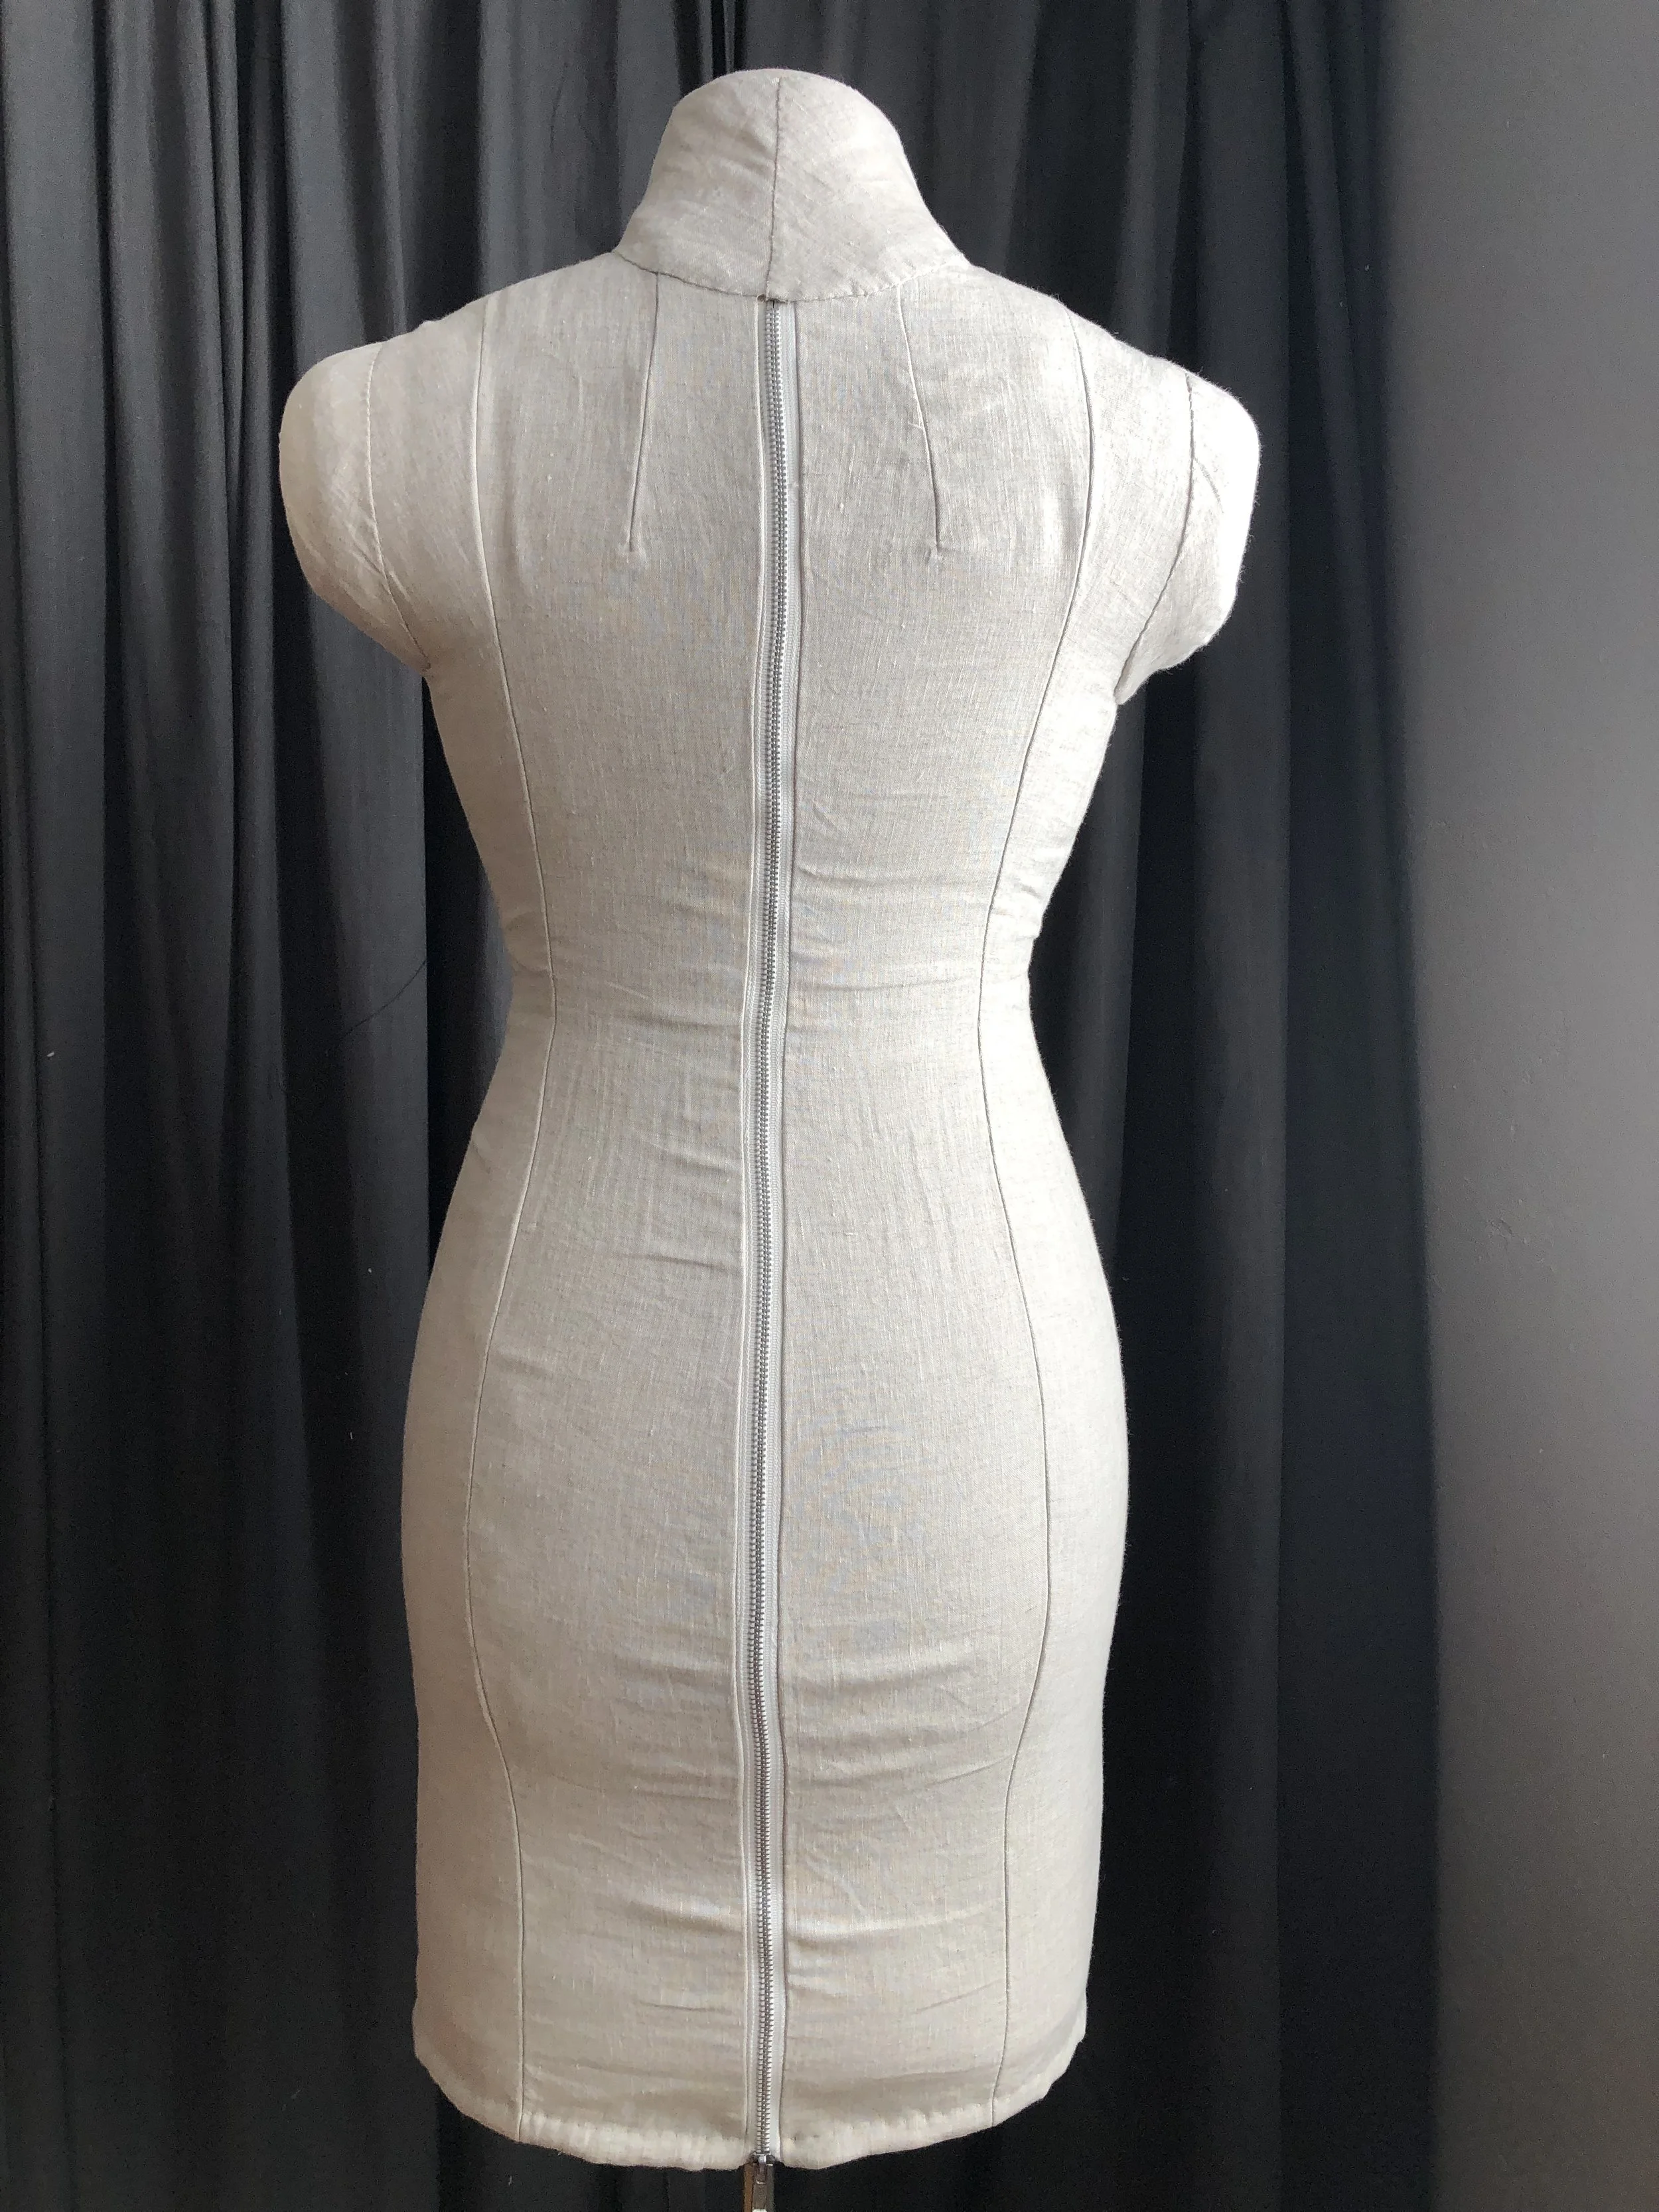
As you can see from the photos above, the form is very functional and easy to pin because there is a foam form on a metal stand which gets covered with a custom fit torso that matches ones body. This form already had a cover. My options were to A) try it on and fit the cover to my body or to B) fit the cover then transfer the pieces to paper to create a pattern that fits the dress form better. I chose the latter. One thing I did not like was that the foam base, is sticking out at the bottom, the arms and the neck. So making a cover that covered these parts was the way to go.
So, I unzipped the cover from the form and tried it on. It was a bit of a wrestling match trying to zip that thing up on my own. I found that it fit pretty well through my upper torso but was too small in the hips (couldn’t zip it all the way down). It was also riding up a bit causing a fold of fabric, along the waistline all the way around my body. That told me that the torso was too long and the pieces needed to be shortened through the waist. This was no surprise. It’s a common correction I make to garments because my waist sits higher than standard (I have a “short waist”).
Here is my method from start to finish:
Rip apart half of the cover. I decide to just duplicate the right side instead of trying to make 7 different pieces.
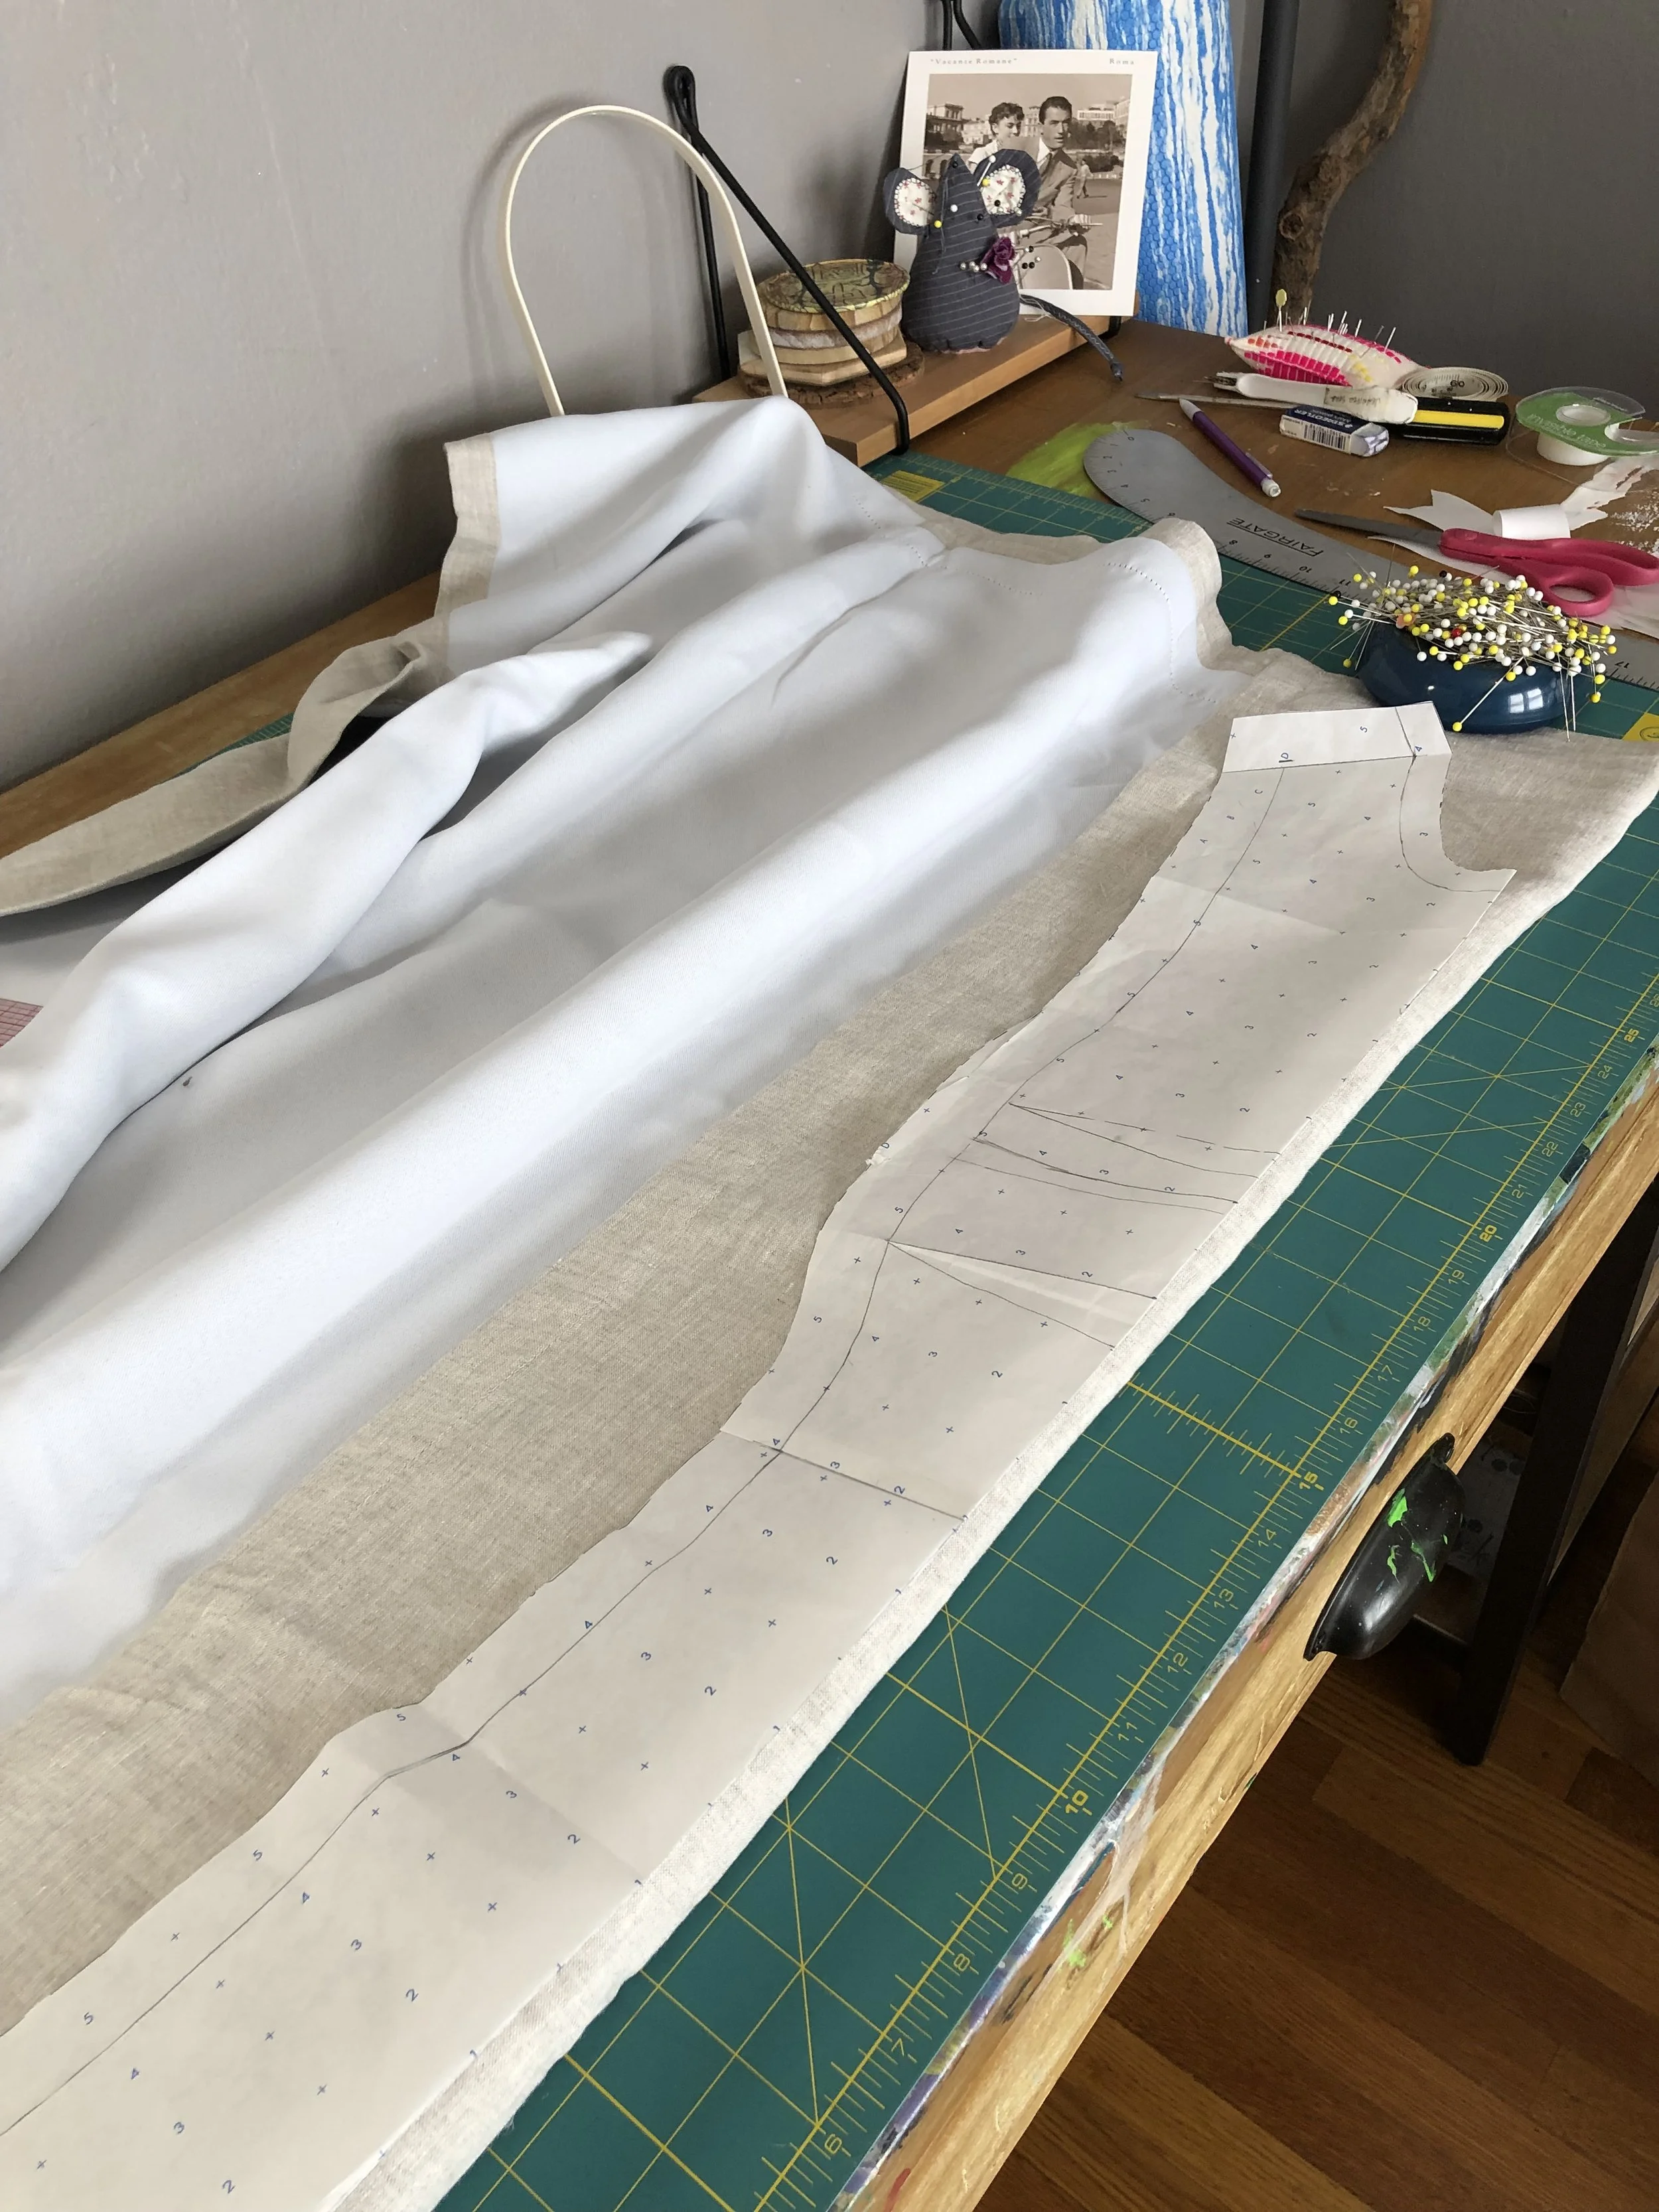
The pieces were then traced off along the seam lines, onto paper, using a tracing wheel.
I then penciled in all the lines. I shortened the waist 1/2” on each of the pieces and then increased the hip measurement by 2 1/2” total around, evenly distributing along the front and sides giving a little more fullness in the rear seat area. I also added 4” to the length, because I wanted the foam to be completely covered.
After truing the seams to make sure it all fit together, I added 1” seam allowance to all the vertical seams, and 1/2” seam allowance added to the neck & armholes. The larger seam allowance would allow me to have some fitting room if I needed it.
For fabric, I decided to use a linen curtain that I thrifted. It was lined with a black out fabric, which I decided to use as interlining to stabilize the linen. Because this linen is somewhat delicate, the pressure of the seams squeezing down the foam was going to be too much for it to handle. So when I cut out the pieces I cut out the black out fabric as well and marked the seam allowance and dart lines on that fabric. The linen was then hand basted to the blackout fabric, before stitching the darts and pieces together.
A note on Hand Basting vs. Machine Basting. Occasionally I will machine baste, however, I find that the pieces send to move more and bubbles are created at the baste lines. I think this happens because of the pressure of the presser foot on the machine. I have much more success with hand basting. I can pat the fabric down as I go and the hand work offers more control.
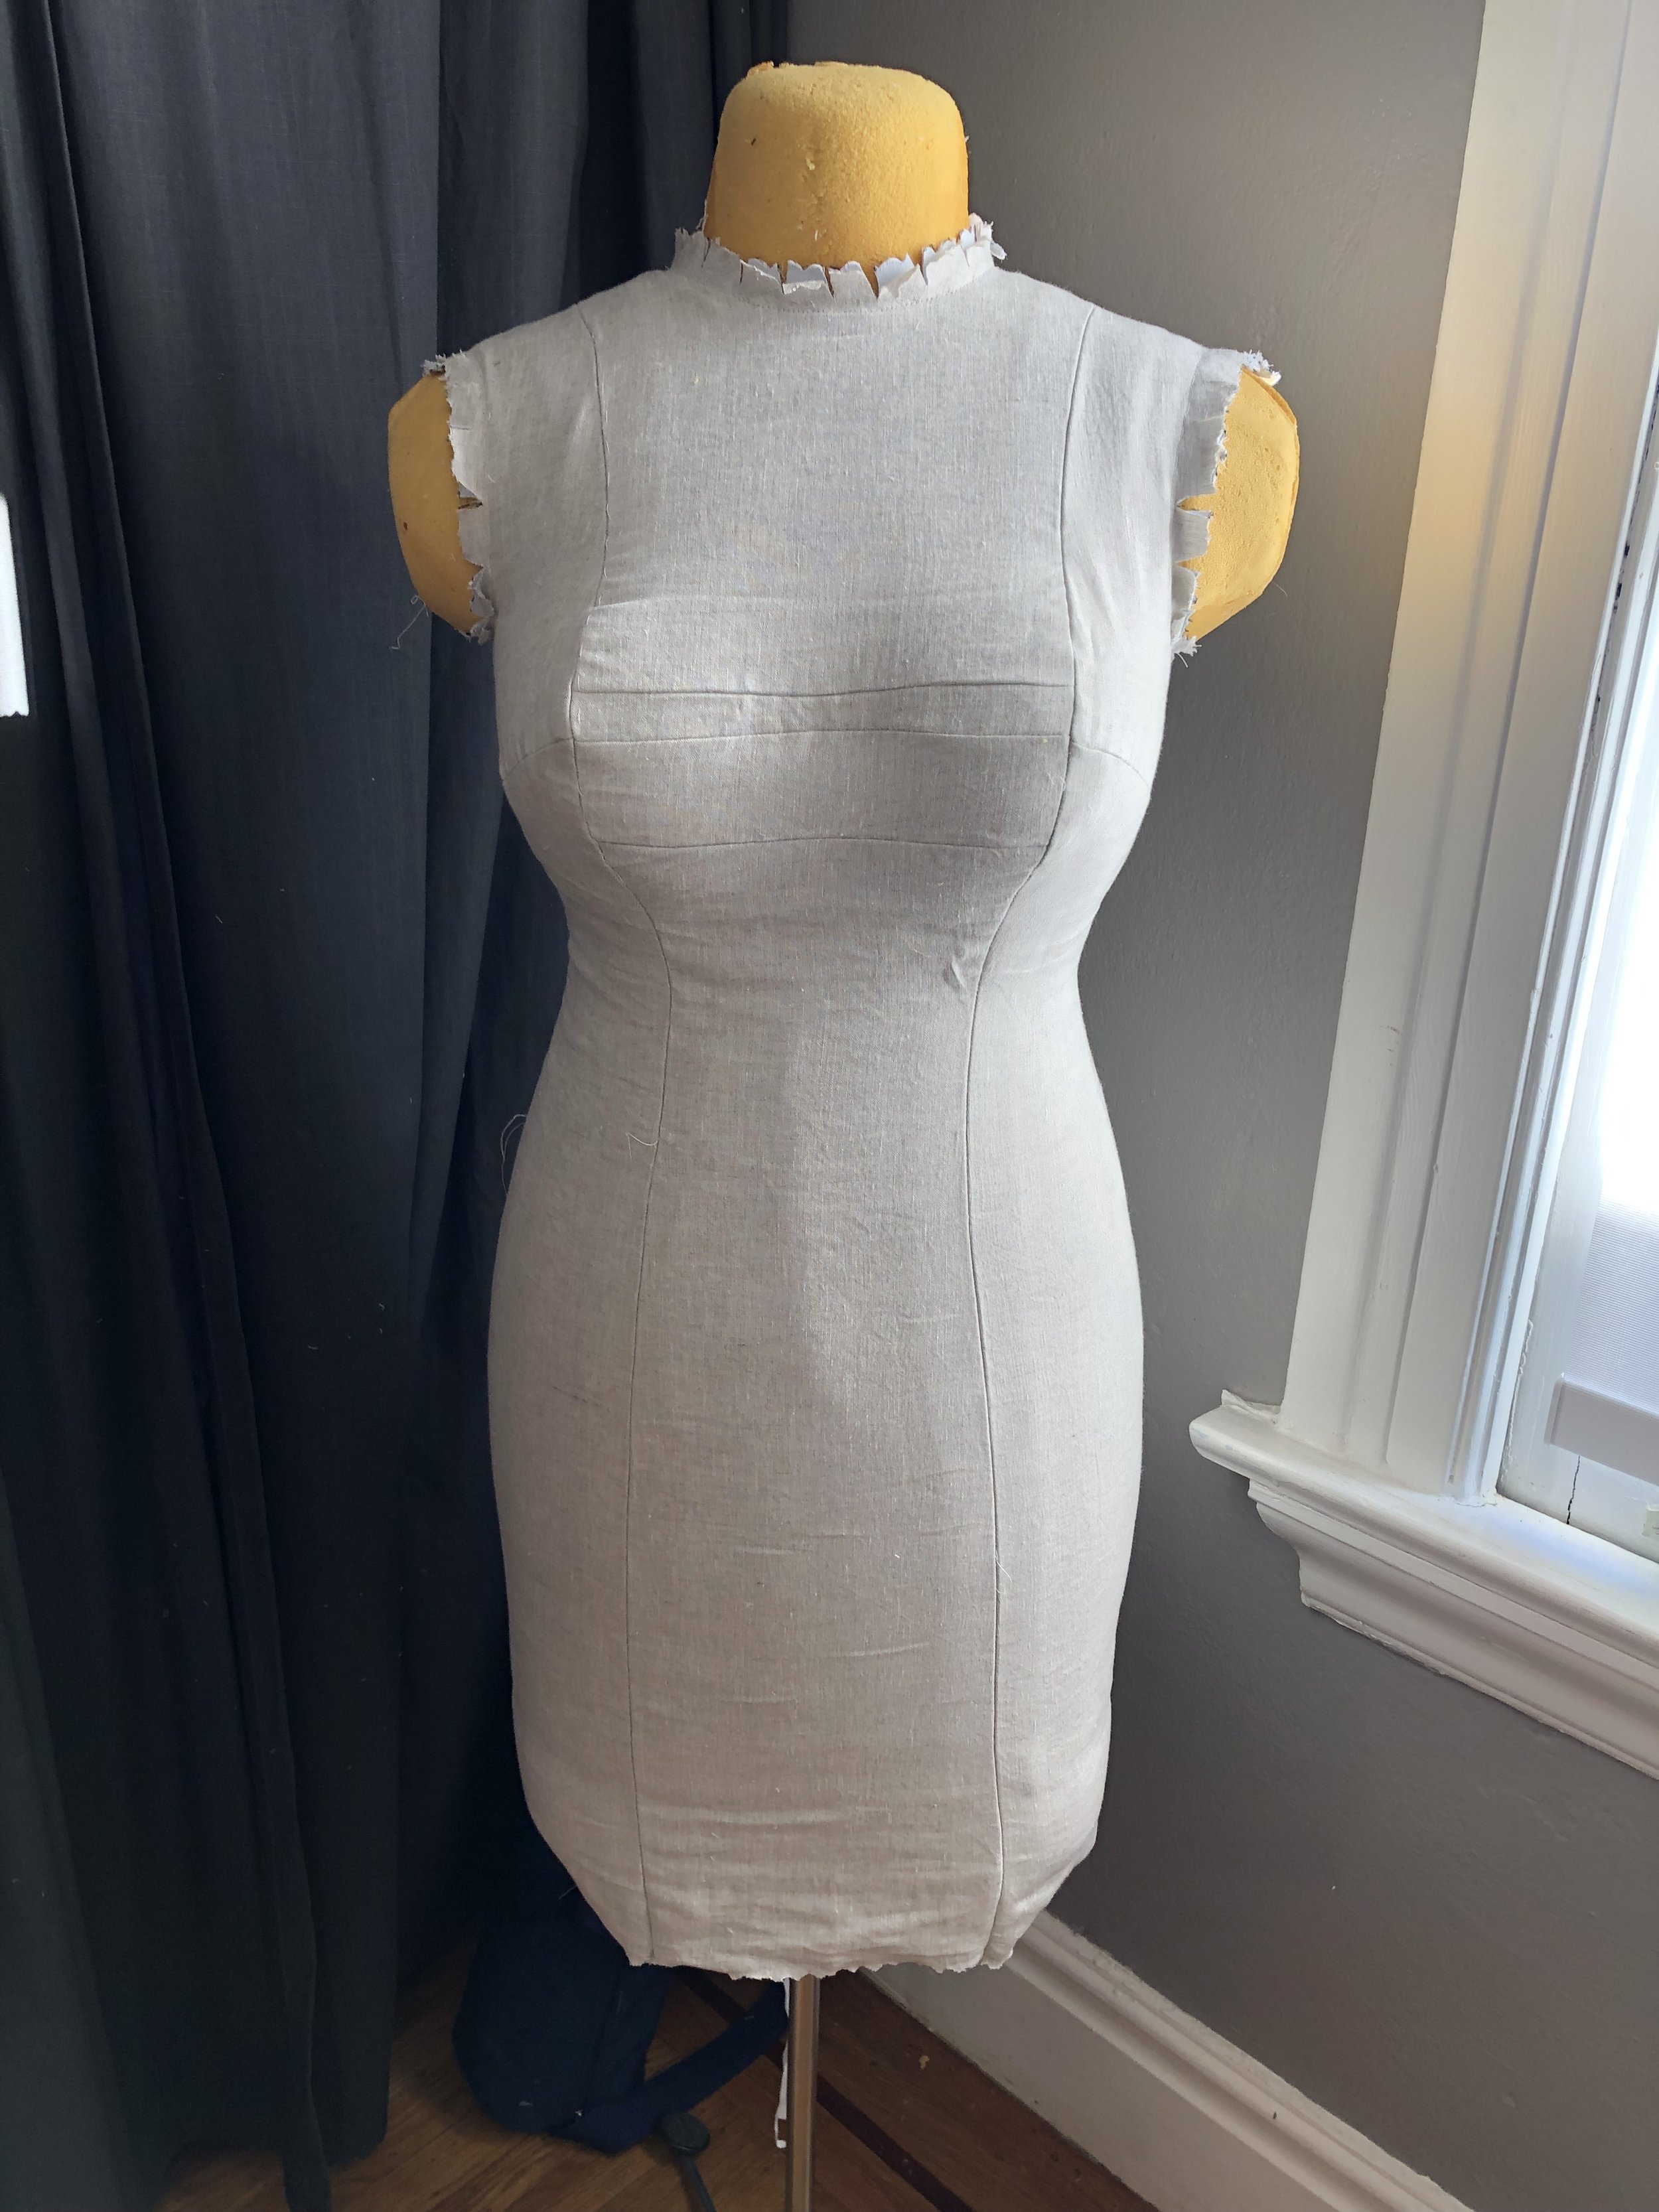
I was able to get this thing zipped on much better after adding fullness in the hips. In retrospect, I should have trimmed the seam allowances over the bust. They are very lumpy and it’s because of their 1” width. I decided this however, AFTER, wrestling the cover on the form. That is no small feat and I am super super glad I interlined (aka flat lining) my fabric! I was sweating quite a bit and really could not imagine taking the cover off the form for ANY reason at all, after I got that cover on.
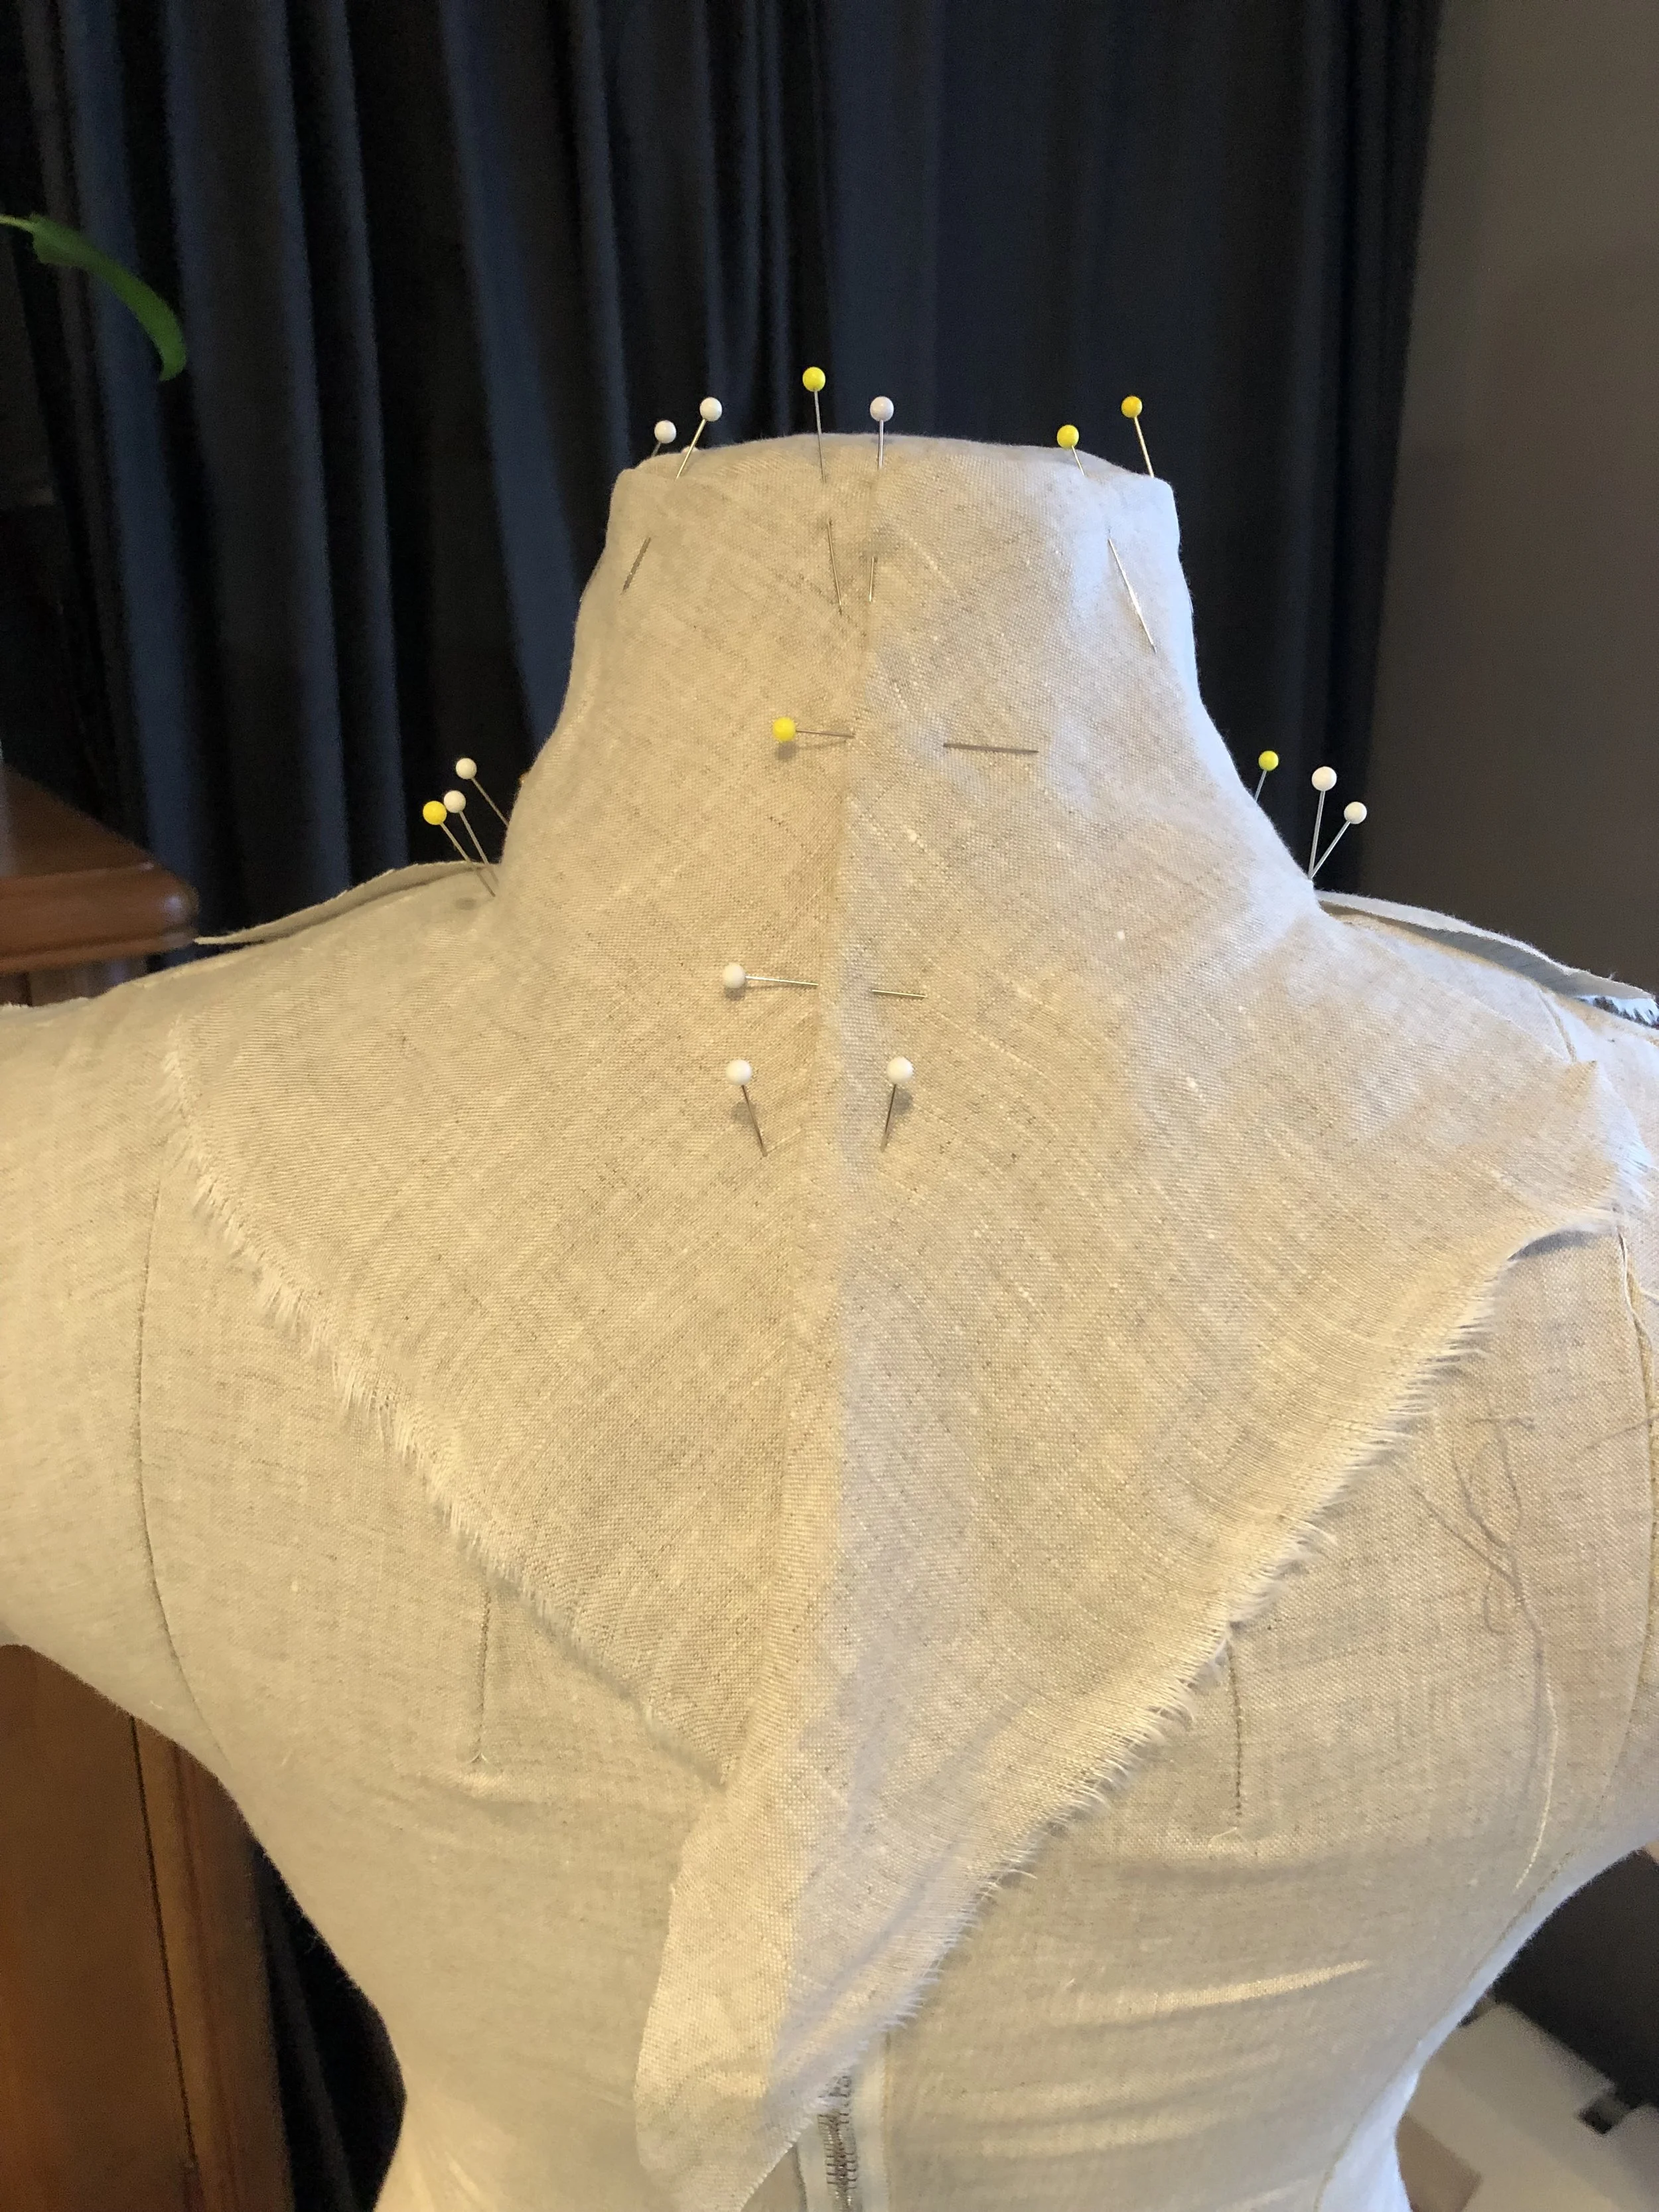
Originally, I thought I would drape and make patterns for little sleeves with caps on the ends and a neck cover that I would then stitch onto the body, away from the dress form. I realized soon after getting that cover on, that it just wasn’t going to come off, so instead of making patterns I just draped linen directly on the form at the neck and armholes and then tucked and pinned until I got a good fit. The excess or seam allowance, was then tucked to the inside and these 3 parts were hand stitched down with a slip stitch.
Draping is super fun!
I started with my fabric grainline pinned at the Center Front. Then I smoothed the linen over the top of the neck and then around the the base, clipping right up to the seam to make it fit. I worked my way around the neck on both sides, tucking the fabric at the top edge of the neck to the inside, creating a dart.
The armhole nubs were done in much the same way.
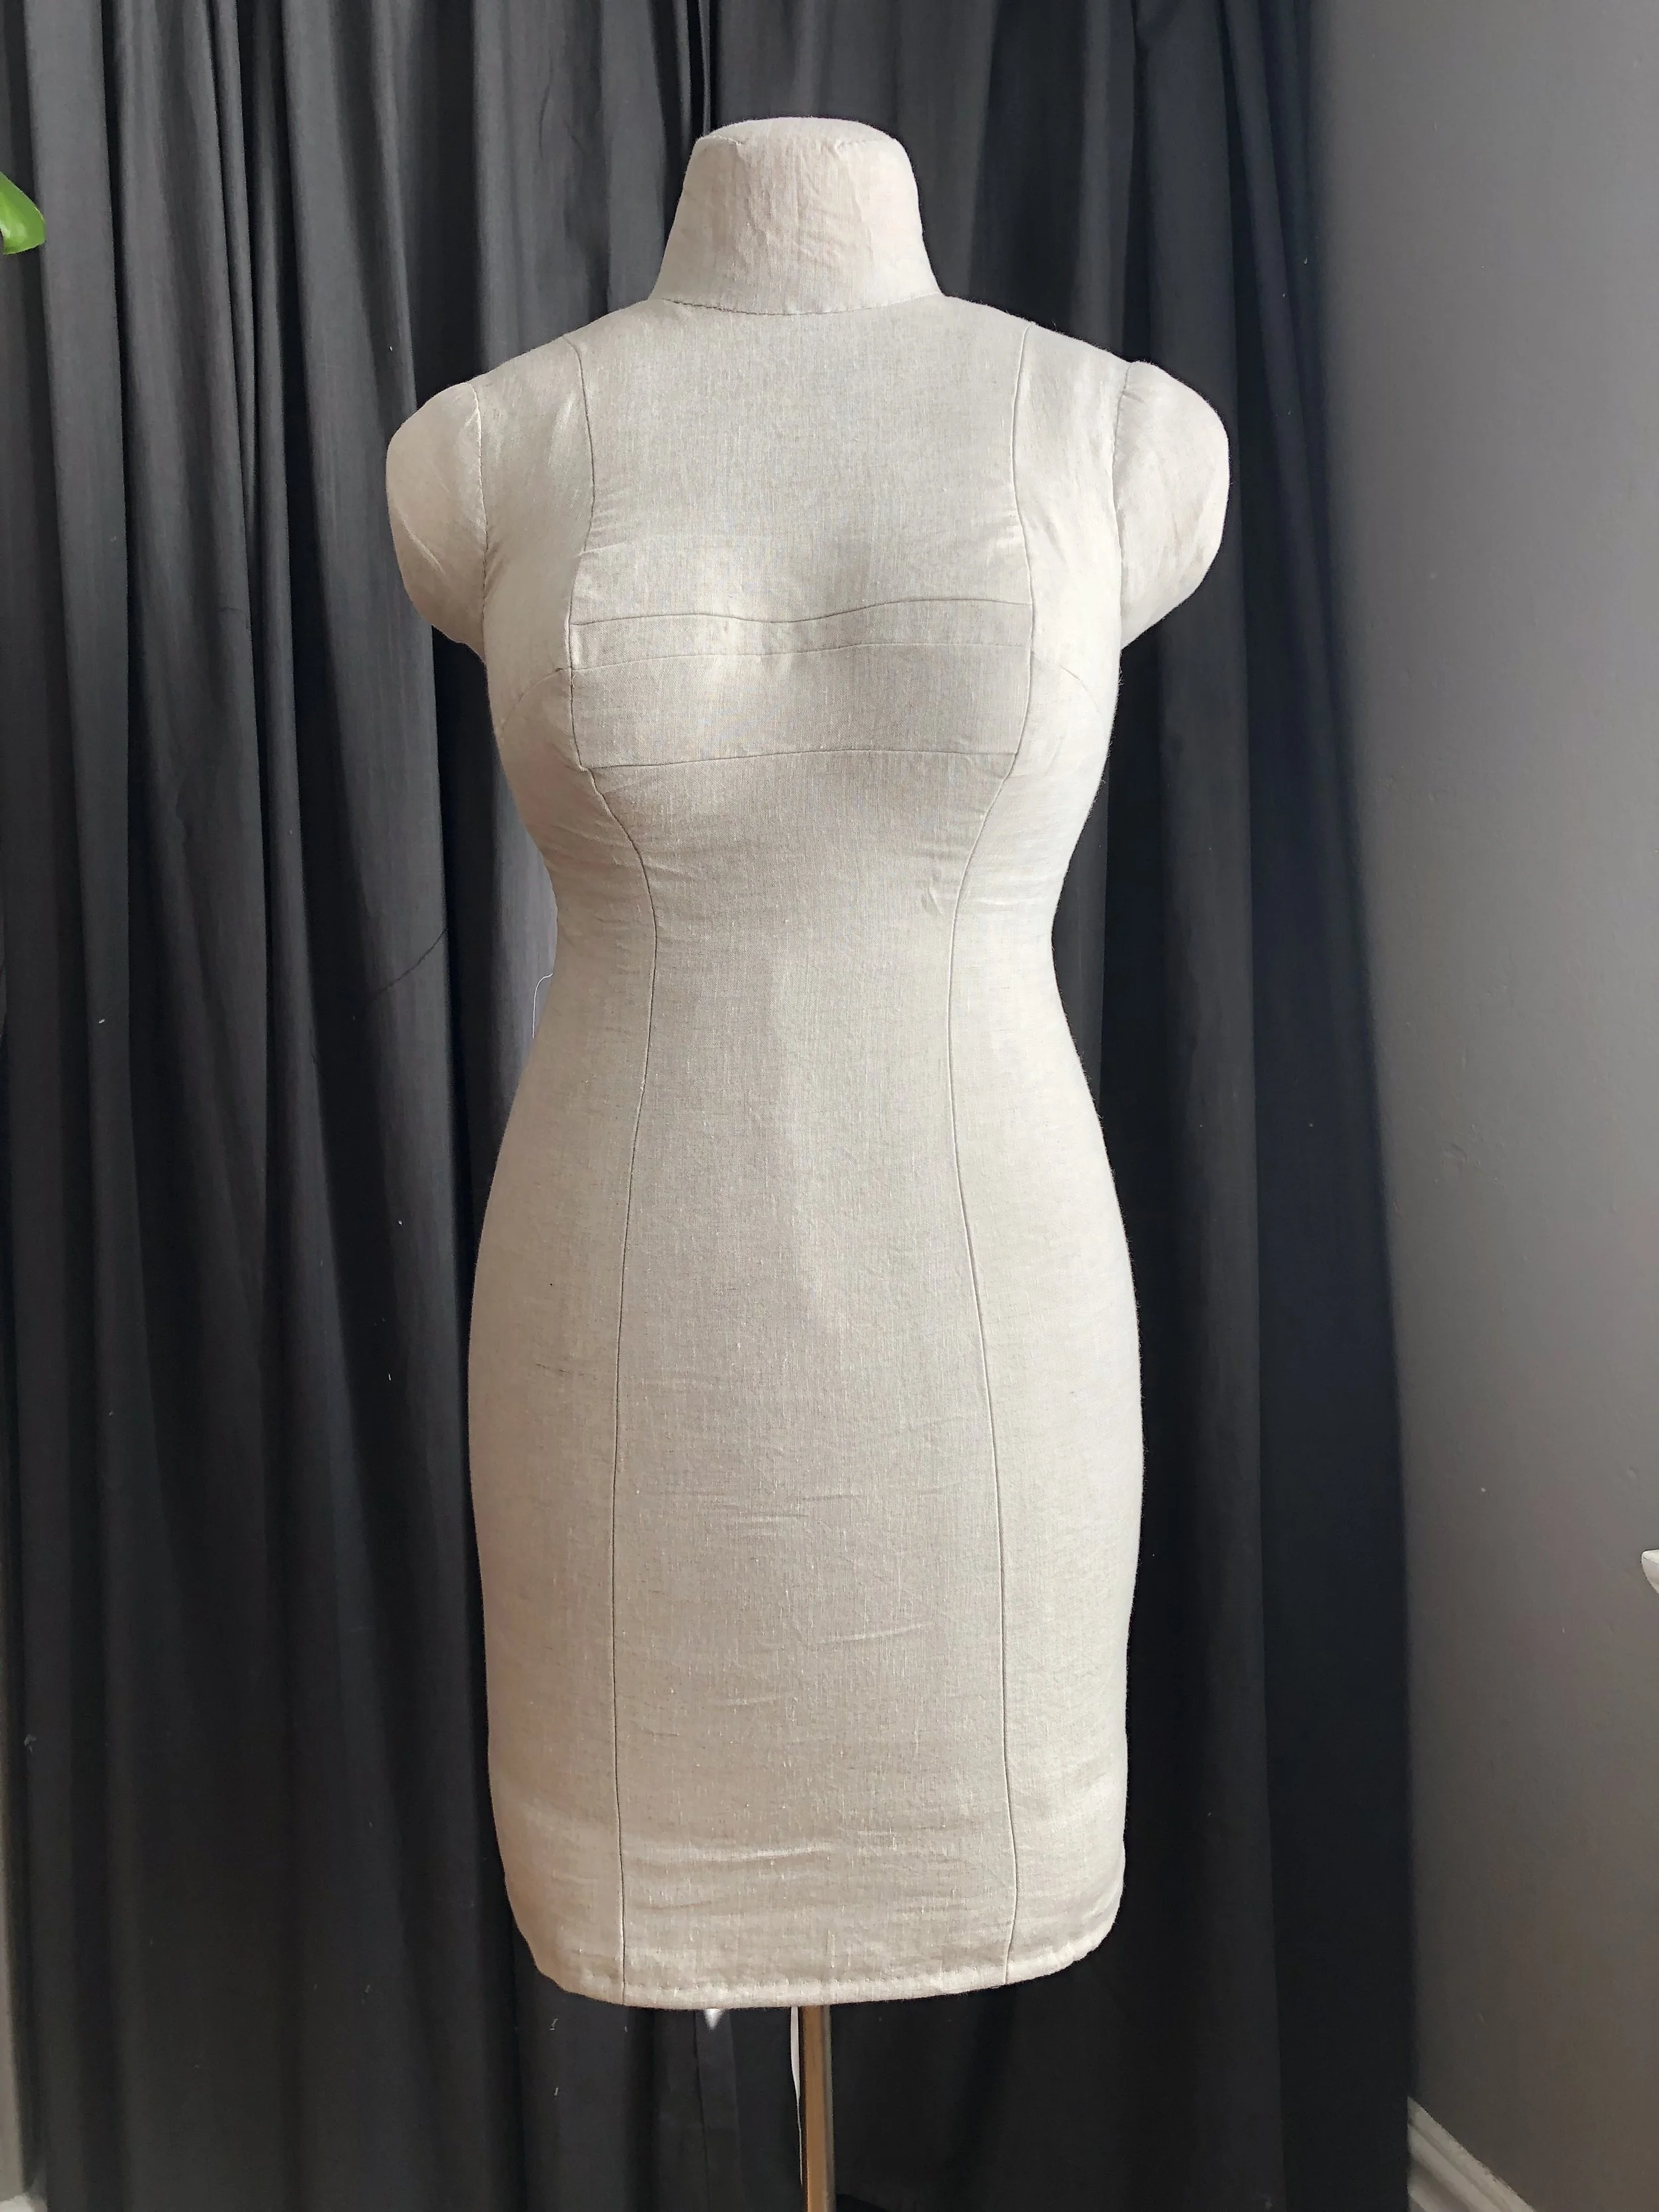
I finished off the dress form by turning up the bottom edge and hand stitching the hem down.
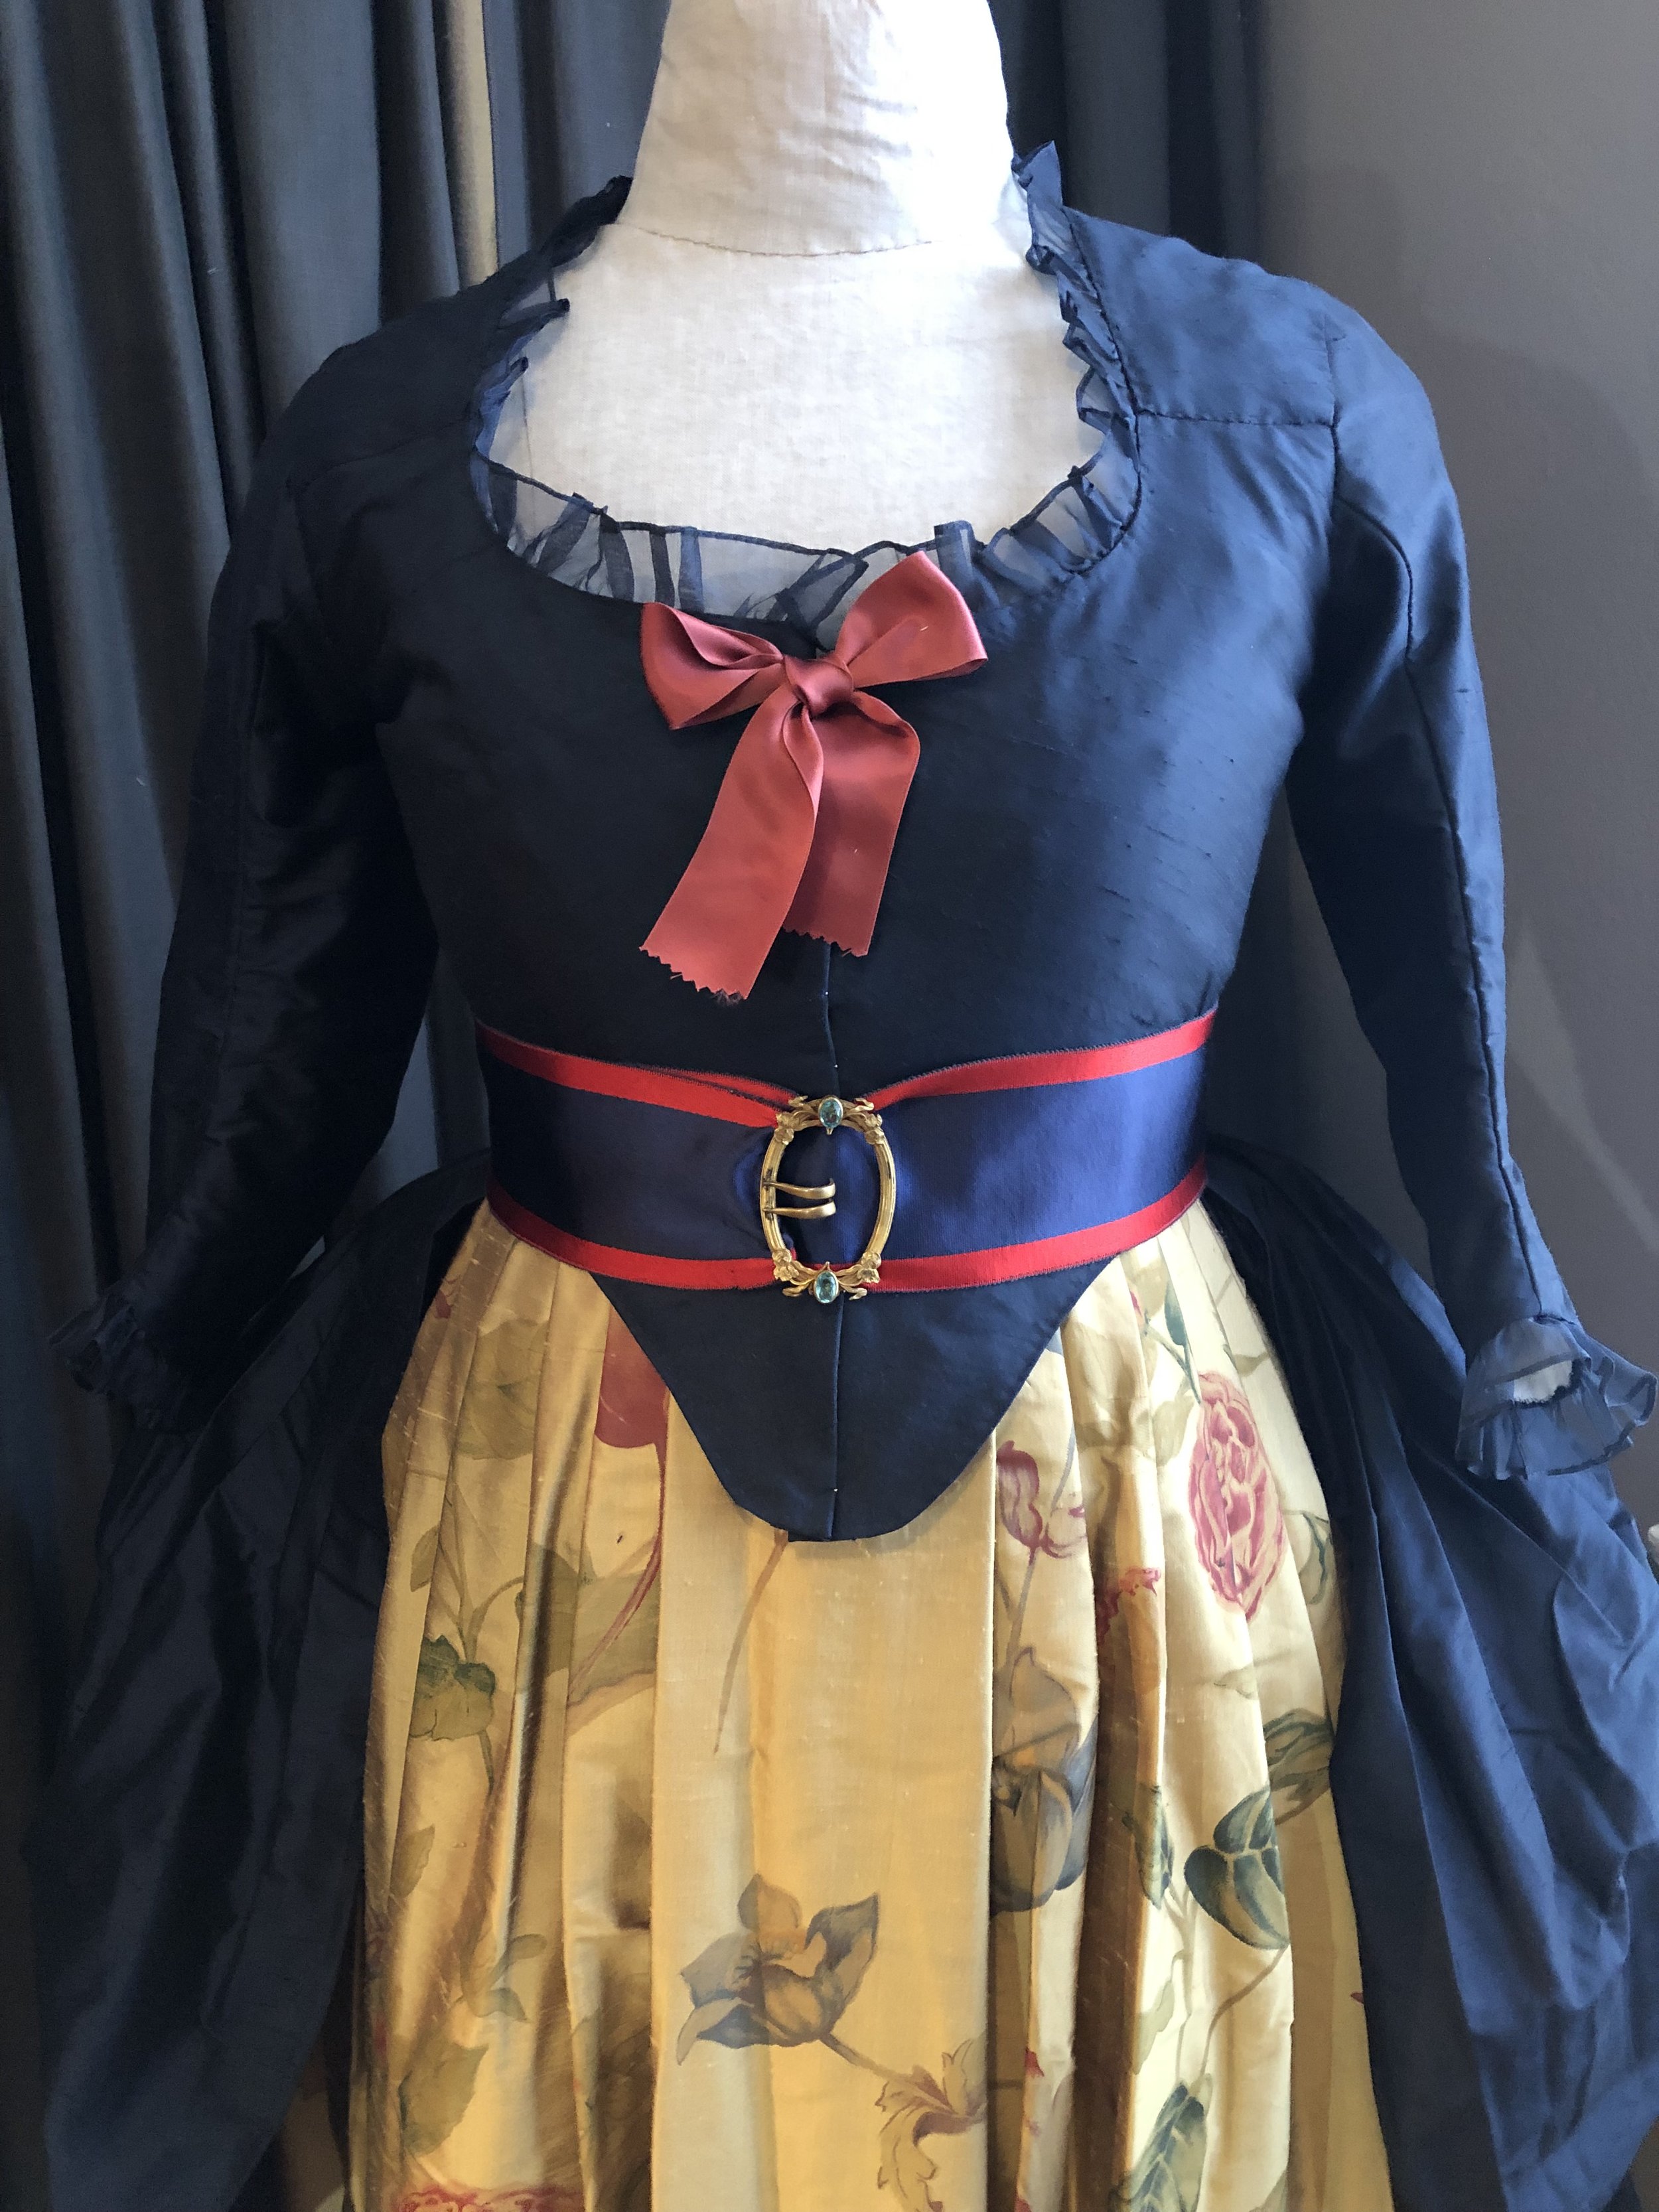
I’m about 80% happy with this form. The body and neck are great. Even though, the neck is actually a little bit too large in circumference, compared to mine, I think I can work with it. The sleeve/arm nubs, however, make the shoulder too wide. It was quite difficult to get this 18th century gown to fit around the front, because of the arms. I may just need to pull the stays tighter, so the rib cage part fits better, however, I really think the problem is the shape and size of the shoulders. I have slightly narrower shoulders (than the form) so I’m tempted to take the linen off , cut off the foam arm/shoulder nubs and use detachable arms for fitting. But not right now. Right now it is fine AS IS and I’m super happy to have a dress form at home for the low low cost of $42 total including the form + the linen curtain purchased 2nd hand + sales tax.
This was a fun project but I’m glad it’s over. Onto some fun sewing projects that I’ve had up my sleeve for a while now. What should I work on next - Chanel Style Suit (A-La-1930’s, 1940’s or 1950’s), Green Edwardian Transitional Outfit, more pieces for the 1930’s capsule wardrobe or Outland inspired 18th Century gown? What would you have me make?
Until Next time, Happy Sewing!
xo Jennifer
