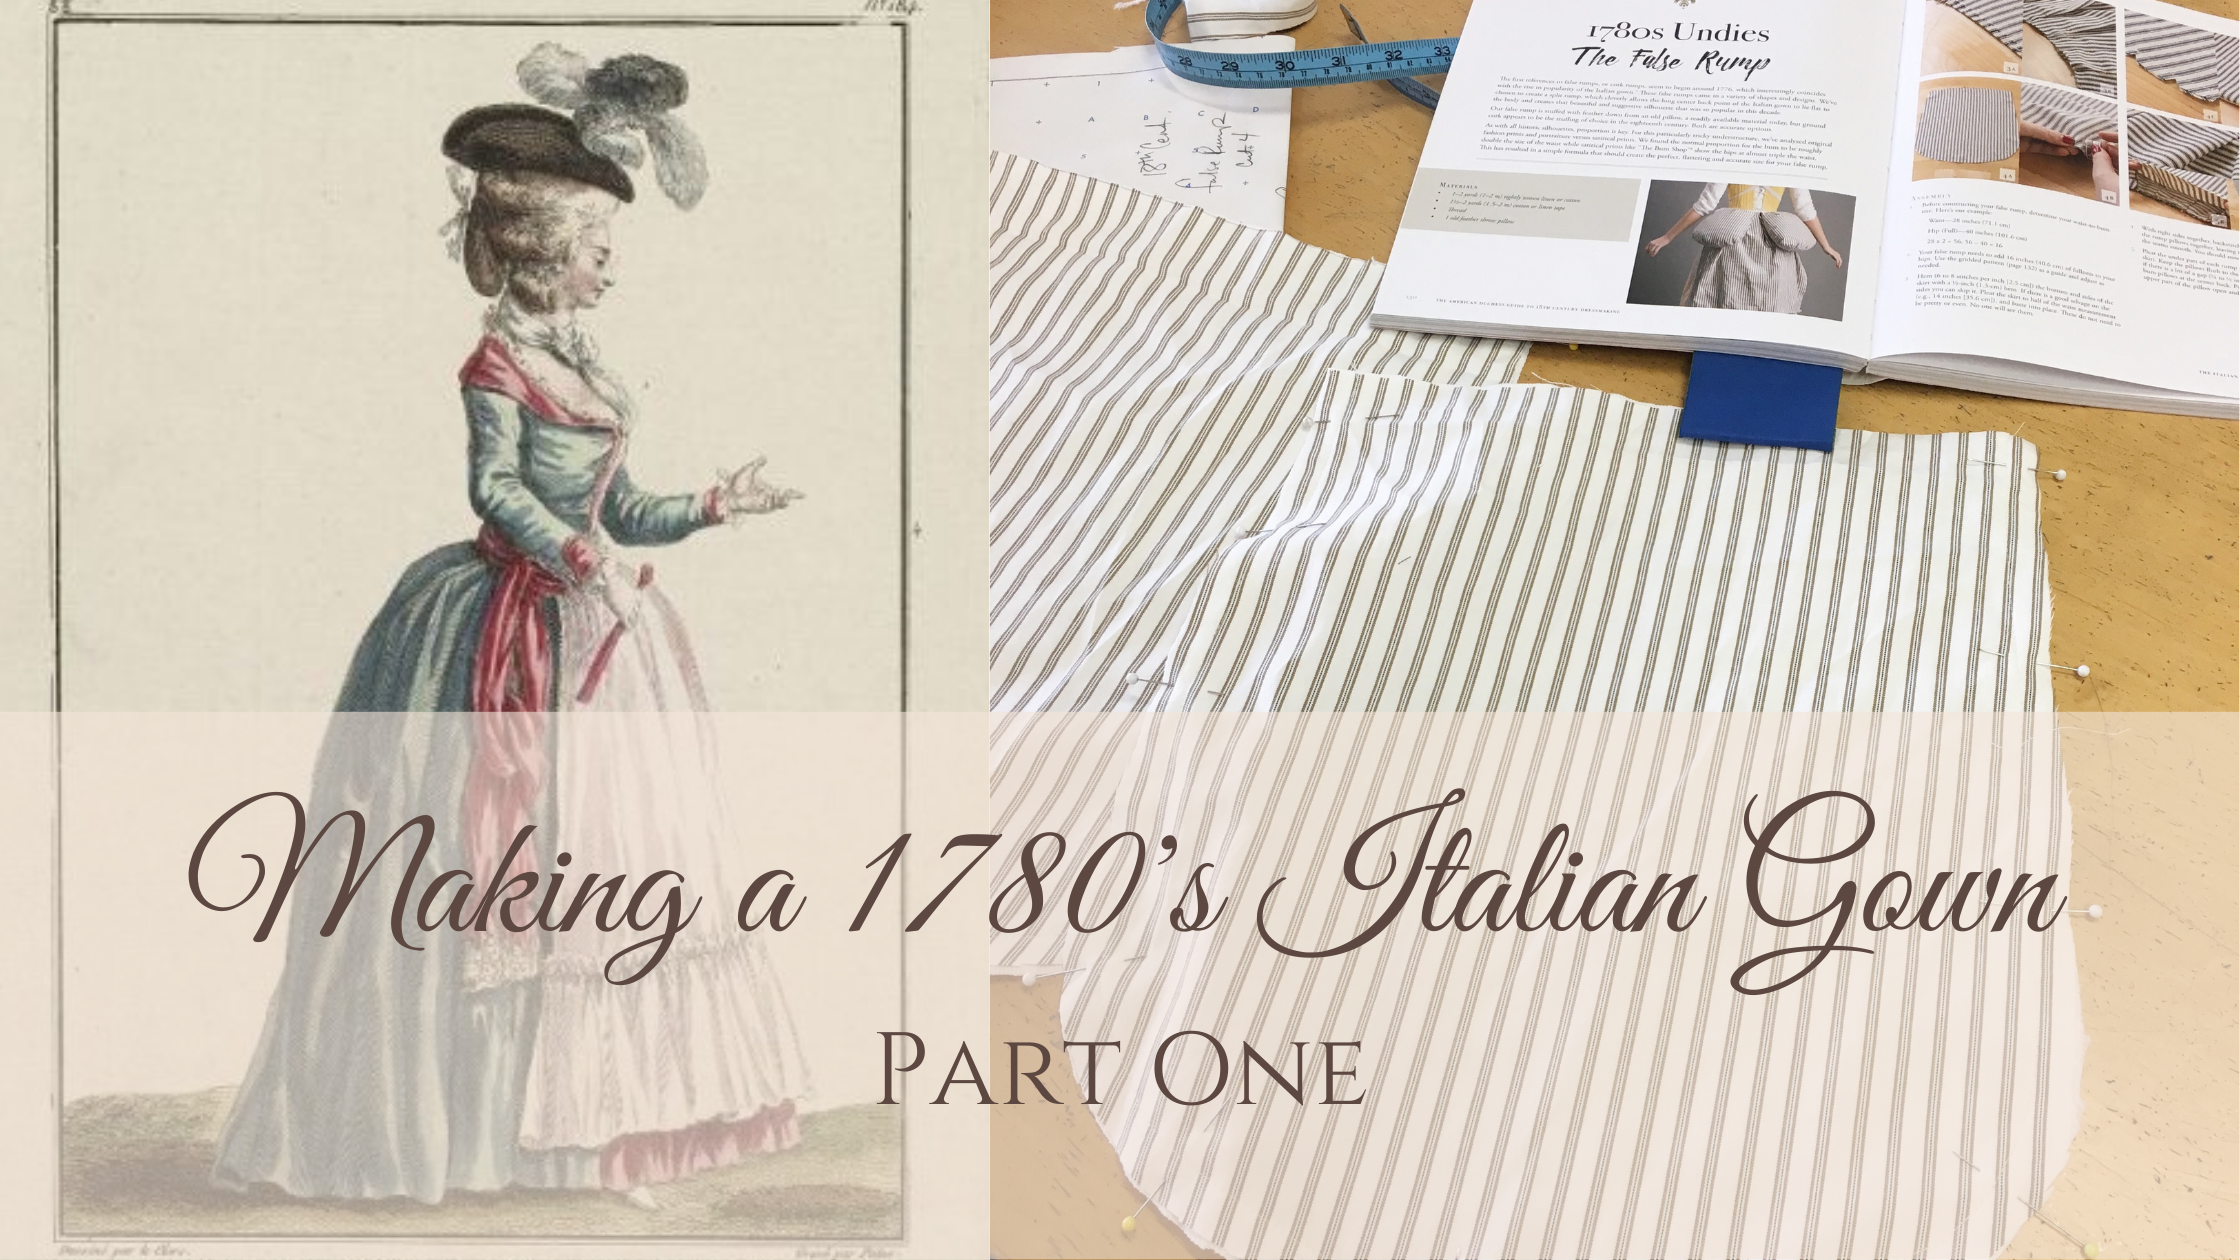
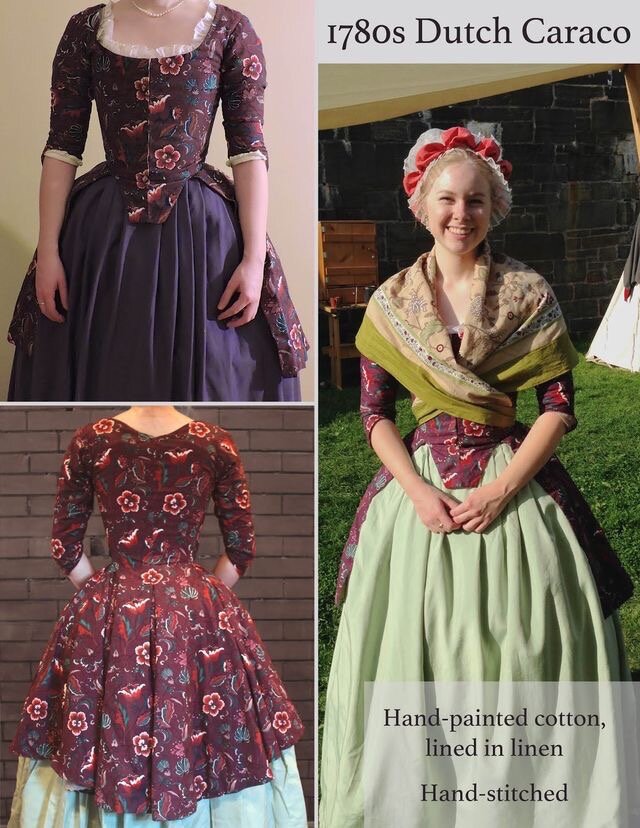
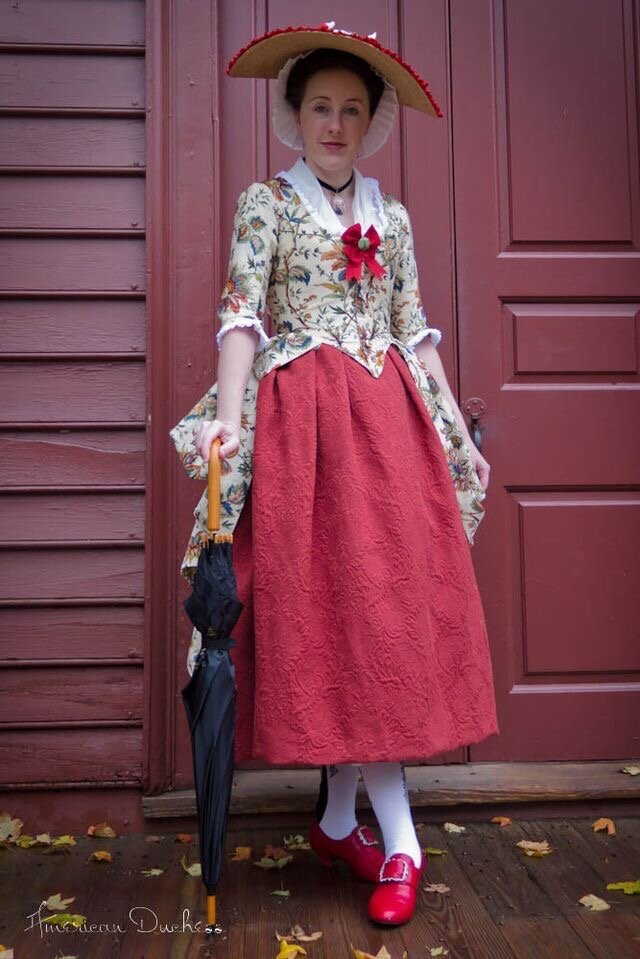
Ever since I was a wee little girl, and while reading The Real Mother Goose, I have loved the “Bo-Peep” look of the 1780’s. I definitely did not equate the look to the Era at the time (because I was a child), but in retrospect, realized that was exactly what I loved about the book. Those dresses are the prettiest! Below you can see some of my more recent inspiration photos found on Pinterest.
1780’s Fashion Plate
So, in perusing my copy of the American Duchess Guide to 18th Century Dressmaking, I found the look I had been dreaming about since I was a child. Now, it seems is the right time for me to pursue that dream.
Two years ago, I purchased this set of 18th century stays, at the GBACG Bazaar. They are pretty much perfect but the straps were a little long. I went about shortening them by starting at the back shoulder seam. The trim was seam ripped, the strap shortened, then reattached at the back shoulder and the trim re-stitched by hand, covering up the seam and hiding the ends.
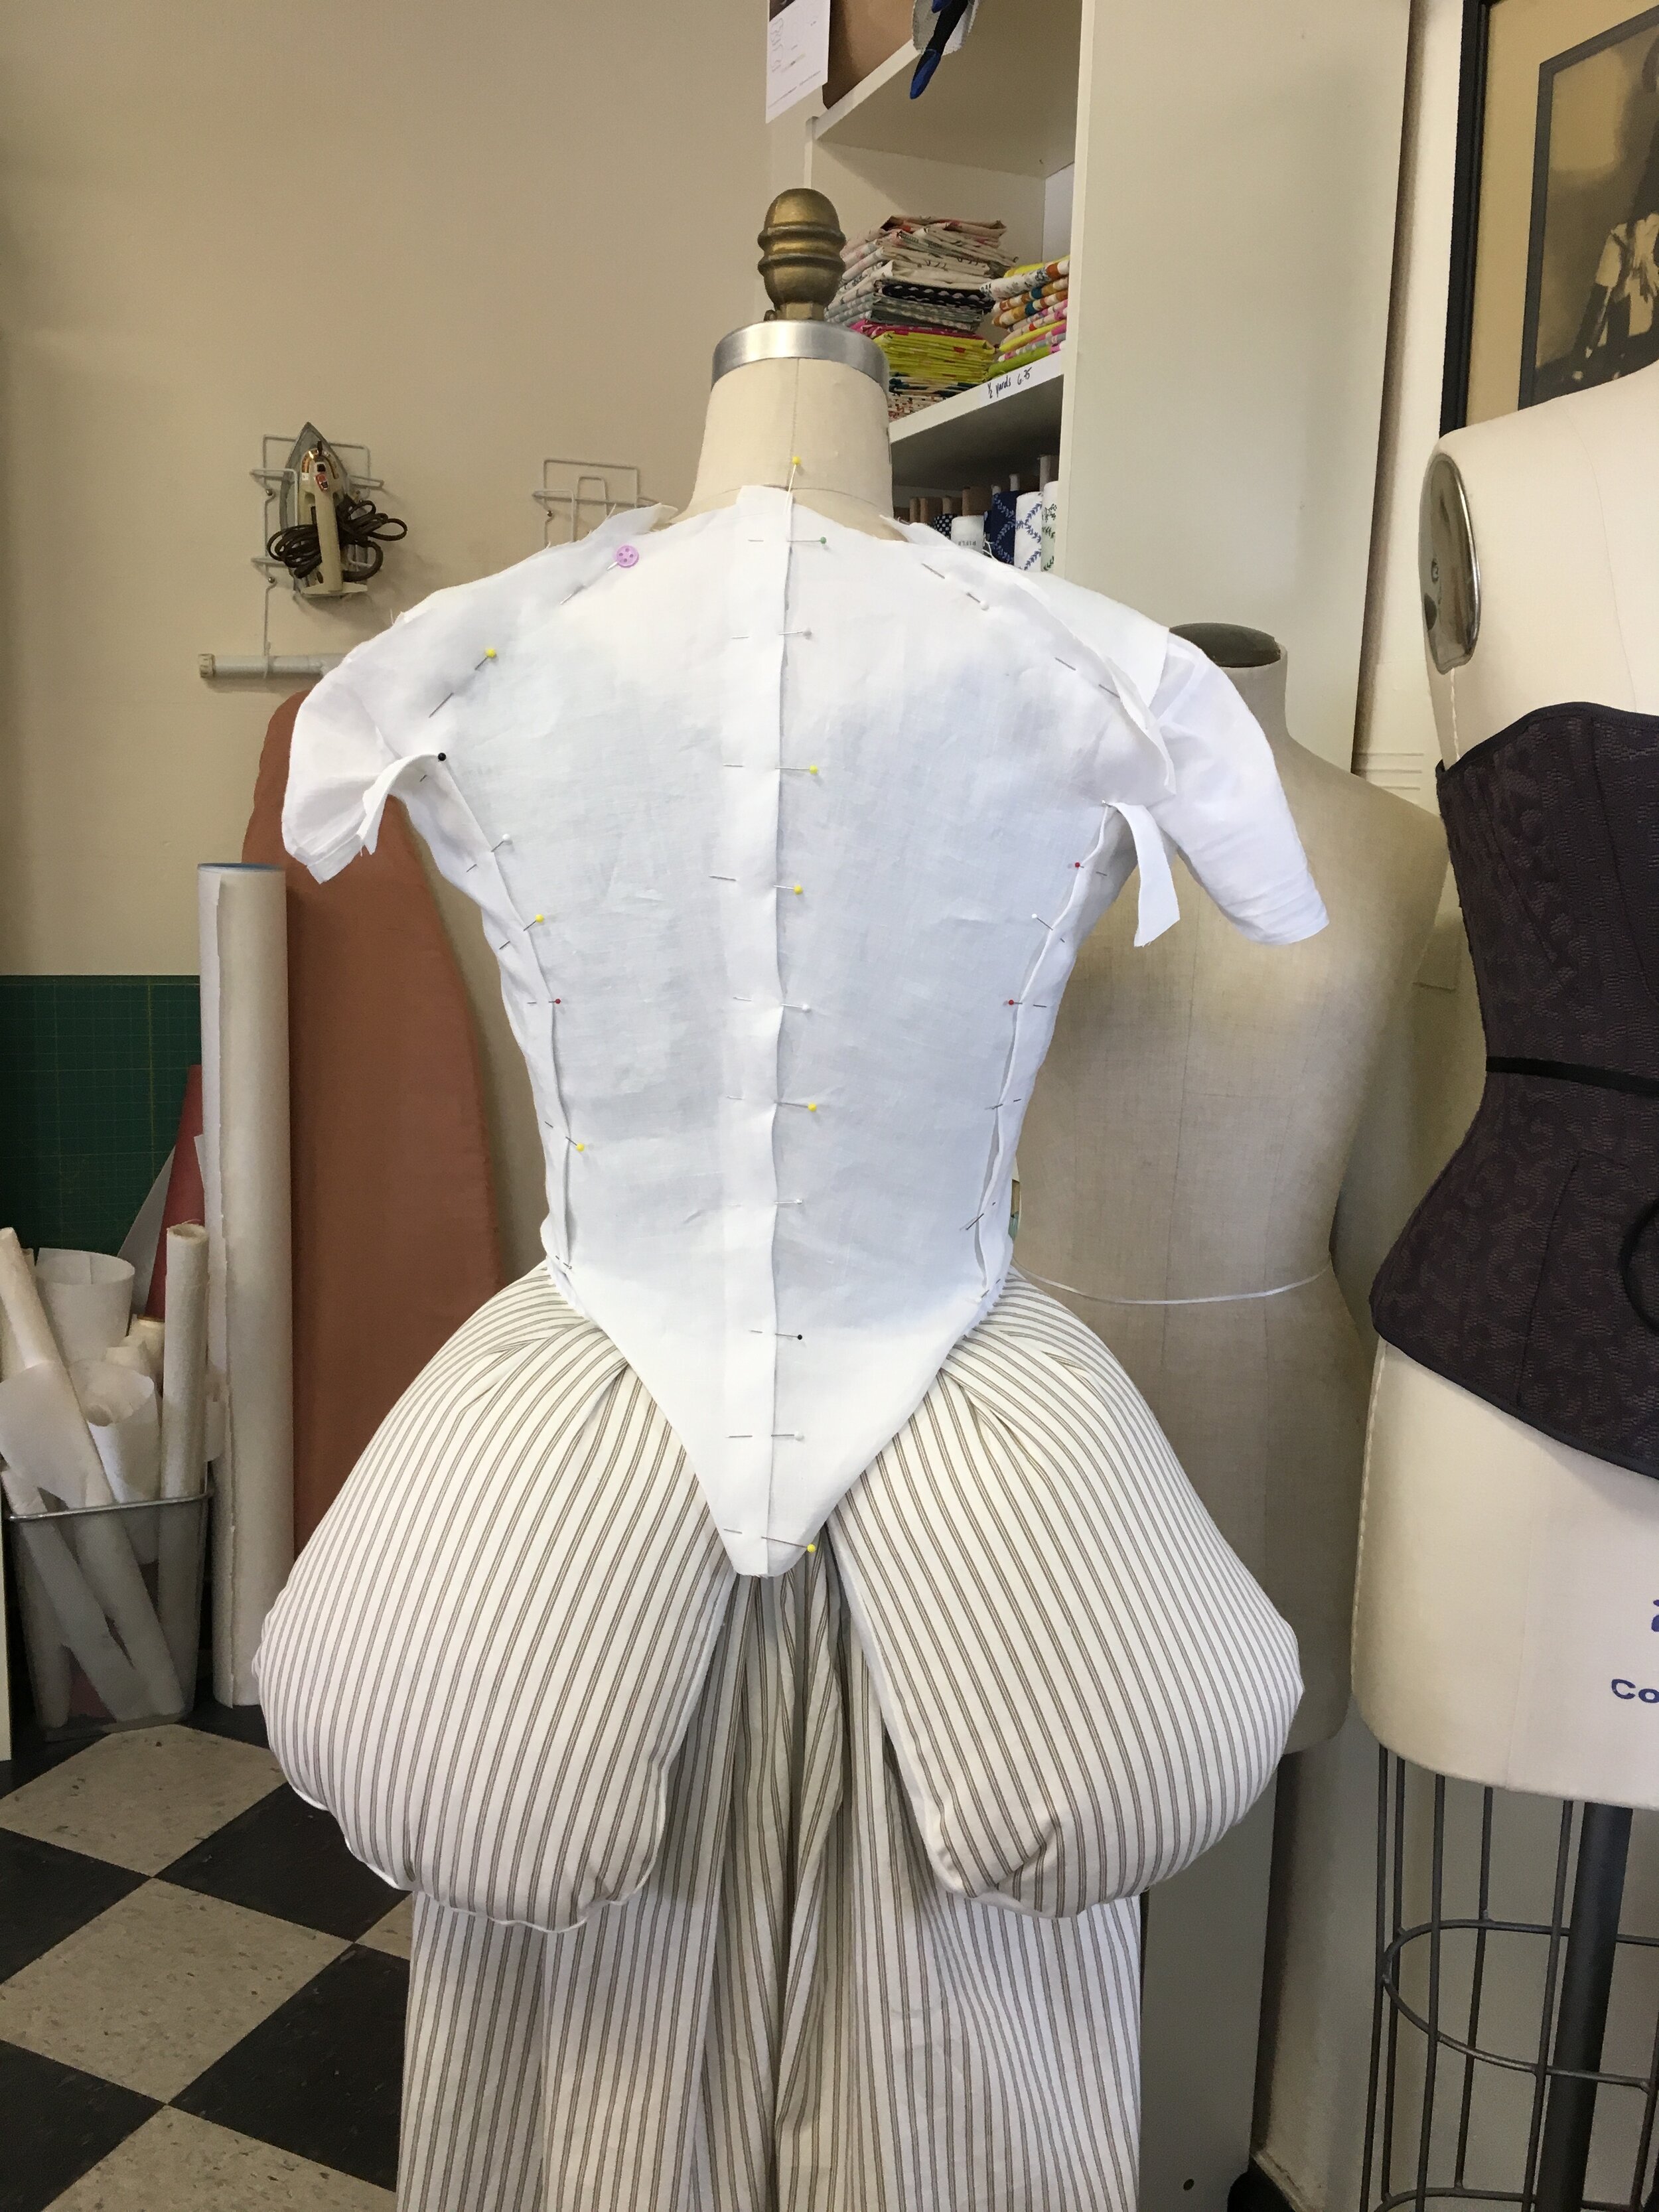
First up in creating the 1780’s look, after adjusting the stays, is the False Rump. AKA the Fake Butt! he he….There is something about making my butt look bigger, that gives me such joy.
I followed the directions and pattern, given in the book, but adding 1/2” seam allowance all around (my butt is bigger than the book’s butt). It was all very easy. I was even given several down pillows to use for the feathers by an anonymous gift giver on Freecycle. The pillows are attached to a skirt which is also attached to a twill tape waistband.
Feathers are super messy, but work great for the False Rump.
To make the pattern for the gown, I used the diagram in the book to start, but added 1” at both the front edge as well as through the side (from the armhole to the waist).
This mock-up will become my lining. I made it using an upcycled linen bed sheet. Vintage linens - either bedding or table clothes, make great fabric for linings and underpinnings. I highly recommend checking your local senior center thrift shops and charity shops for these supremely useful textiles.
My petticoat was next on the list Actually first on the list but I did not read the details as closely as I should have. the petticoat construction is super interesting as the bottom edge is basically straight and all the shaping happens in the waist. The waist is then stitch in place with a twill tape or ribbon and then turned to the inside and finished.
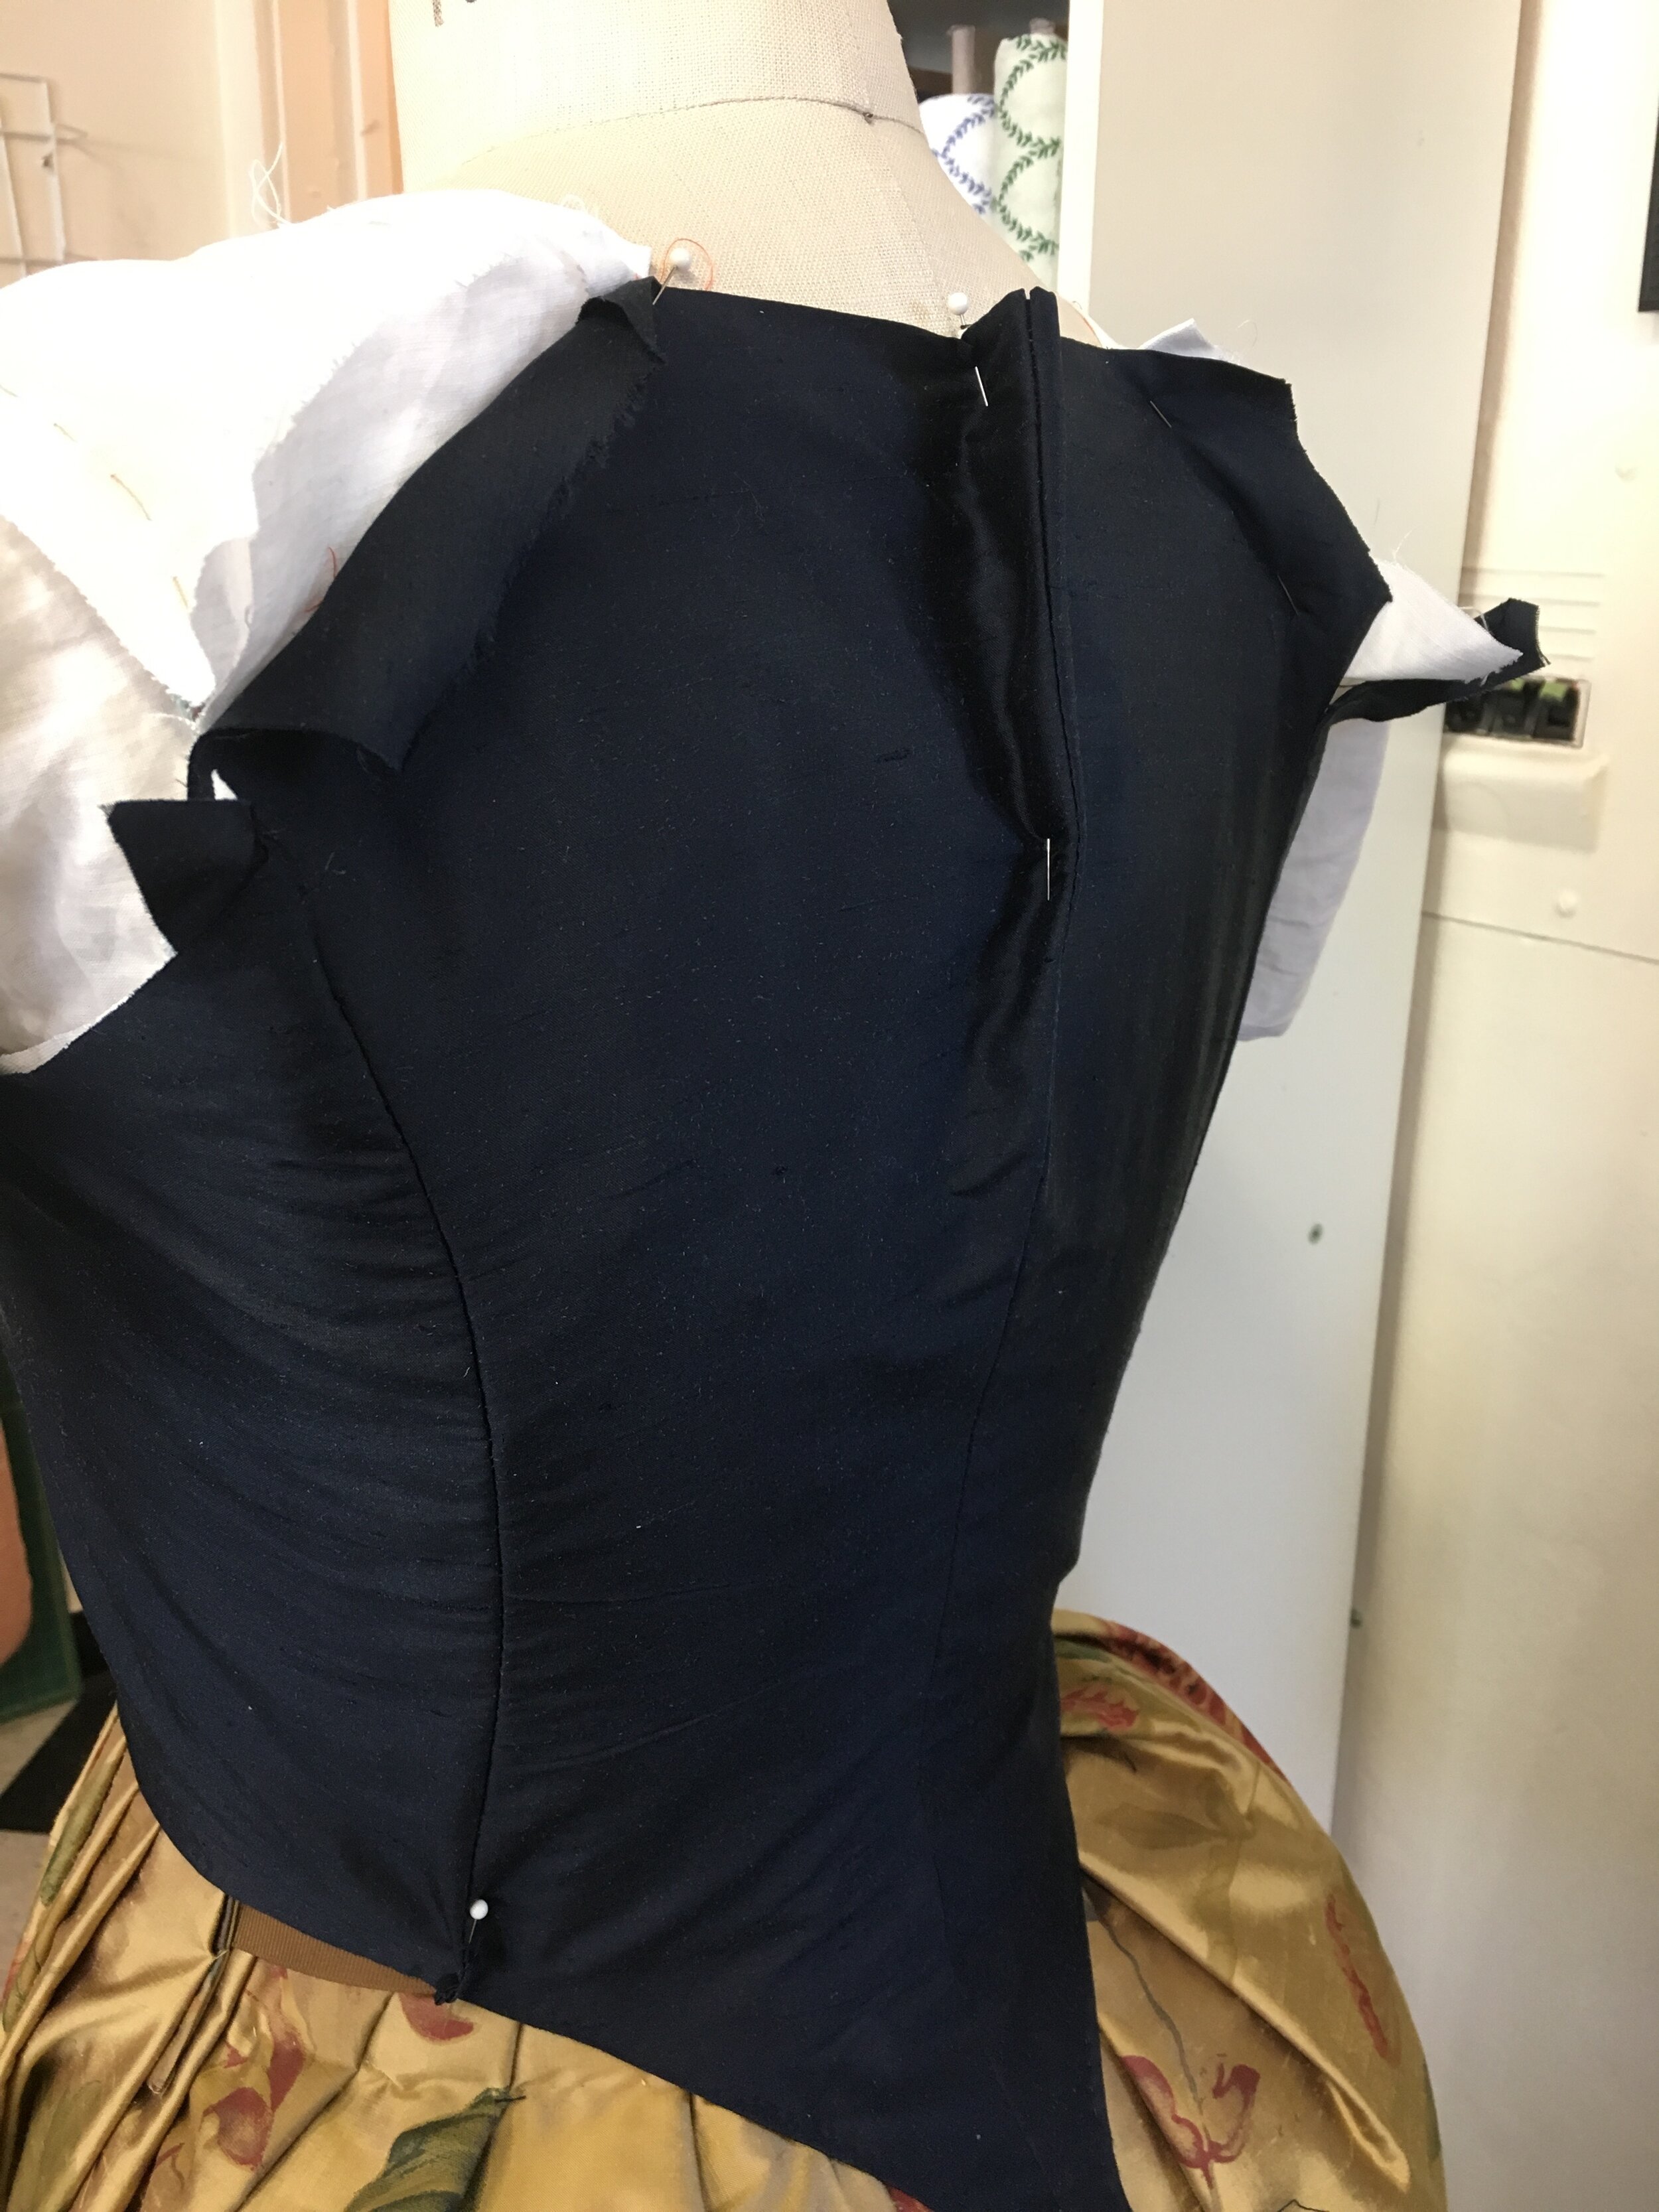
Next up was constructing the bodice. I needed to make an eyelet on each side of the center back for a piece of boning. This was hand done and then a channel was hand stitched through the lining after the seam allowances were pressed to the inside at the CB seam. A note here on styling - Apparently it is optional to add a seam through this piece of the garment running from the bottom edge to the back neckline. It’s purpose would be both for fitting and also for a nice silhouette, emphasizing the waist. I was feeling somewhat lazy and omitted this seam.
The center back seam was then joined using a stitch called the “English Stitch” . I followed the directions in the book. The stitch is very effective for joining the seam, while leaving it easy to take out for fitting purposes. I found this out, in practice, because I needed to undo my center back seam after fitting in the fashion fabric, on the dress form.
Seam allowances were pressed to the inside on both the silk and lining sides and then basted in place with a very fine stitch. Afterwards I joined my dress at the side seam, in the same fashion as my center back seam. Then I read the instructions more carefully and it is suggested that the side seams be finished in the fitting process, in a different method. Oh-well, there is always another dress to be made.
I pinned the straps onto the bodice and refit it on the dress form. the back definitely needed taken in at the back neck. Thus, the work of the center back seam (including eyelets) needed to be taken apart and redone.
I like my new eyelets better than the first go round, so win-win, right? And, my speed at the English Stitch has increased as well. I’m still unsure if there is supposed to be one piece of boning down the center back, or two (one on each side). That was not terribly clear in the book.
Now that the bodice was somewhat complete and fitted, it was time for the skirt. The book was also somewhat unclear as to how many panels of fabric to use for the skirt, so I decided that three panels would yield a voluminous confection that would be just right. The skirt starts from the sides of the garment, just about in the same position as the side openings on the petticoat. When I measured I needed to pleat about 120” into about 17”. So fun!
First, I sewed my panels together selvedge edge to selvedge edge. The skirt needs to split at the Center back, after it’s sewn onto the bodice, so I folded the center panel in half and stitched a 1” seam at the fold, from the bottom edge to about 8” below the top edge. Then I pinked the folded edge to both “open” the seam and also so that it was somewhat finished. This fabric (Silk Shantung) is so hairy when it frays.
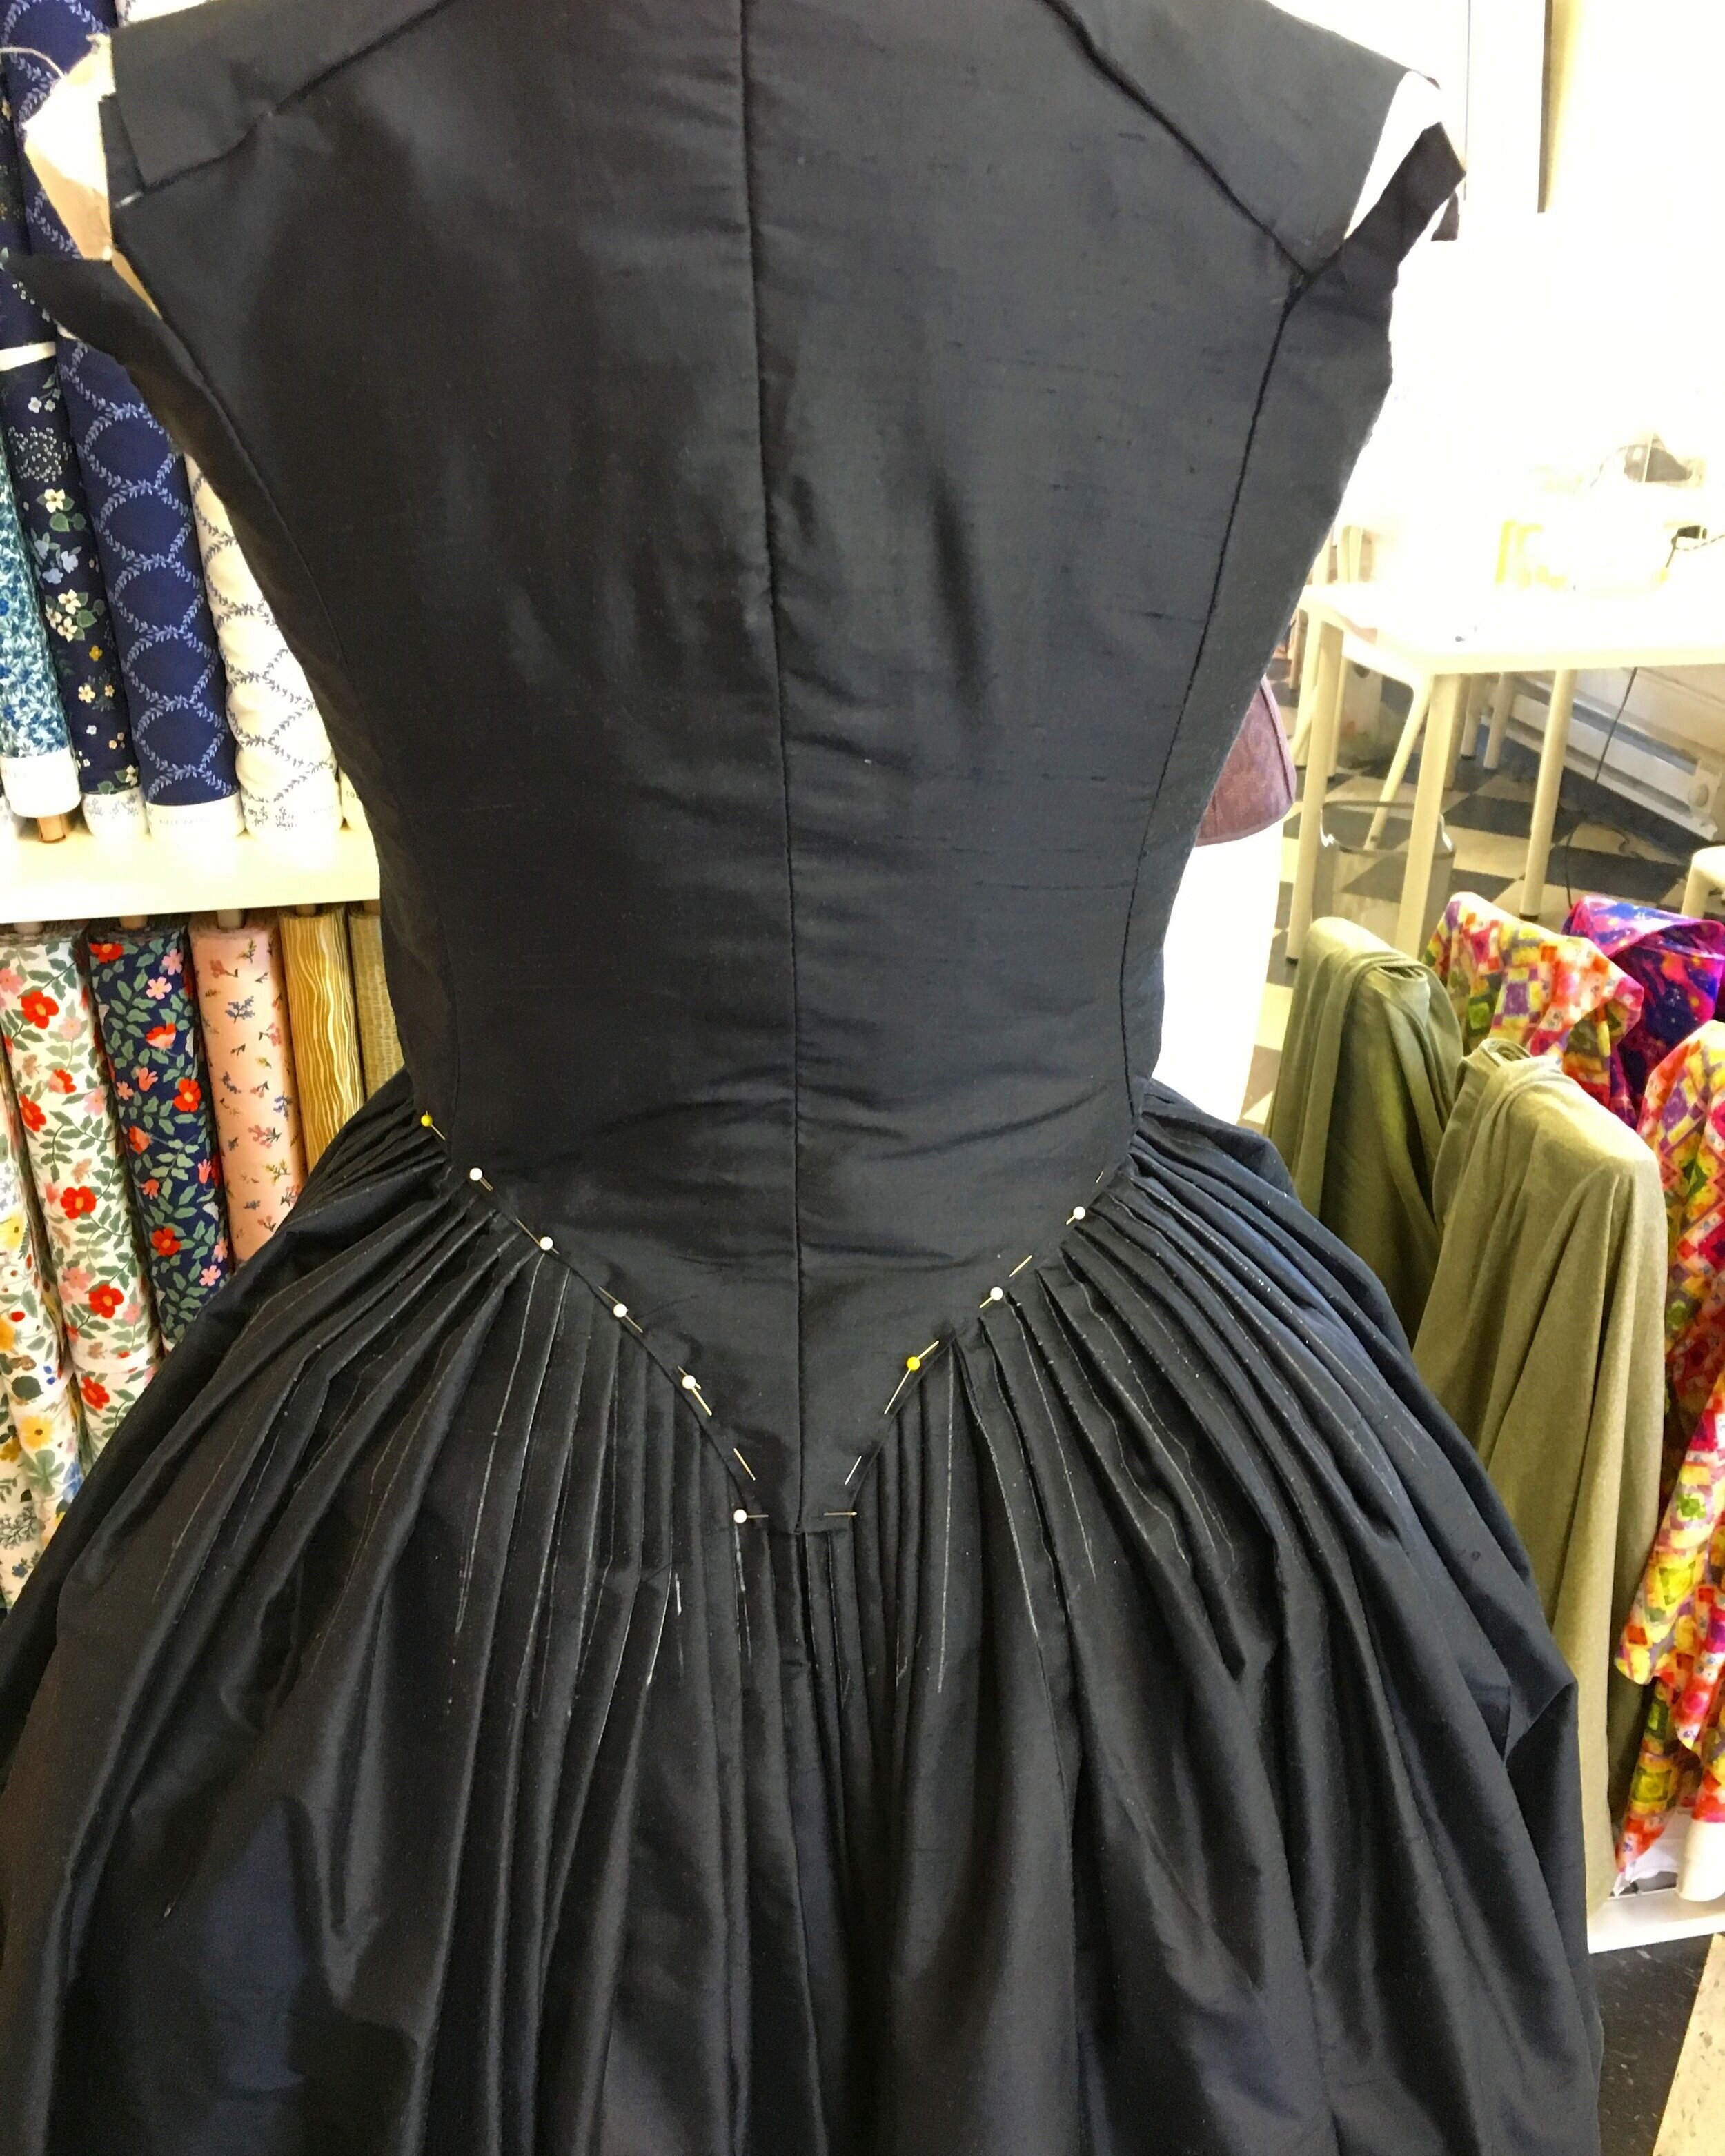
After seaming the pieces together (with a machine) and finishing the front edges (by hand), I started the pleating of the fabric. Doing the math, the pleats were roughly 3/8” -1/2” wide and 2 1/2” deep. You can see in the photo above that the pleats are created and pinned straight down from the top edge . There are no angles.
After the pleats are pinned in place, the bodice is placed on top of the pleated skirt, matching the center back bodice at the center back opening of the skirt and having the sides /waist edge of the bodice meet the front edges of skirt. The bodice is pinned in place and applique stitched to the skirt while the bodice is flat. It was actually much simpler than I had imagined.
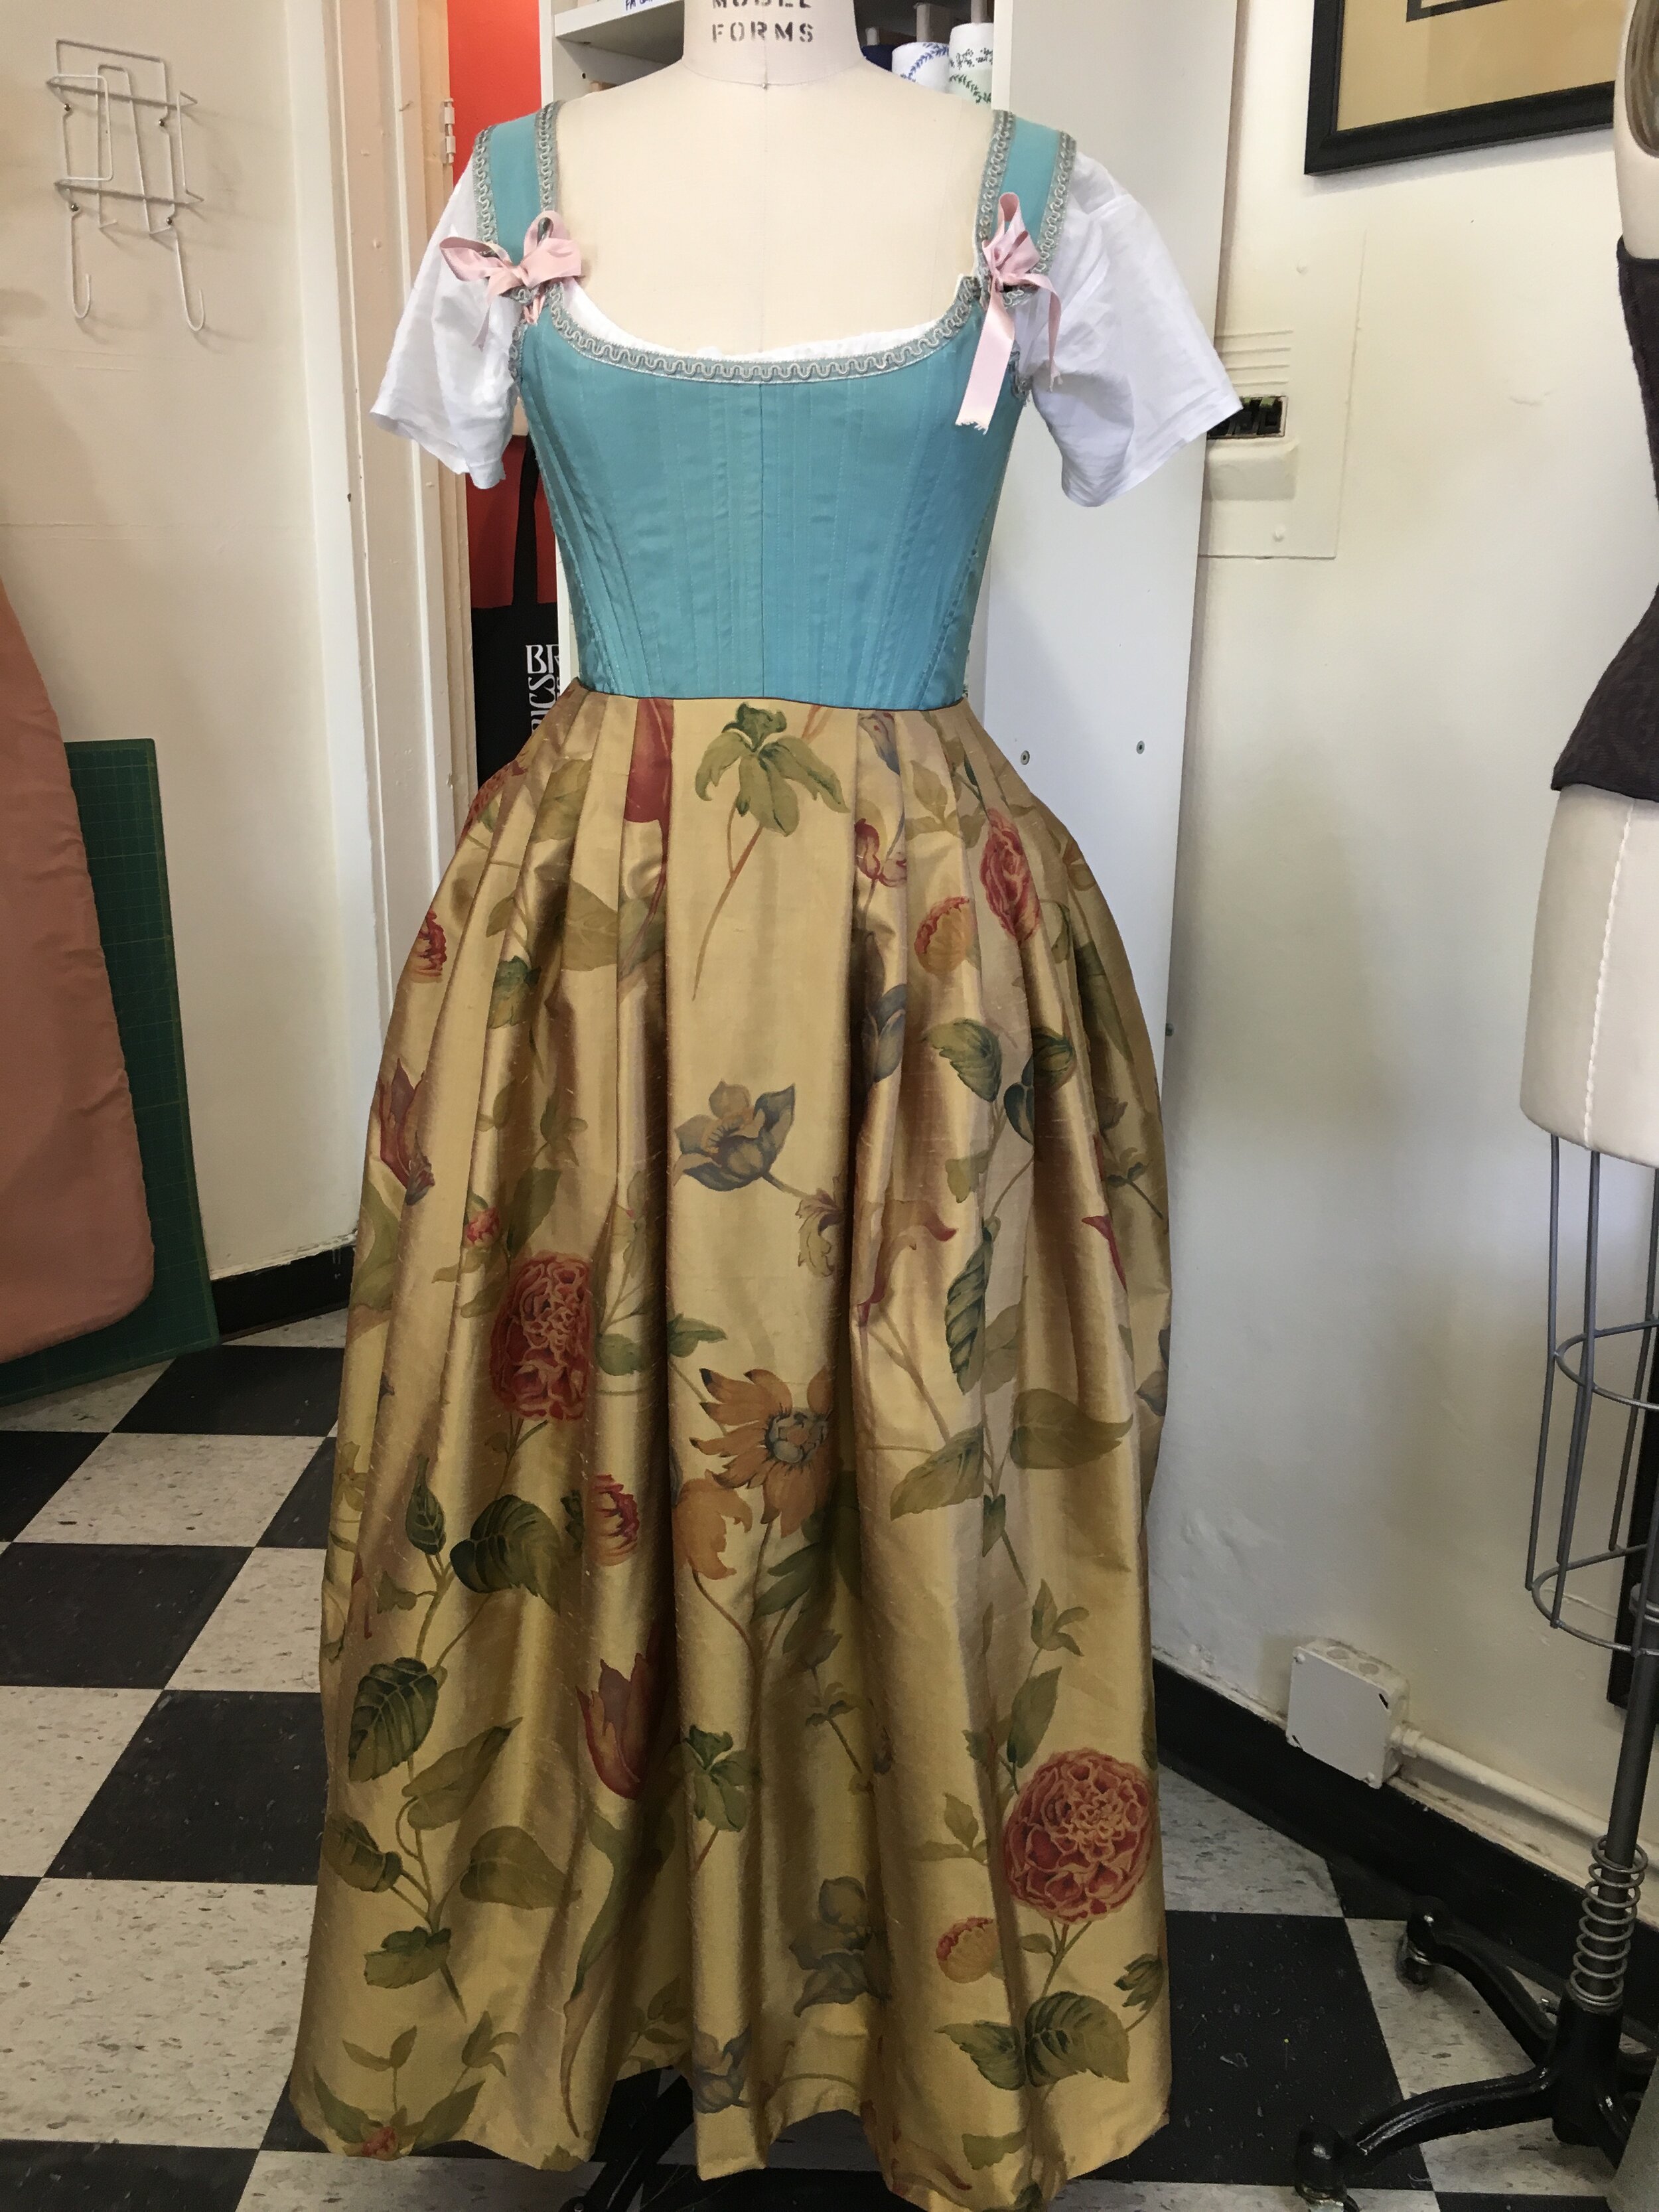
In these last two photos you can see the potential of the finished dress. Those pleats almost made me weep with joy. I think this might be my favorite costume or even piece of clothing that I’ve ever made. Over the weekend, I did a lot of finish work, but it still has a ways to go.
I’ve had both these fabrics in my stash for several years. They were both from the same donation of fabrics and I feel incredibly fortunate to have such pretty fabric to work with. I had originally hoped to use the floral fabric for the entire dress, but there was just not enough. And in reality, I think it’s much more realistic to have a decorative petticoat and a solid gown.
Until Next Time, Happy Sewing!
xo Jennifer
