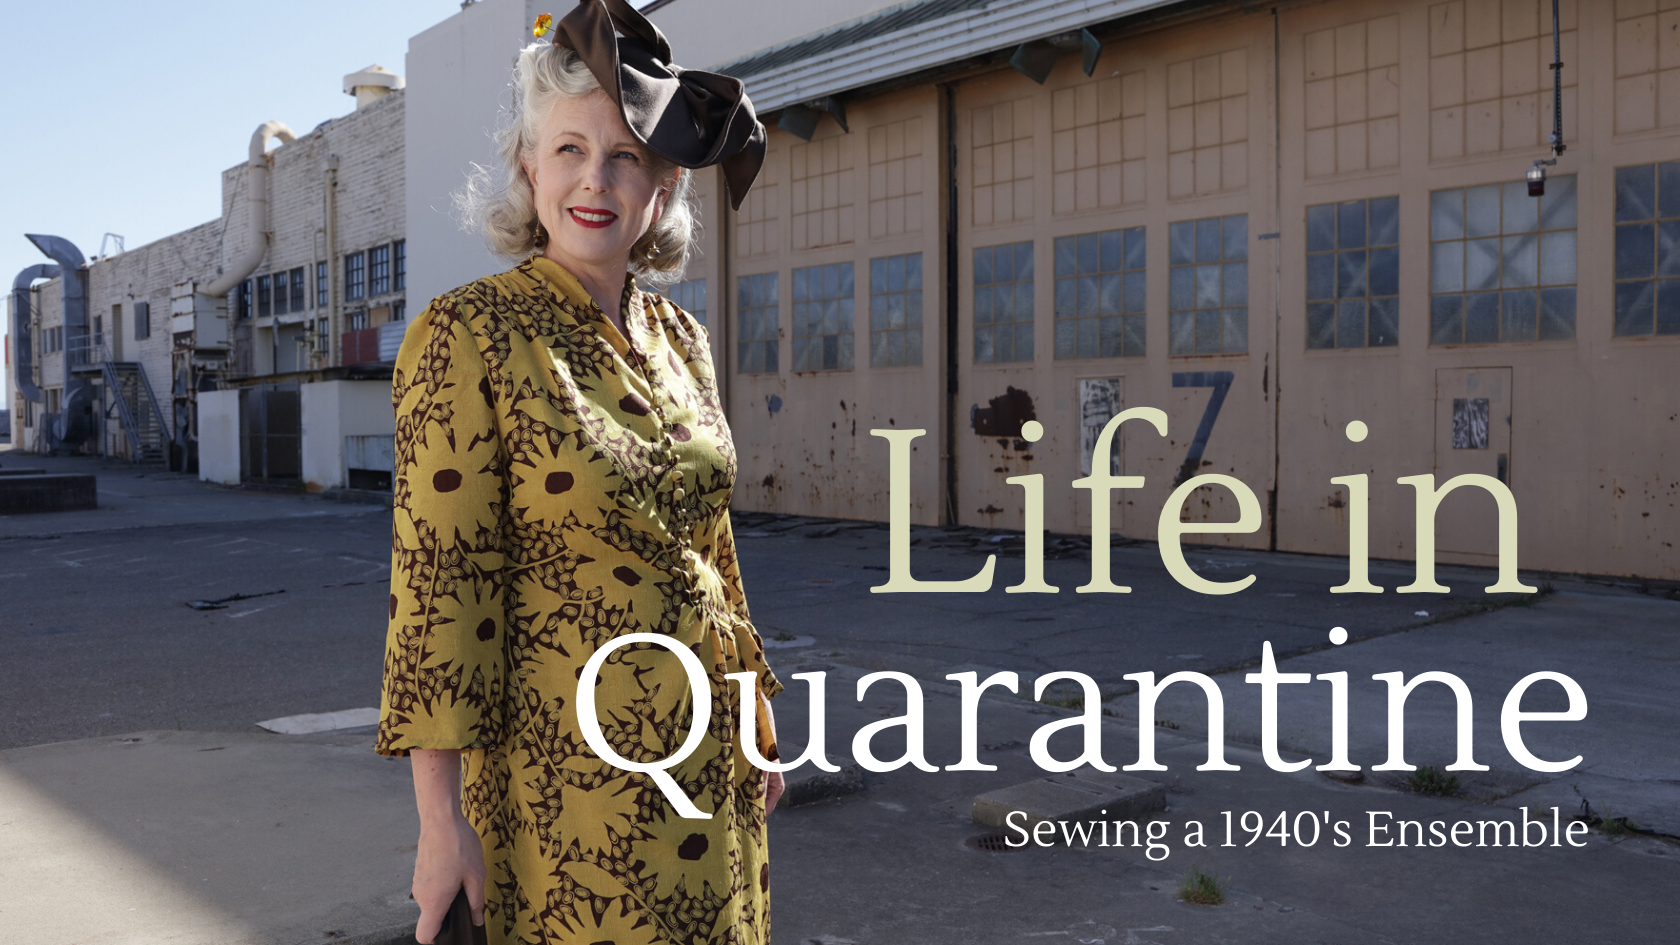
Well, here we are in week six of our Shelter in Pace assignment. I’ve been very busy over the last few weeks, even though my teaching business has been minimized dramatically and I’ve taken on a whole new way of working. In the midst of this corona-crisis, my way of staying sane, is to sew. It’s really amazing how just focusing on a project, lifts my mood and makes me feel better.
When all this started and I thought I might be home for a few days with time on my hands, so, I ran to my stash and decided to make a dress from this gorgeous Yellow and Brown Printed Rayon that had been donated to the shop a few weeks/months before. I don’t usually wear this color combo, but the fabric really struck me as a sunny, happy fabric and I thought it would be perfect for a 1940’s dress. I had just the right pattern. Thank you mom! and just the right amount of fabric, so off I went.
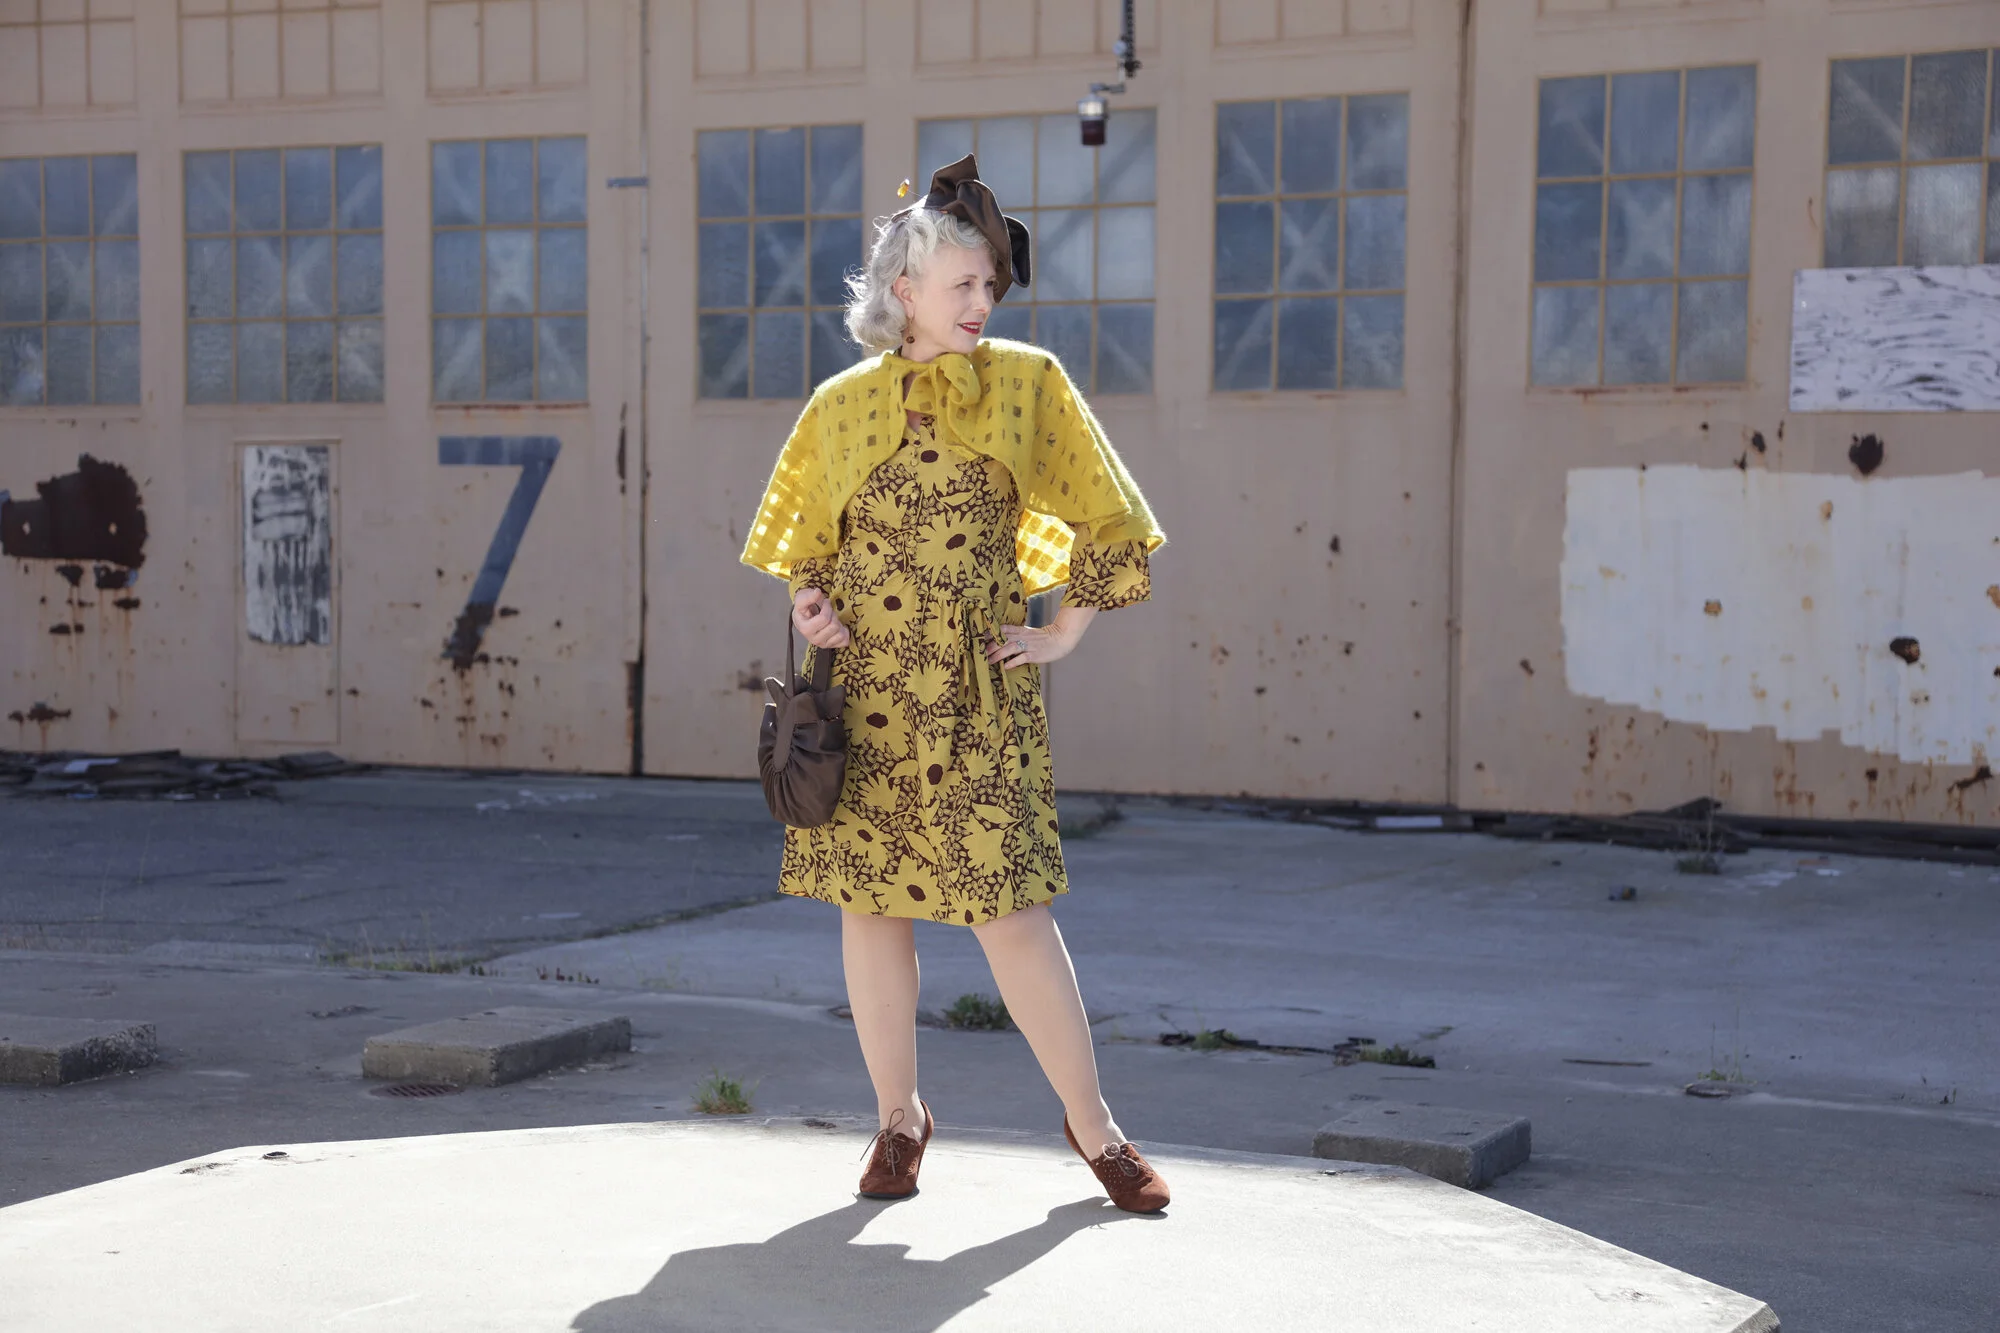
I couldn’t really make this dress without making some accessories to go with it. The fabric actually came with an odd, but beautiful, novelty wool and a similarly yellow colored rayon challis. After sewing the dress up, I realized that it needed a slip (thank you, rayon challis) and also that the wool fabric would make a nice cape. There was only a yard of that fabric so not much could be done with such a small piece.
Then I realized that I had neither a purse or a hat, so back into my stash I went. Some time ago, my dear friend Angie ,who is also an avid stitcher, gave me some Donghia fabric samples and I found two that were almost identical and had enough yardage to make both a hat and a bag. I searched for patterns and found both on Etsy. The hat struck me immediately, as a must have, but little did I know it would be so complex. It’s attached to my head with an enormously long hat pin ( I think it’s 12” long.) and bobby pins
I did a practice go with my hair for victory rolls earlier in the week and then set my hair for the real thing the night before we did the photographs. I couldn’t quite tame the frizz. Oh Well, I think my hair turned out ok. Ladies in the 40’s must have struggled with this too. At least that’s what I’m telling myself. Overall, I’m pleased , however that I got myself all gussied up with hair done and lipstick.
It’s hard to see with this crazy print, but there are some really fun details to this dress. There is a self fabric bow. It could have been made with a ribbon, if I had any that coordinated. But I didn’t, have any, so it’s made in the self fabric. Also, there is an asymmetrical curved seam that runs over the hip, with gentle gathers. This really gives the skirt a nice shape. And, I put covered buttons down the front. I chose the simple neckline with no collar and 3/4 sleeves. There was a collared option as well as a long sleeve version.
The pattern runs true to size. I made up the size with the 38” bust. I shortened the torso through the bodice 1”, but otherwise, made no changes to the pattern. In the end, I did take in the neck by adding 3 small tucks along the back neckline. I did this to help reduce the shoulder width a smidge. After sewing in the shoulder pads, my shoulder width needed a slight reduction and this method allowed for the fewest adjustments.
Let’s talk about my set for a moment. I’m lucky to live in Alameda, CA, which was once home to a Navy Base on the San Francisco Bay. It’s been out of commission now for a couple of decades and is currently undergoing all sorts of renovations and occupation of it’s buildings. There are still many derelict sections of the base that are naturally patina’d and wonderfully vacant. That was great for social distancing and I thought perfect for this post. Thanks so much for reading. There are more process details below and information below.
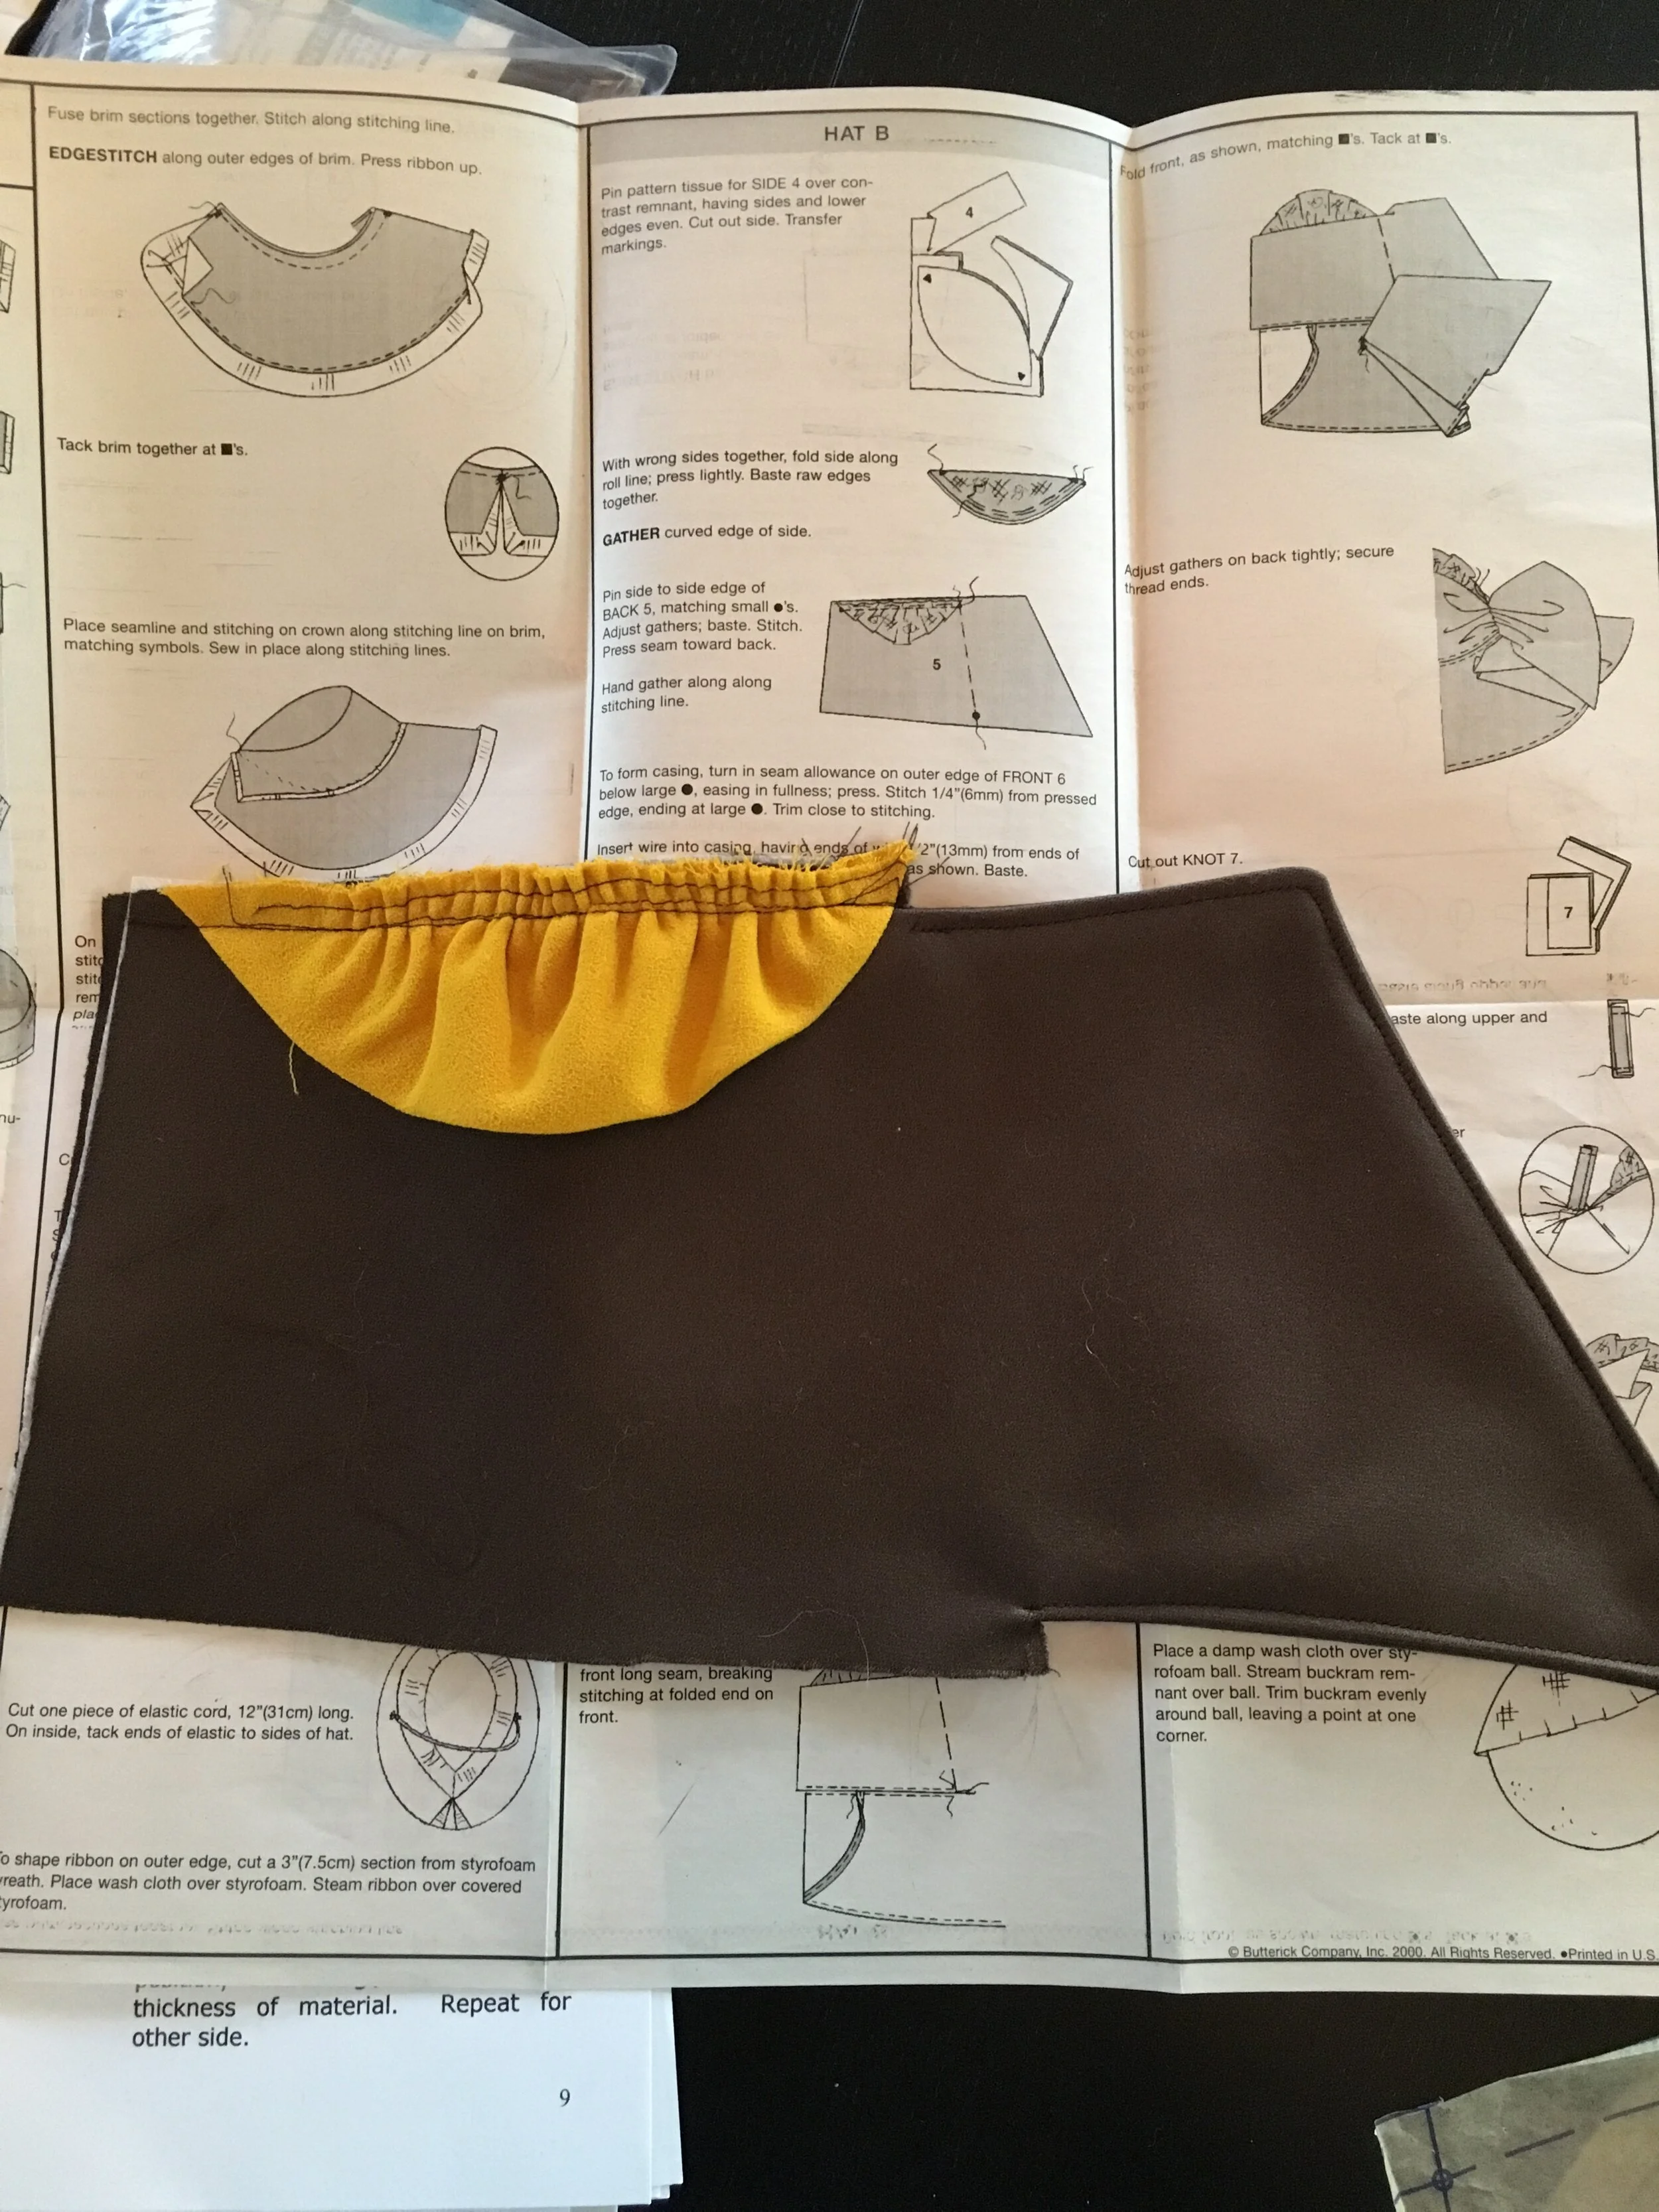
I am super lucky to have had almost everything I needed for this ensemble, on hand, already. The only things I purchased were 100 covered button shells and the hat pattern you see above. I am not so happy with my button purchase as I had to stitch and GLUE each button to make them work. Ugh. So Sadly I will not share that resource. Otherwise, I’m totally happy with the hat pattern which ended up being like an incredibly difficult puzzle, but so satisfying, once it was done.
The hat called for felt, which I did not have, so instead, I used 2 layers of the brown sateen with a 1/4” seam allowance around the edges that would be exposed. Once my pieces were prepared, I followed the directions of the pattern. I’m not even sure how to describe it beyond that, but I read the pattern, and then played with the hat until it looked like the instructions. Then read again to make sure. I made a casing for the wire between the two layers of fabric, instead of folding the edge over and stitching down. The Wire part was actually not that hard. It’s really shaping the bow that is a bit of a mind bender, but hopefully you can see sort of how it came together by looking at the photos above.
The hat also required a shaped buckram frame. They suggest you mold a damp bit of buckram over a styrofoam ball. I used my head that I use to display hats. Surely that is more “head” shaped than a styrofoam ball. In retrospect, I should have covered it first with plastic wrap, as the paint on the head came off a bit after the buckram was removed. But it worked to shape the buckram into a smooth curved cap on which to sew the hat. I finished it with a lining and grosgrain ribbon. It attaches to the head with a hat pin and bobby pins.
The purse pattern was great and easy to follow. I ended up sewing the inside lining and frame part to the exterior, by hand. Machine sewing was just not going to look good after pressing back all of the seams and joining together with pins.
It was a lot of fun making these lemon colored shoulder pads. I just want to take a bite out of them. I used scrap silk from previous projects for the covers and layers of cotton batting in graduated sizes (explained in the pattern instructions). to create them.
The Cape was made from a basic circle with a hole cut in the middle and a piece of bias to finish the neck and create a bow. I rounded the edges at the front opening and hemmed the edge by hand. In fact, the whole cape is sewn by hand.
This was a fun and therapeutic project to work on. The dress, hat, bag and slip (not shown) were a joy to work on, and it was a fantastic diversion from my daily work.
Here are the details:
Dress Pattern - Butterick B6374 - Available on Etsy
Hat Pattern - Vogue 7464 purchased from Etsy seller KinseySue and also available via this search.
Purse Pattern - Vintage Pattern Lending Library - 1940s Ladies Hats and Purses - INSTANT DOWNLOAD - Reproduction 1947 Sewing Pattern #H1318 - PDF
Fabric - A gift to the shop from a mysterious customer probably from Britex Fabrics in SF
Shoes - American Duchess - "Alice" Retro Cutout Oxfords (Nutmeg)
Until Next time,
Happy Sewing!
xo Jennifer


