In December I found out about a KQED movie premier of the BBC production of Sanditon, the previously unfinished book by Jane Austen. The event was posted on the Greater Bay Area Costumer’s Guild Facebook Discussion group and when I heard about it, I was thrilled. This meant I could wear the gorgeous Rust colored and pink trimmed dress that I bought from Jean Martin at the GBACG Bazaar. Apparently, this dress was used on the set of a BBC production at one point and even has a BBC label inside. I had finished mending it and adjusting the fit in November and needed the right occasion to wear it. The movie premier at the Castro Theater in San Francisco was the perfect venue to do just that. And as it turns out, a good portion of the movie has the characters walking outside, which is appropriate as this dress is a more of a walking dress. So I would fit right in.
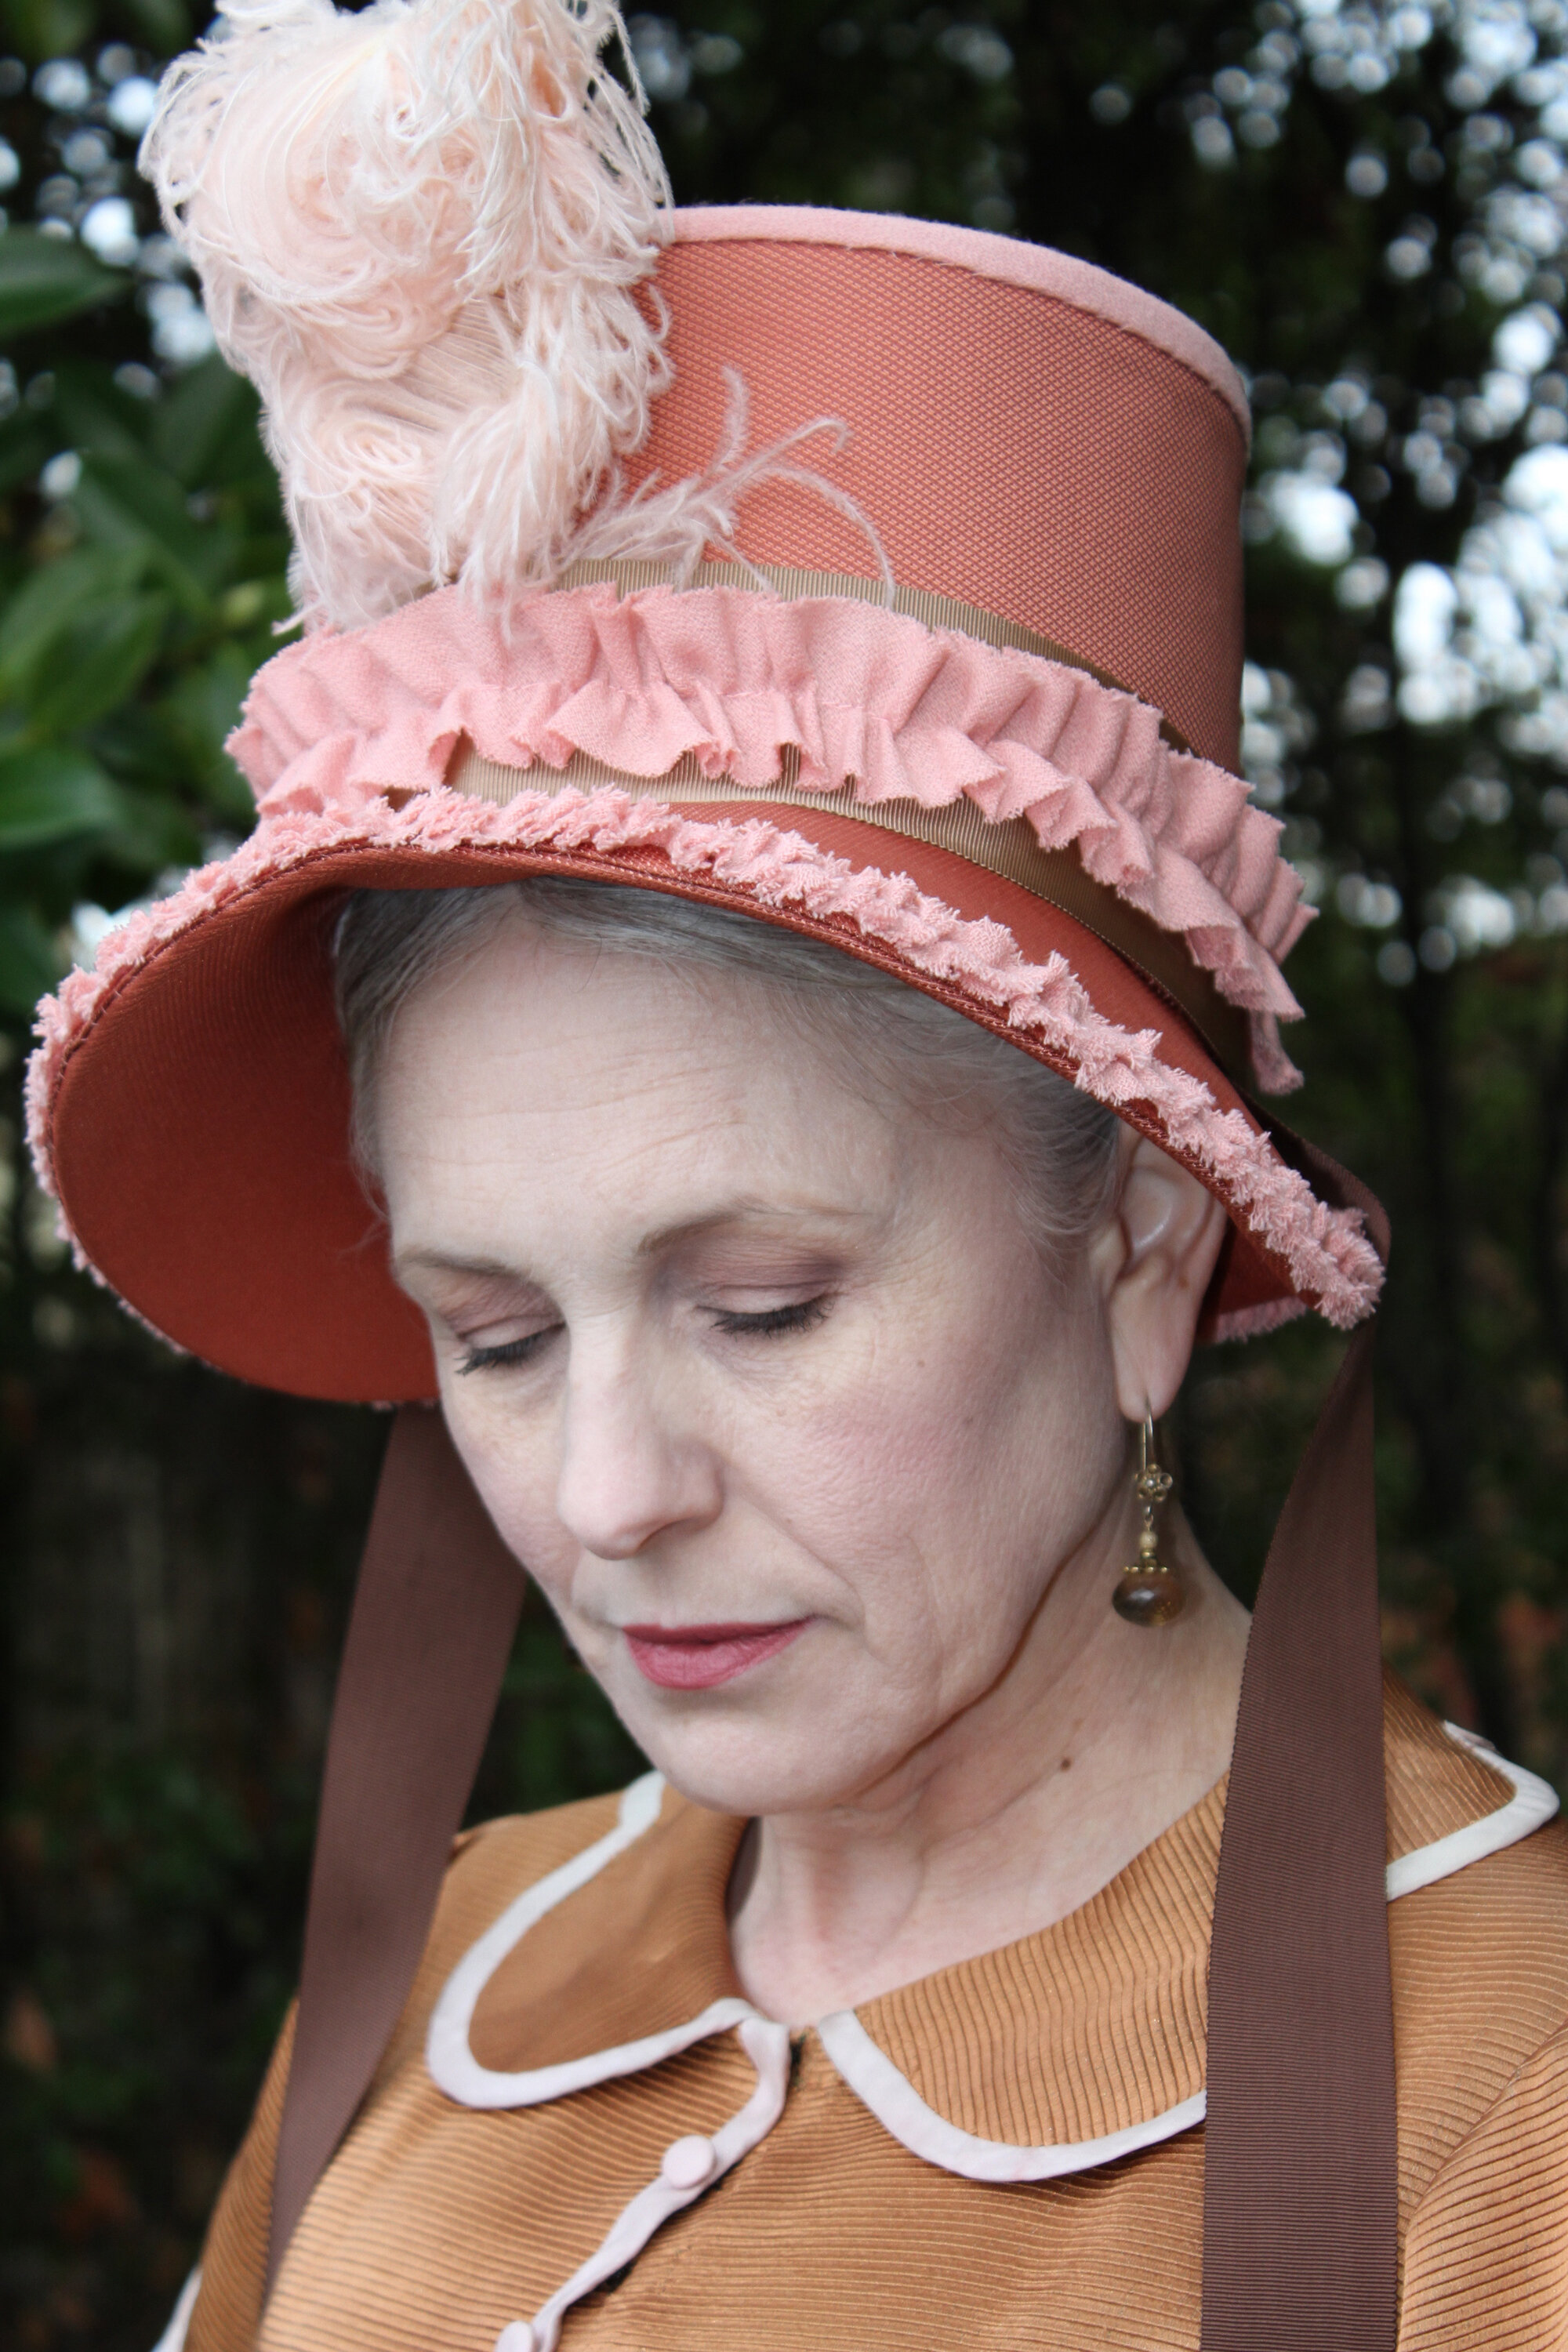
Above you can see the full length glory of the dress I wore and also of the Regency Poke Bonet I created to go with it. I’m also pictured at the Castro Theater, with my mom, who I also dressed for this event. She is always a willing victim, ahem, partner in my costuming adventures, so I was pleased to sew up a gown and create a bonnet for her as well. More on that in another post. She took all the pictures of me in this outfit by the way. Thanks Mom!
I’ve been making hats now, for 30 years. I started when I was at FIDM in the late 80’s and even had a small (Cut and sew) hat company when I graduated from school. That experience was helpful in understanding the 3D nature of my head and also in making a pattern. I don’t have any photos of making the pattern and how that came together, so I’ll try to explain it in words.
Crown - This is made from a Circle and a Rectangle (with slight adjustments in shape) - the Circle is the top of the hat and should measure the circumference of the head plus 1” or so for ease. My head measures 22 1/4” in circumference, so I made the circle 23 1/4” in circumference.
For the side crown I drew a rectangle 23 1/4” x 4 1/2”. I wanted it longer in the back so I added 1” to the back of the rectangle and blended the line in a smooth curve from front to back at the bottom edge of the crown.
Brim - The brim was created by making a circle 23 1/4” in circumference and then drawing a brim shape on the outside of that circle. I looked at some photographs to get a good idea of the shape. I then cut it out of paper and tried it on my head, pinching out fullness along the outside edge to get the correct angle shape ( so it wasn’t just a flat circle). I then translated that by cutting through the center back slashing/overlapping out that fullness along the outside edge. note - this is only done to half the brim. The brim is then folded at the center of the paper and cut through both layers to create a full brim pattern.
I did not add any seam allowance to the pattern, because I trace these shapes directly onto the material I use to build the hat.
Above you can see some of my hat inspiration photos. I looked at these for shape as well as embellishment.
To make the hat I first cut all my pieces out of Peltex. Peltex is a super heavy weight interfacing, often used in making bags. It comes in both fusible and non fusible versions. What I had on hand was the fusible variety. I learned to use this from watching videos by Angela Clayton. It’s much easier on your hands than buckram, and can be sewn on the sewing machine.
Butting up the edges, I sewed the brim to the crown along the brim seam, with a zig zag stitch. I then attached the millinery wire to the crown/brim seam with a zig zag stitch and repeated this for the outside of the brim and the top edge of the crown rectangle. In each case, I did not complete the stitching near the Center back as I would have to stitch the Center Back Seam together first. I then stitched the center back seam together by butting up the pieces, using a zig zag stitch. The wire was then overlapped at the crown seams and stitched in place with the machine (Zig Zag). I repeating this step at the outside brim edge as well. The top of the crown was stitched in place by hand.
The next step is to cover the hat with cotton batting (AKA Mulling). I started at the top of the crown, stitching it lightly to the interfacing and then worked my way down. I covered the crown, the brim and the underside of the brim, working to make it as smooth as possible and stitched it in placed as invisibly as I could. In some places, I used two layers of batting to get the smoothest shape.
Next, it was time to cover the hat in the actual fabric. Last Spring, I read a blog post on making an 1830’s hat over at American Duchess, which really showed how to do this. It was my guide when I made my 1830’s hat for last year’s GBACG Romantics Picnic at Ardenwood Farm. I highly recommend reading the American Duchess blog post to see more photos of how it’s done.
To cover the outside of the hat with the actual fabric, I cut my pieces all about 1” bigger than the pattern pieces all the way around. I smoothed and stitched the the top of the crown and then then secured it with a ribbon, which was also stitched down. I then covered the rest of the crown by starting with right sides together and stitching it around the top edge of the crown and then folding it back down and securing the center back seam, all the while concealing the seam allowances and trying to make sure the hat is very smooth. And it was really smooth until I sewed the the trim on the top edge. ugh. oh well.
The Brim is done next, finishing with the underside of the brim. All needs to be smoothed and stitched as invisibly as possible at the edges and also the inside of the crown.
I added a linen lining (with my label already sewn on, and hand finished it at the crown seam. The hat was then trimmed in grosgrain ribbon and wool bias strips. I gathered the bias at for trim at the brim and also over the grosgrain on the crown and then used a flat bias binding on top edge of the crown. It was then finished with a pale pink vintage ostrich feather at the center front.
All in all, I’m very happy with my bonnet. It’s not exactly perfect but it fit and was actually really comfortable. It also complimented the dress very well. I was able to create the hat from materials I already had, which was a great bonus in the end, because, well, costume can get really expensive.
Here is a breakdown of the materials you will need to create a hat like this:
Peltex interfacing
Millinery Wire
Cotton Batting
1 yard fashion fabric
1/2 yard contrasting fabric (for bias ruffles and/or binding)
1/4 yard lining fabric
Ribbon - Several yards - there are the ties each about 30” long and then the ribbon on the crown
Misc. Trimmings and feathers or flowers
Until Next time, Happy Sewing!
xo Jennifer


