It’s almost time for the GBACG At home with Josephine at Malmaison event at the Bellvue Club. I actually purchased a costume to wear to this Regency event, a few weeks back at the GBACG Bazaar. Turns out the costume I purchased was worn in a BBC costume drama of some sort. More on that later.
But for my event, I needed a petticoat to wear under the dress, that would smooth out the bust area, because my stays made it look a bit lumpy. I think that’s also, ahem, in part because the costume is a tad bit small in that area. I’ve since moved a bunch of hooks and eyes and made it a bit bigger, but have yet to try them on together. I’m still somewhat undecided if I’ll wear it to the event or instead make a gown that is more of an evening gown. depends on time really and if there is enough of it before the event.
I also wanted a more simple shift, compared to the shift I made before, to go under my regency stays. That shift was really meant to be Civil War era. Regency and Georgian shifts were of a more simple design with less puffy sleeves, if any at all.
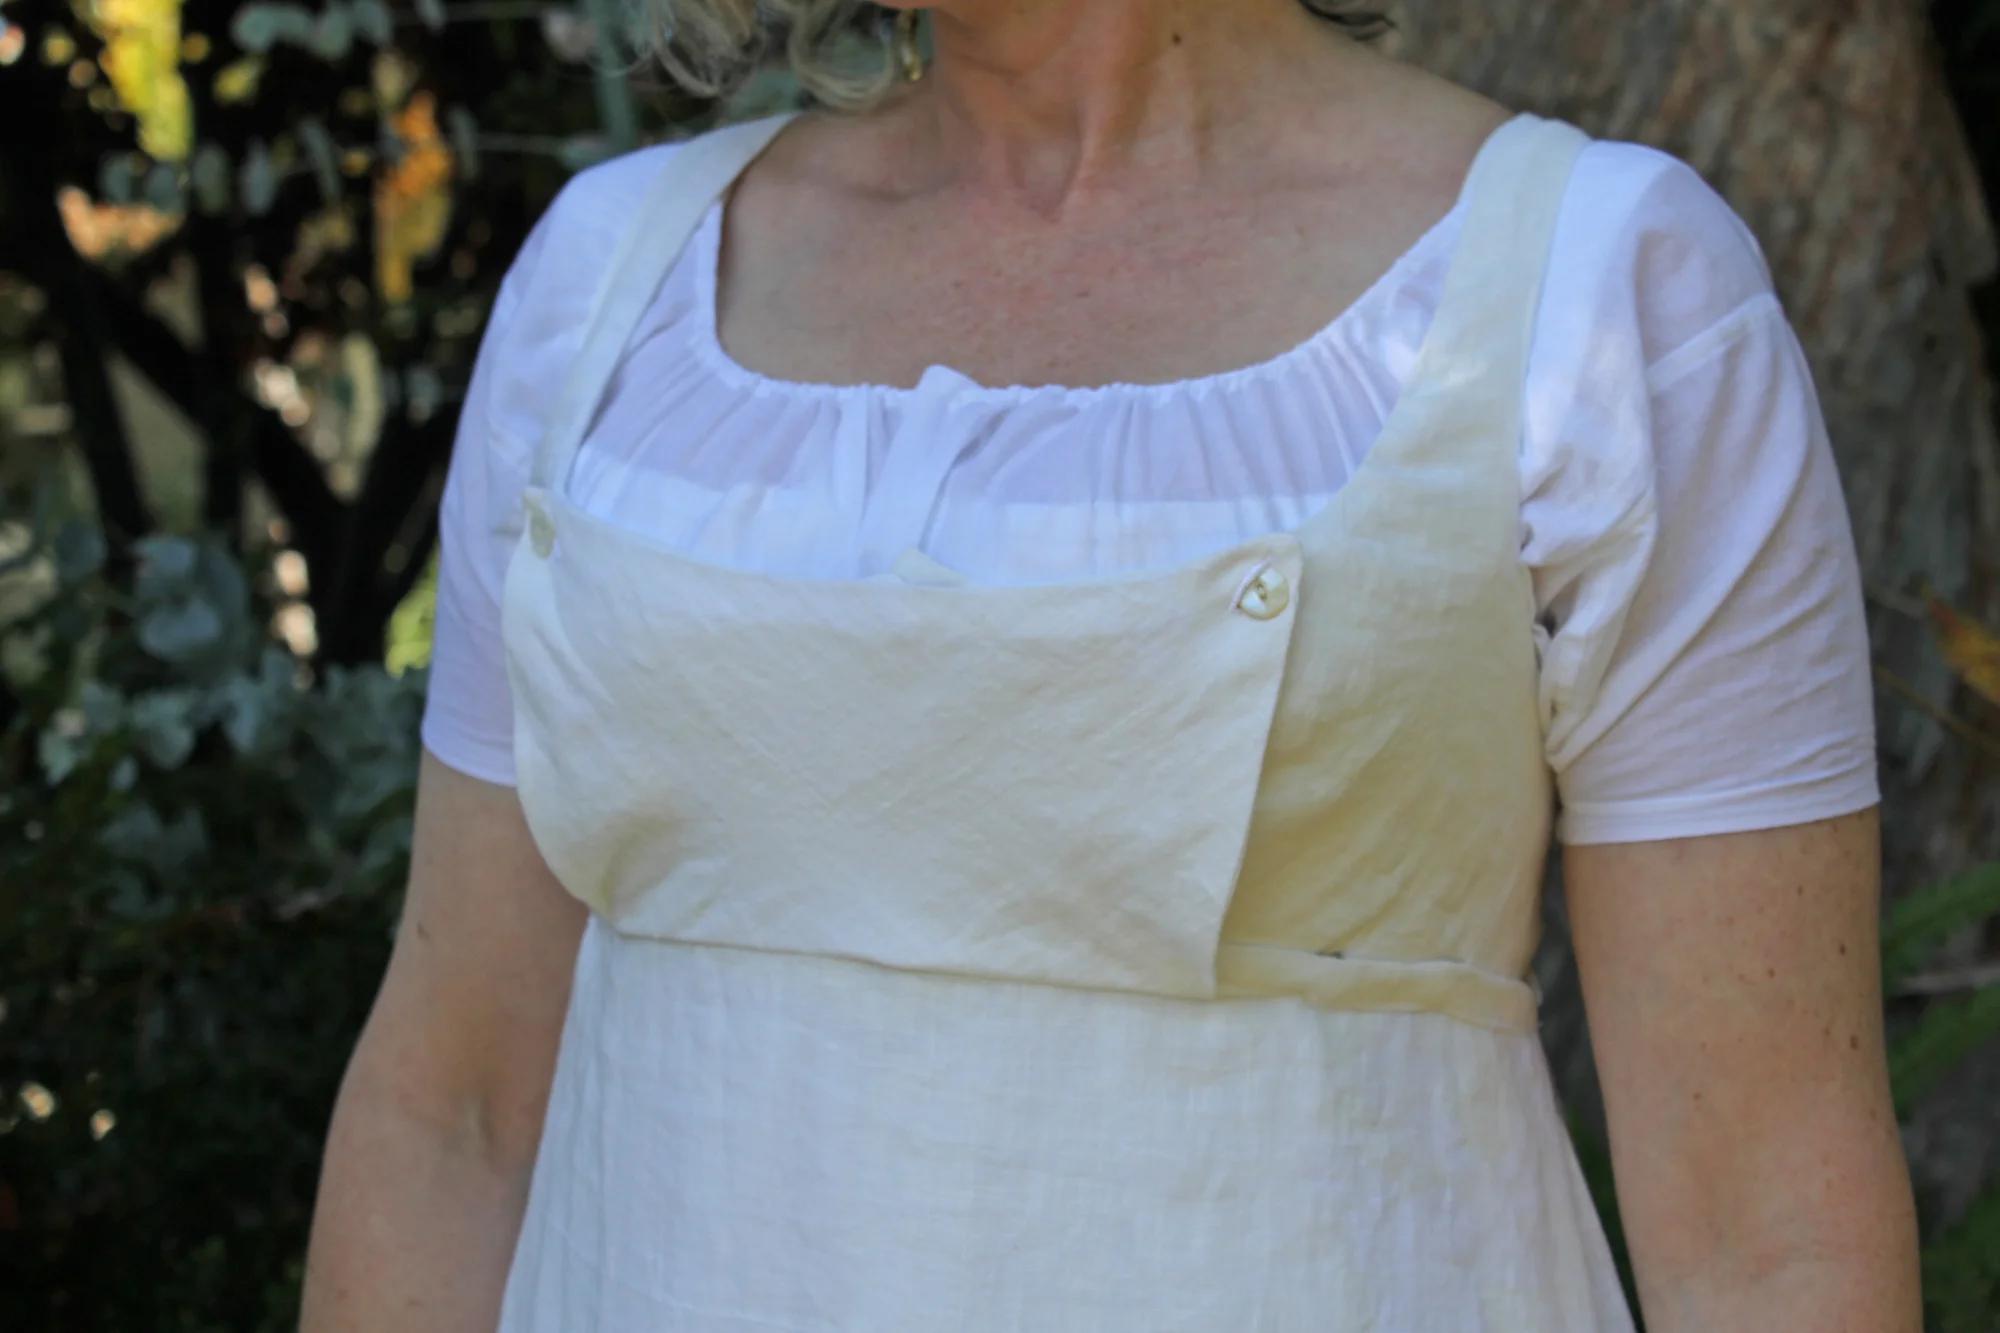
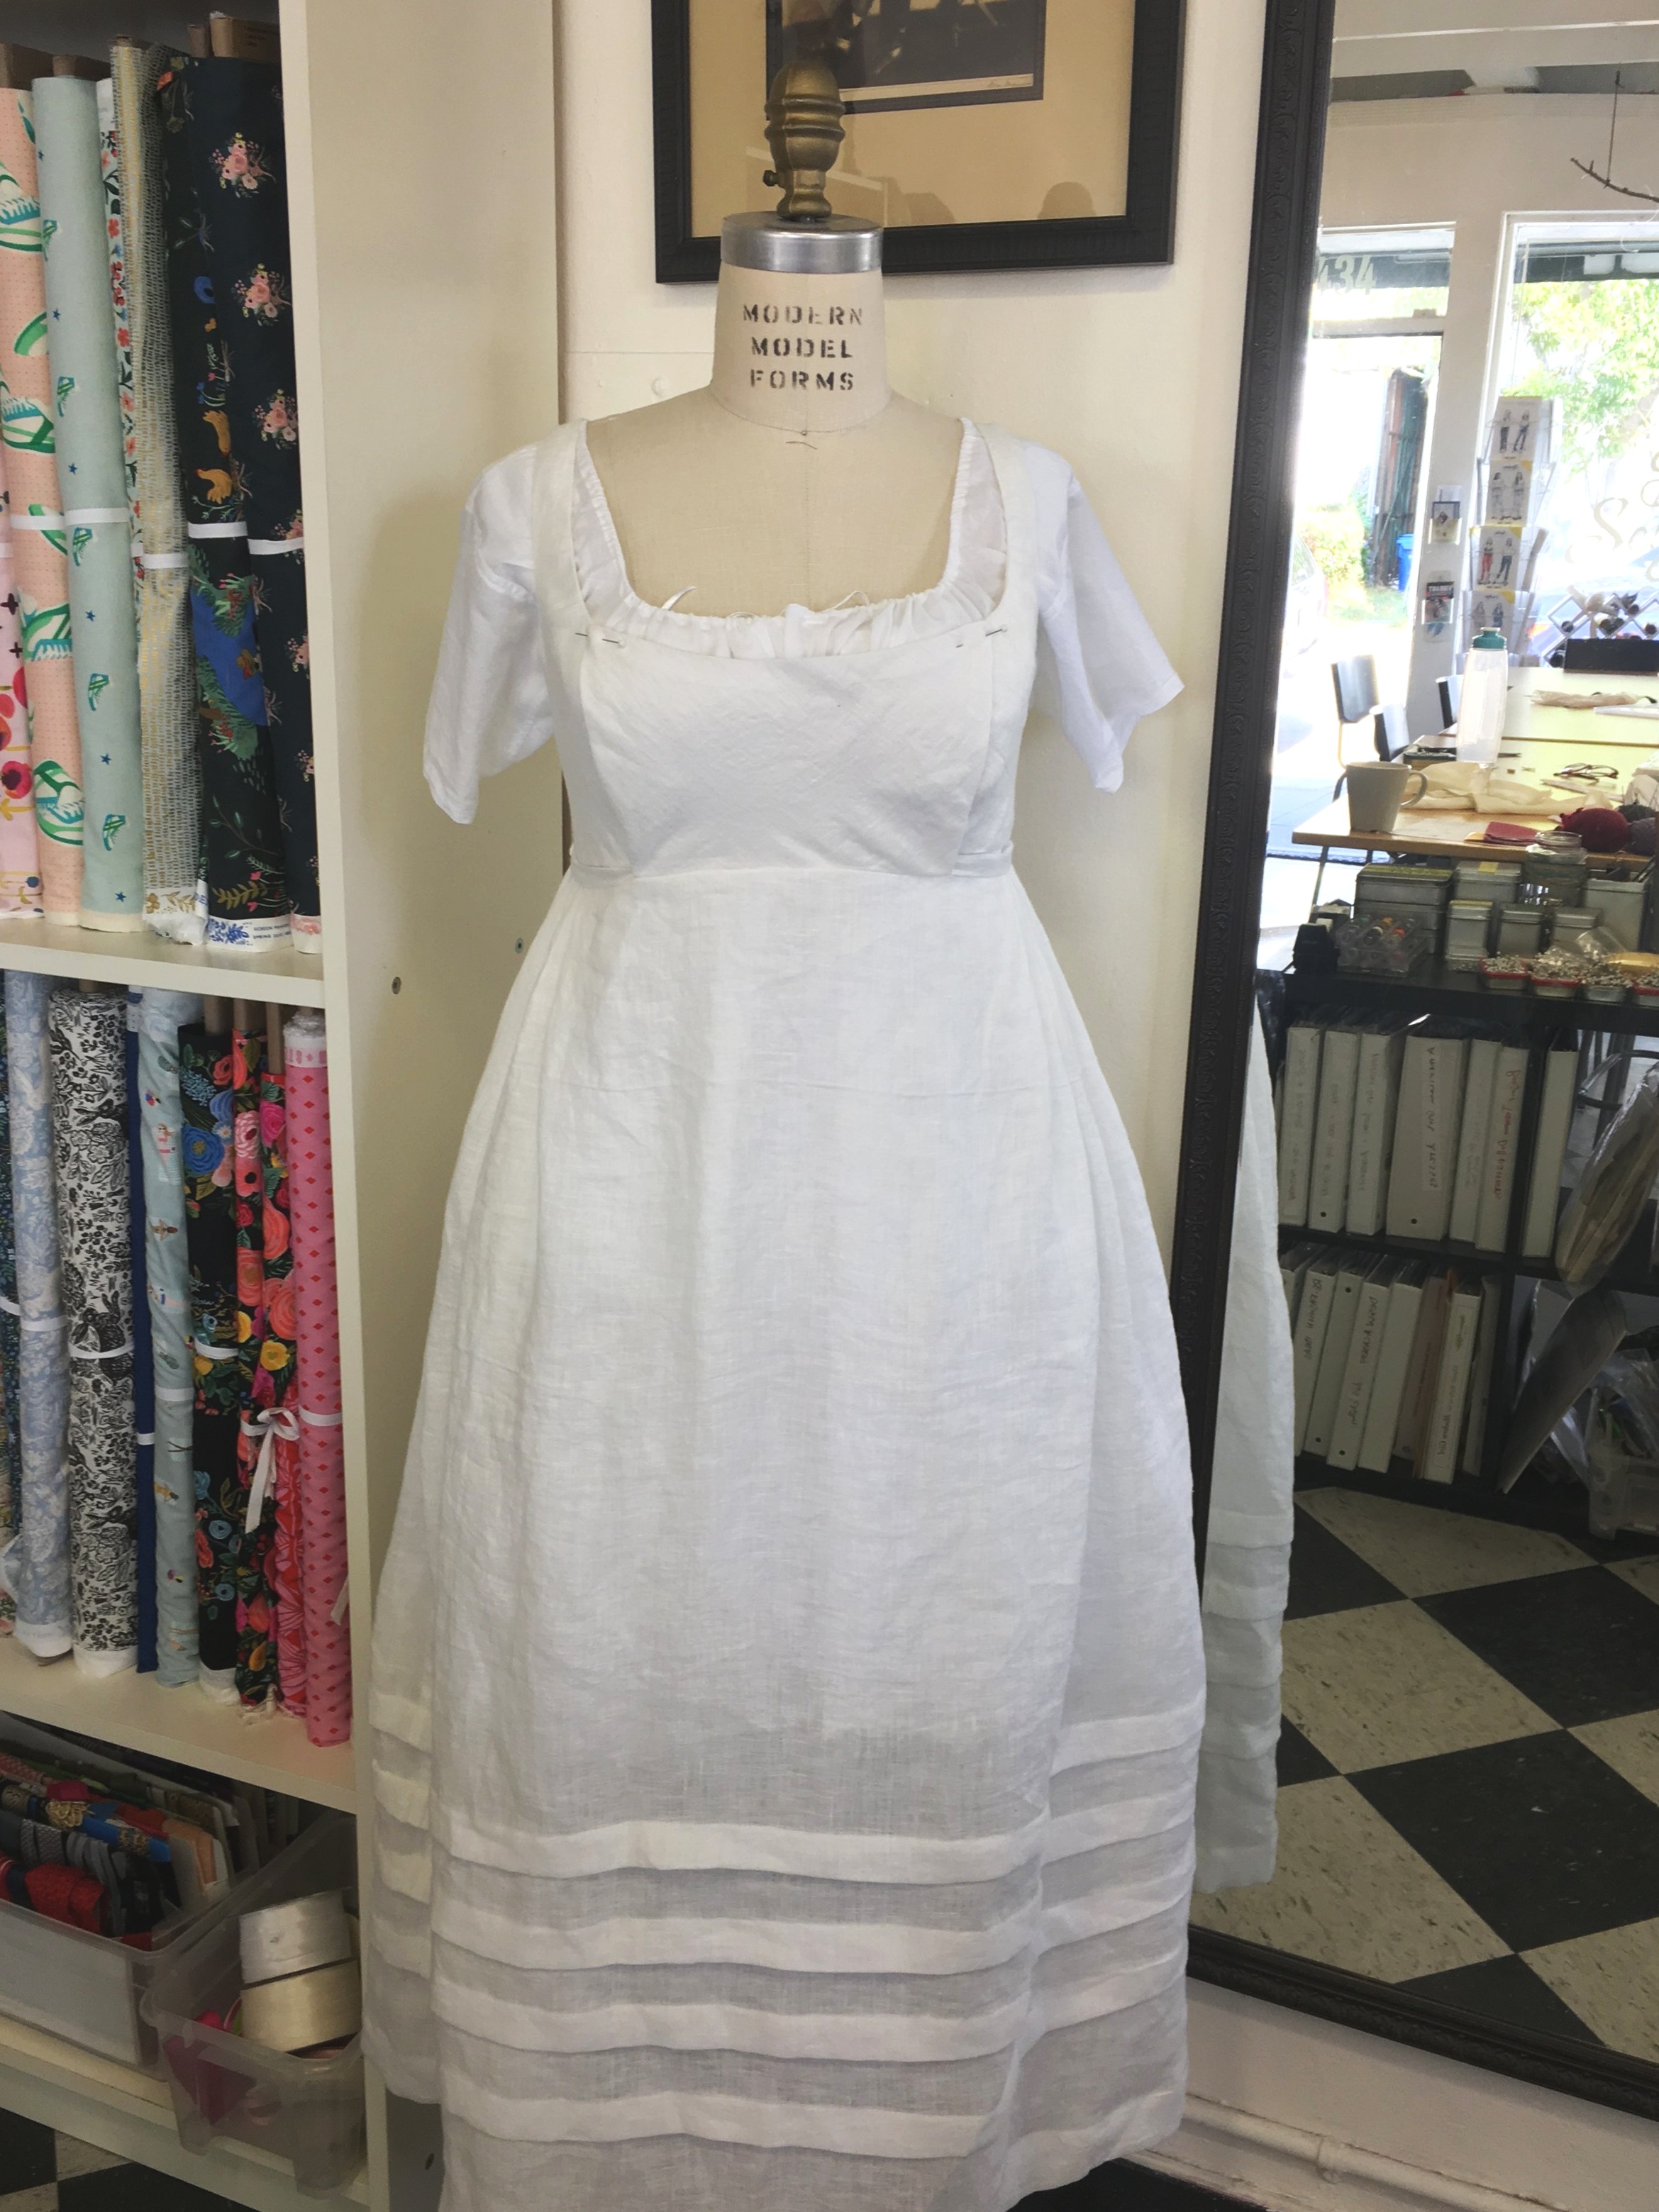
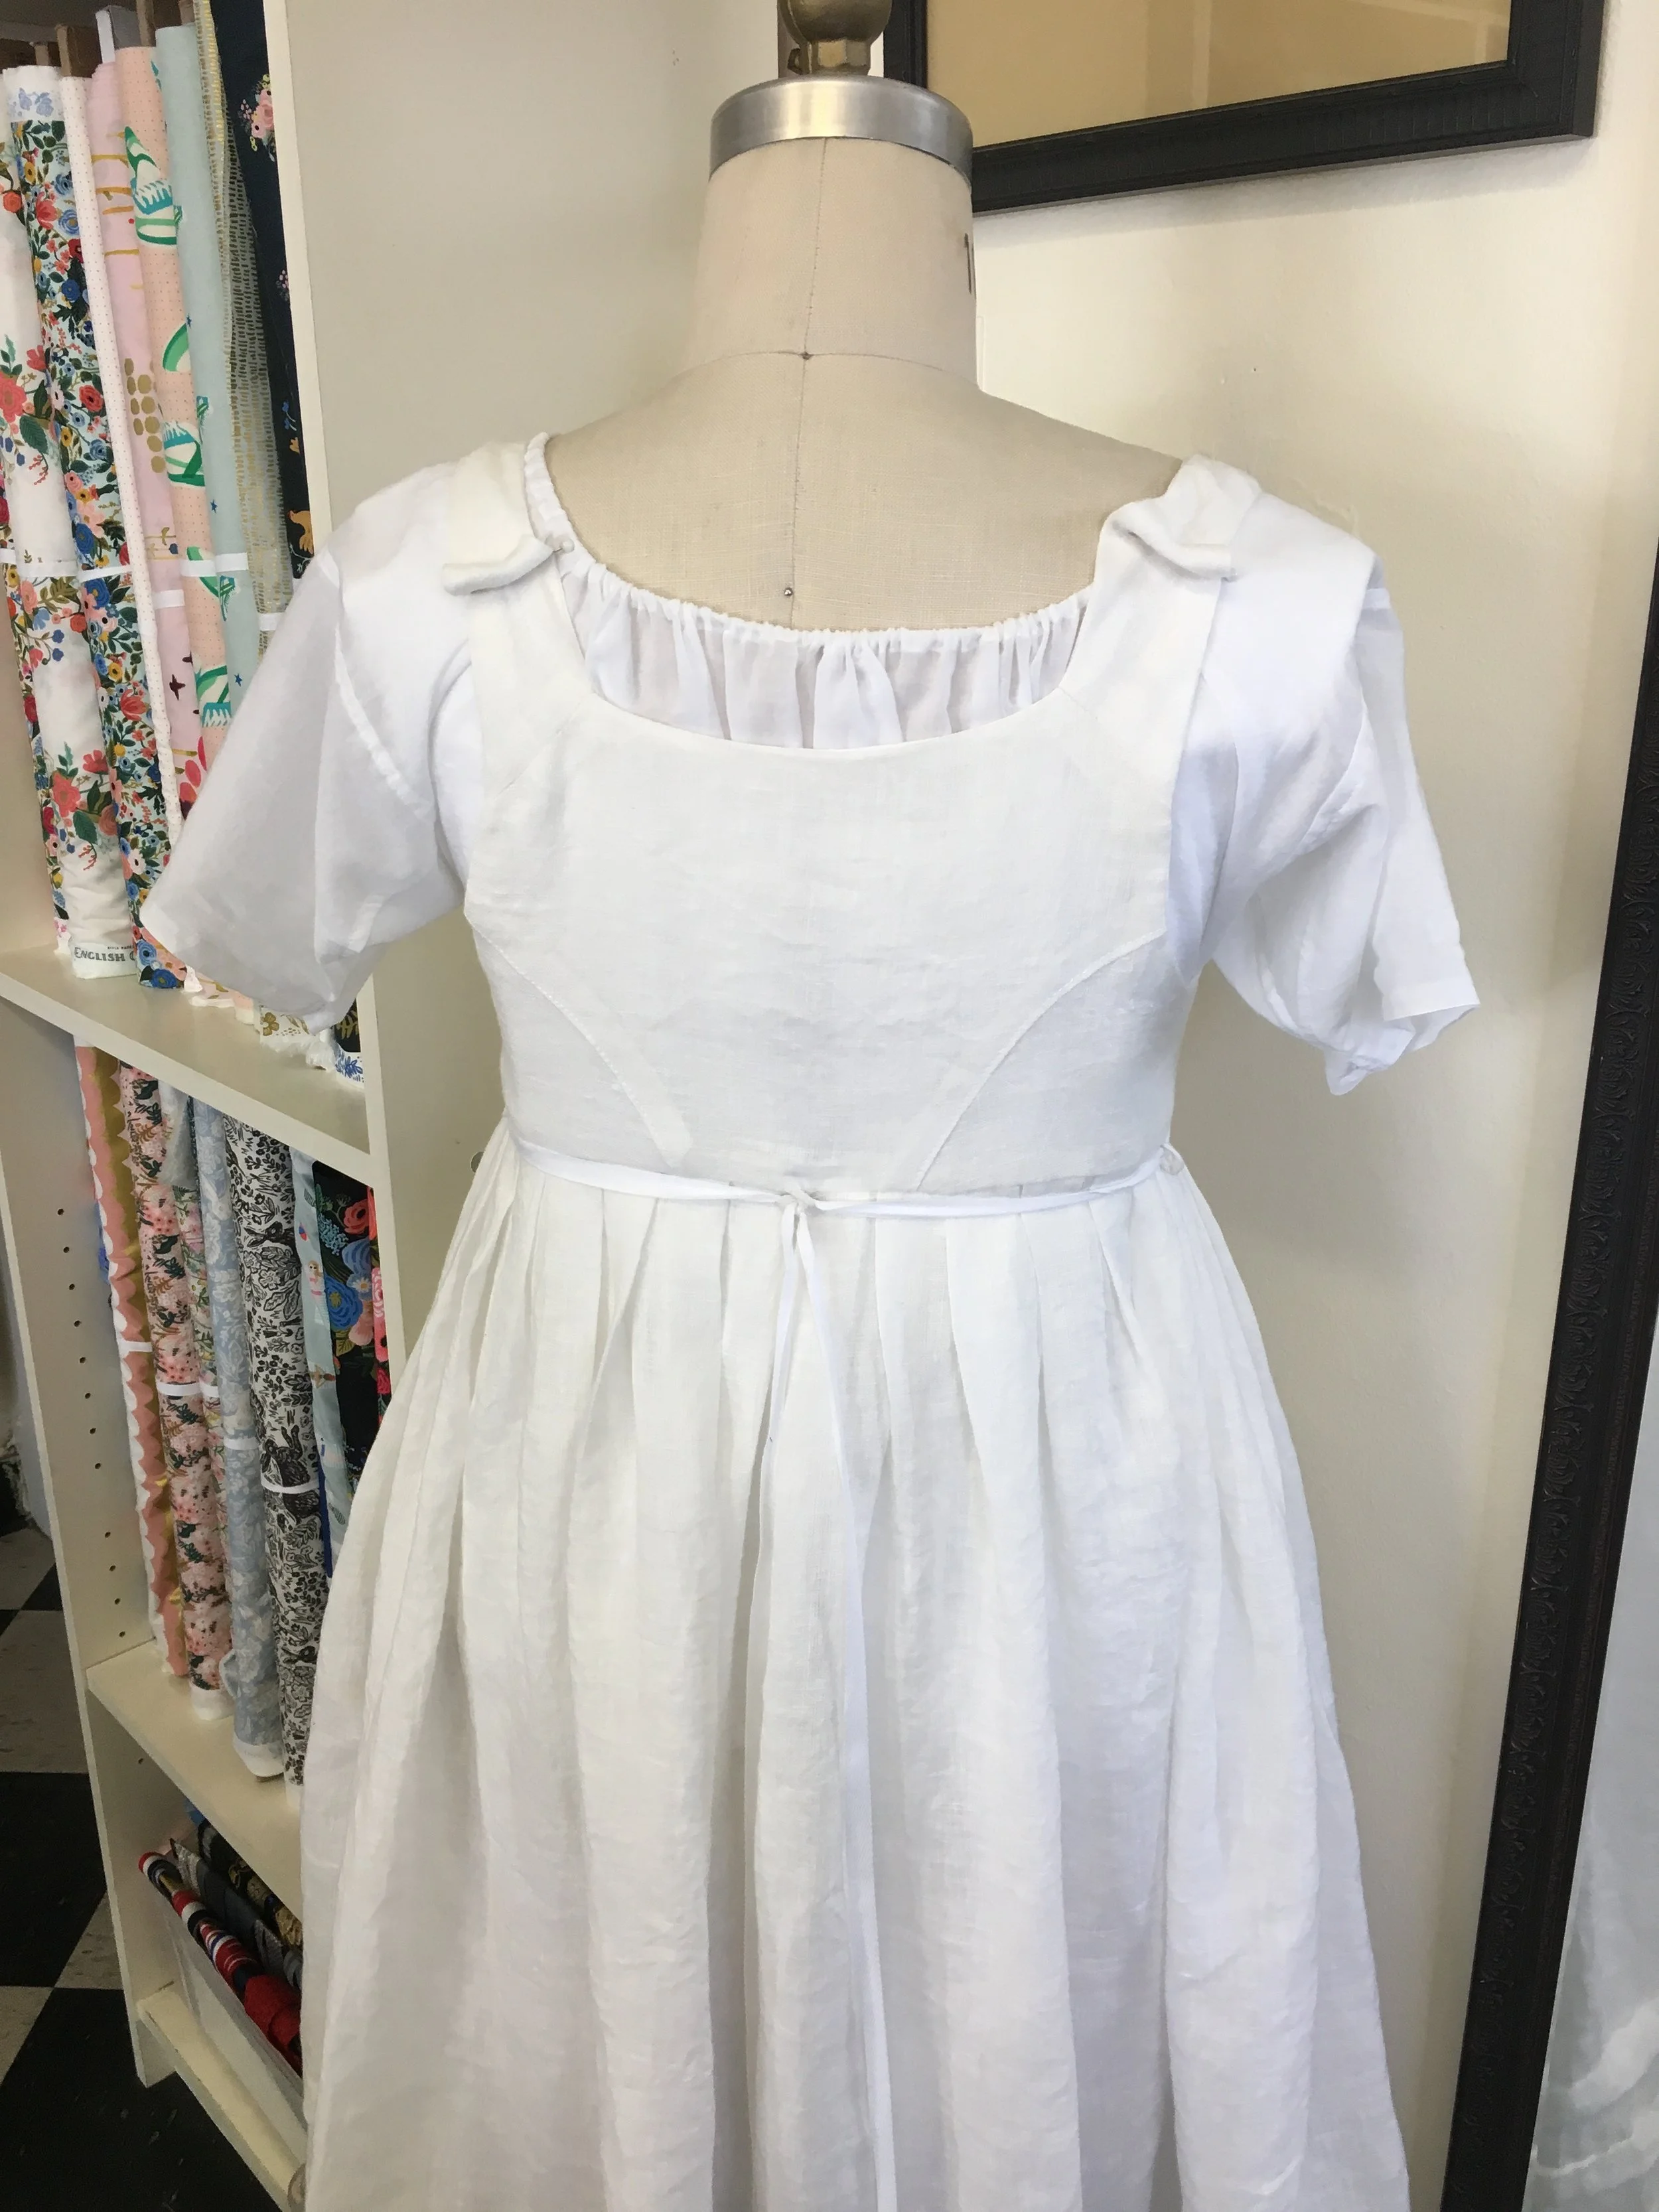
The bodice of my petticoat is a bib-front design. the bodice opens down the center front with buttons. The “bib” is attached to the front skirt, and buttons onto the bodice, the skirt has openings in the front and then gets wrapped around to the back with ties that thread through little loops. My front skirt actually hooks onto the front bodice, but I’m not sure if that’s historically accurate. It just wasn’t staying in place, so that' is what I did.
I added four pleats at the bottom to help the skirt stand out a bit. The back of the skirt is pleated at the waist from side to side, with no pleating in the front. Originally, I had pleated the sides of the front skirt as well, but that made it look too puffy at the waist and hip area. The line is really supposed to be more column like, from the empire waist, flaring slightly at the bottom edge.
I’ve also been working on my regency hair style as well. Getting the curls to hold has been challenging. The curls on the right side fell very soon after I curled them. I’ve investigated fake hair, but with little success. It’s hard to find in my color (light gray) and hard to find the ringlets that I would like to use both on the sides and top of my head.
The Shift
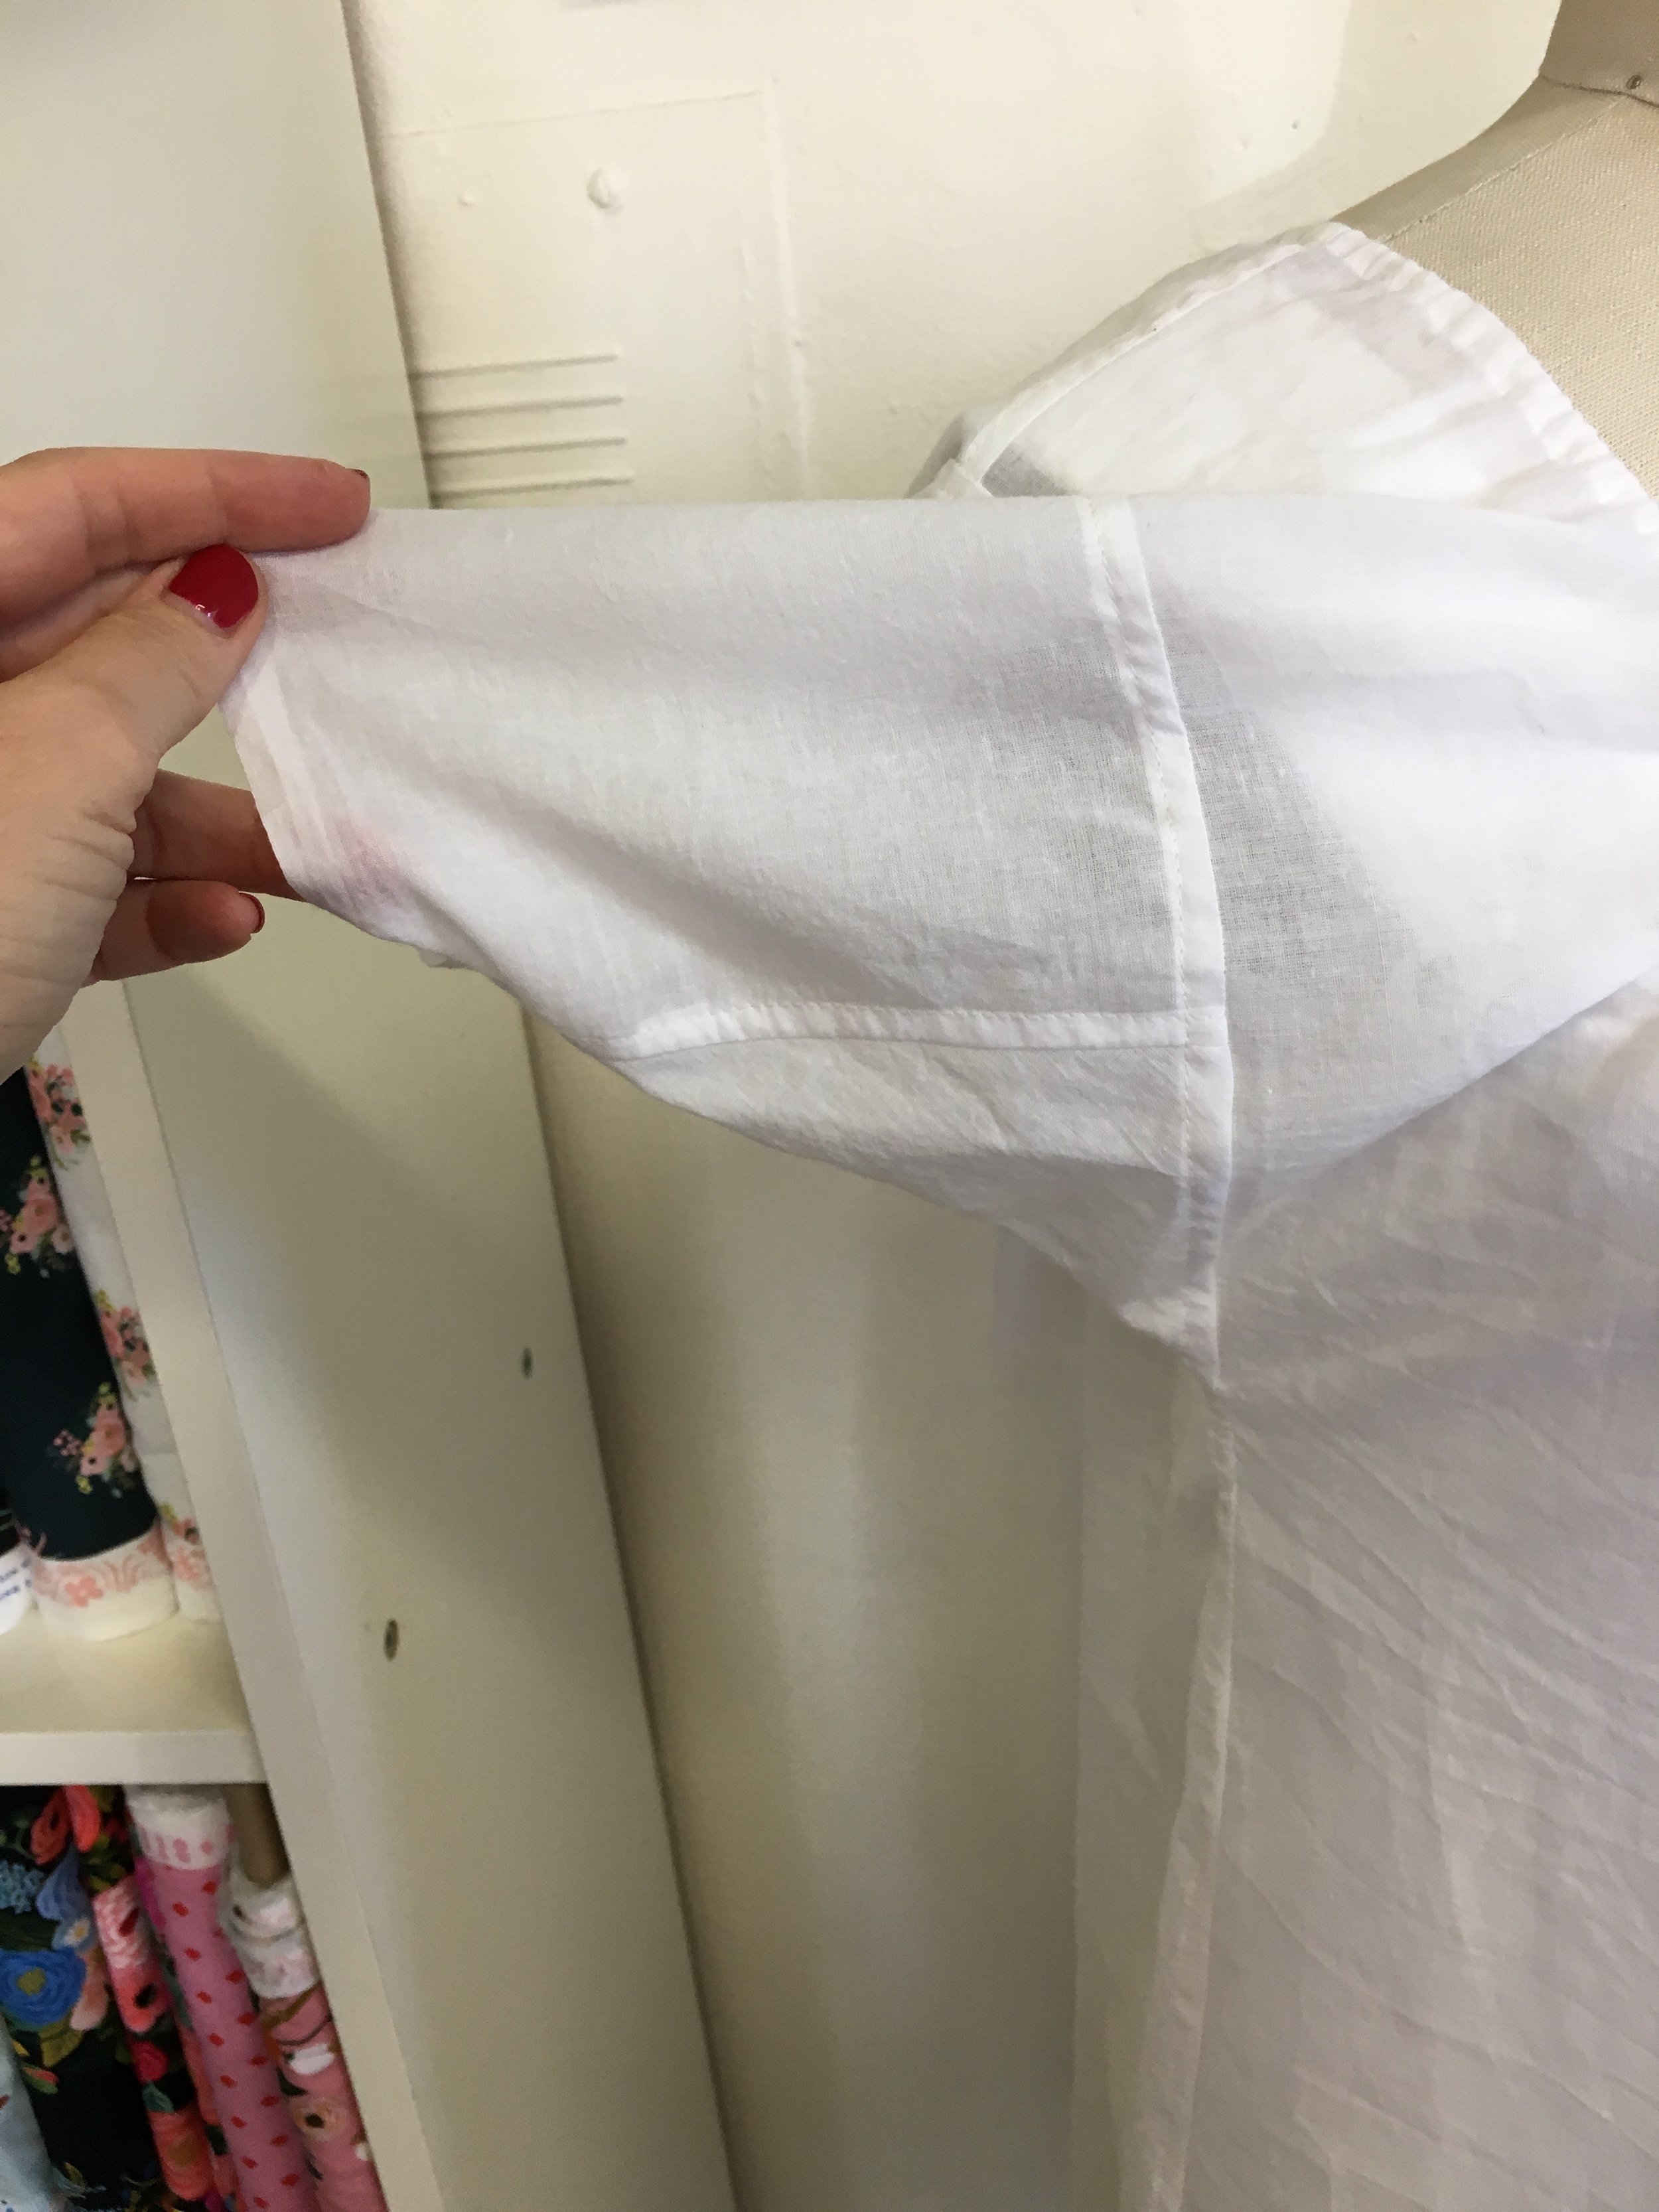
Here you can see the shift I made using the diagram. I made up my own measurements using cotton lawn I had left over from my other shift and bloomers. I used fell seams like I did for my original shift and a bias binding at the neckline for the soutache drawstring.
The Petticoat
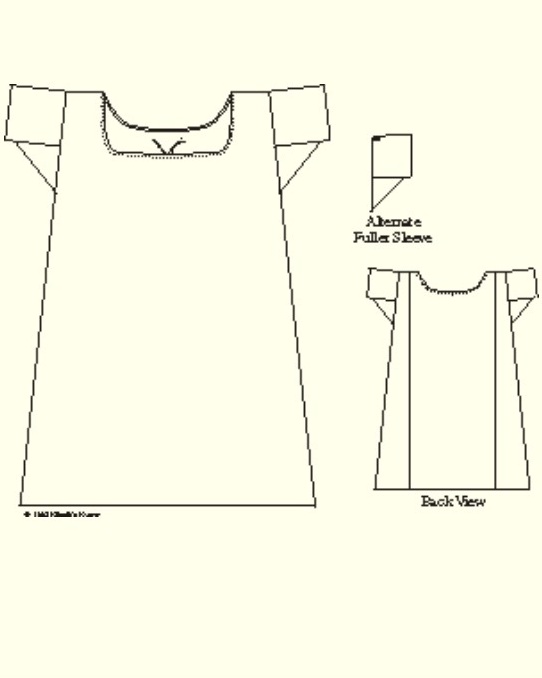
Image found on www.pinterest.com
Above is the diagram I used for the the bodice of the petticoat. As it is in a different language, it was difficult to figure out precise measurements, so I took some liberties in that area based on the body measurements of my stays on the dress form (padded to match my own).
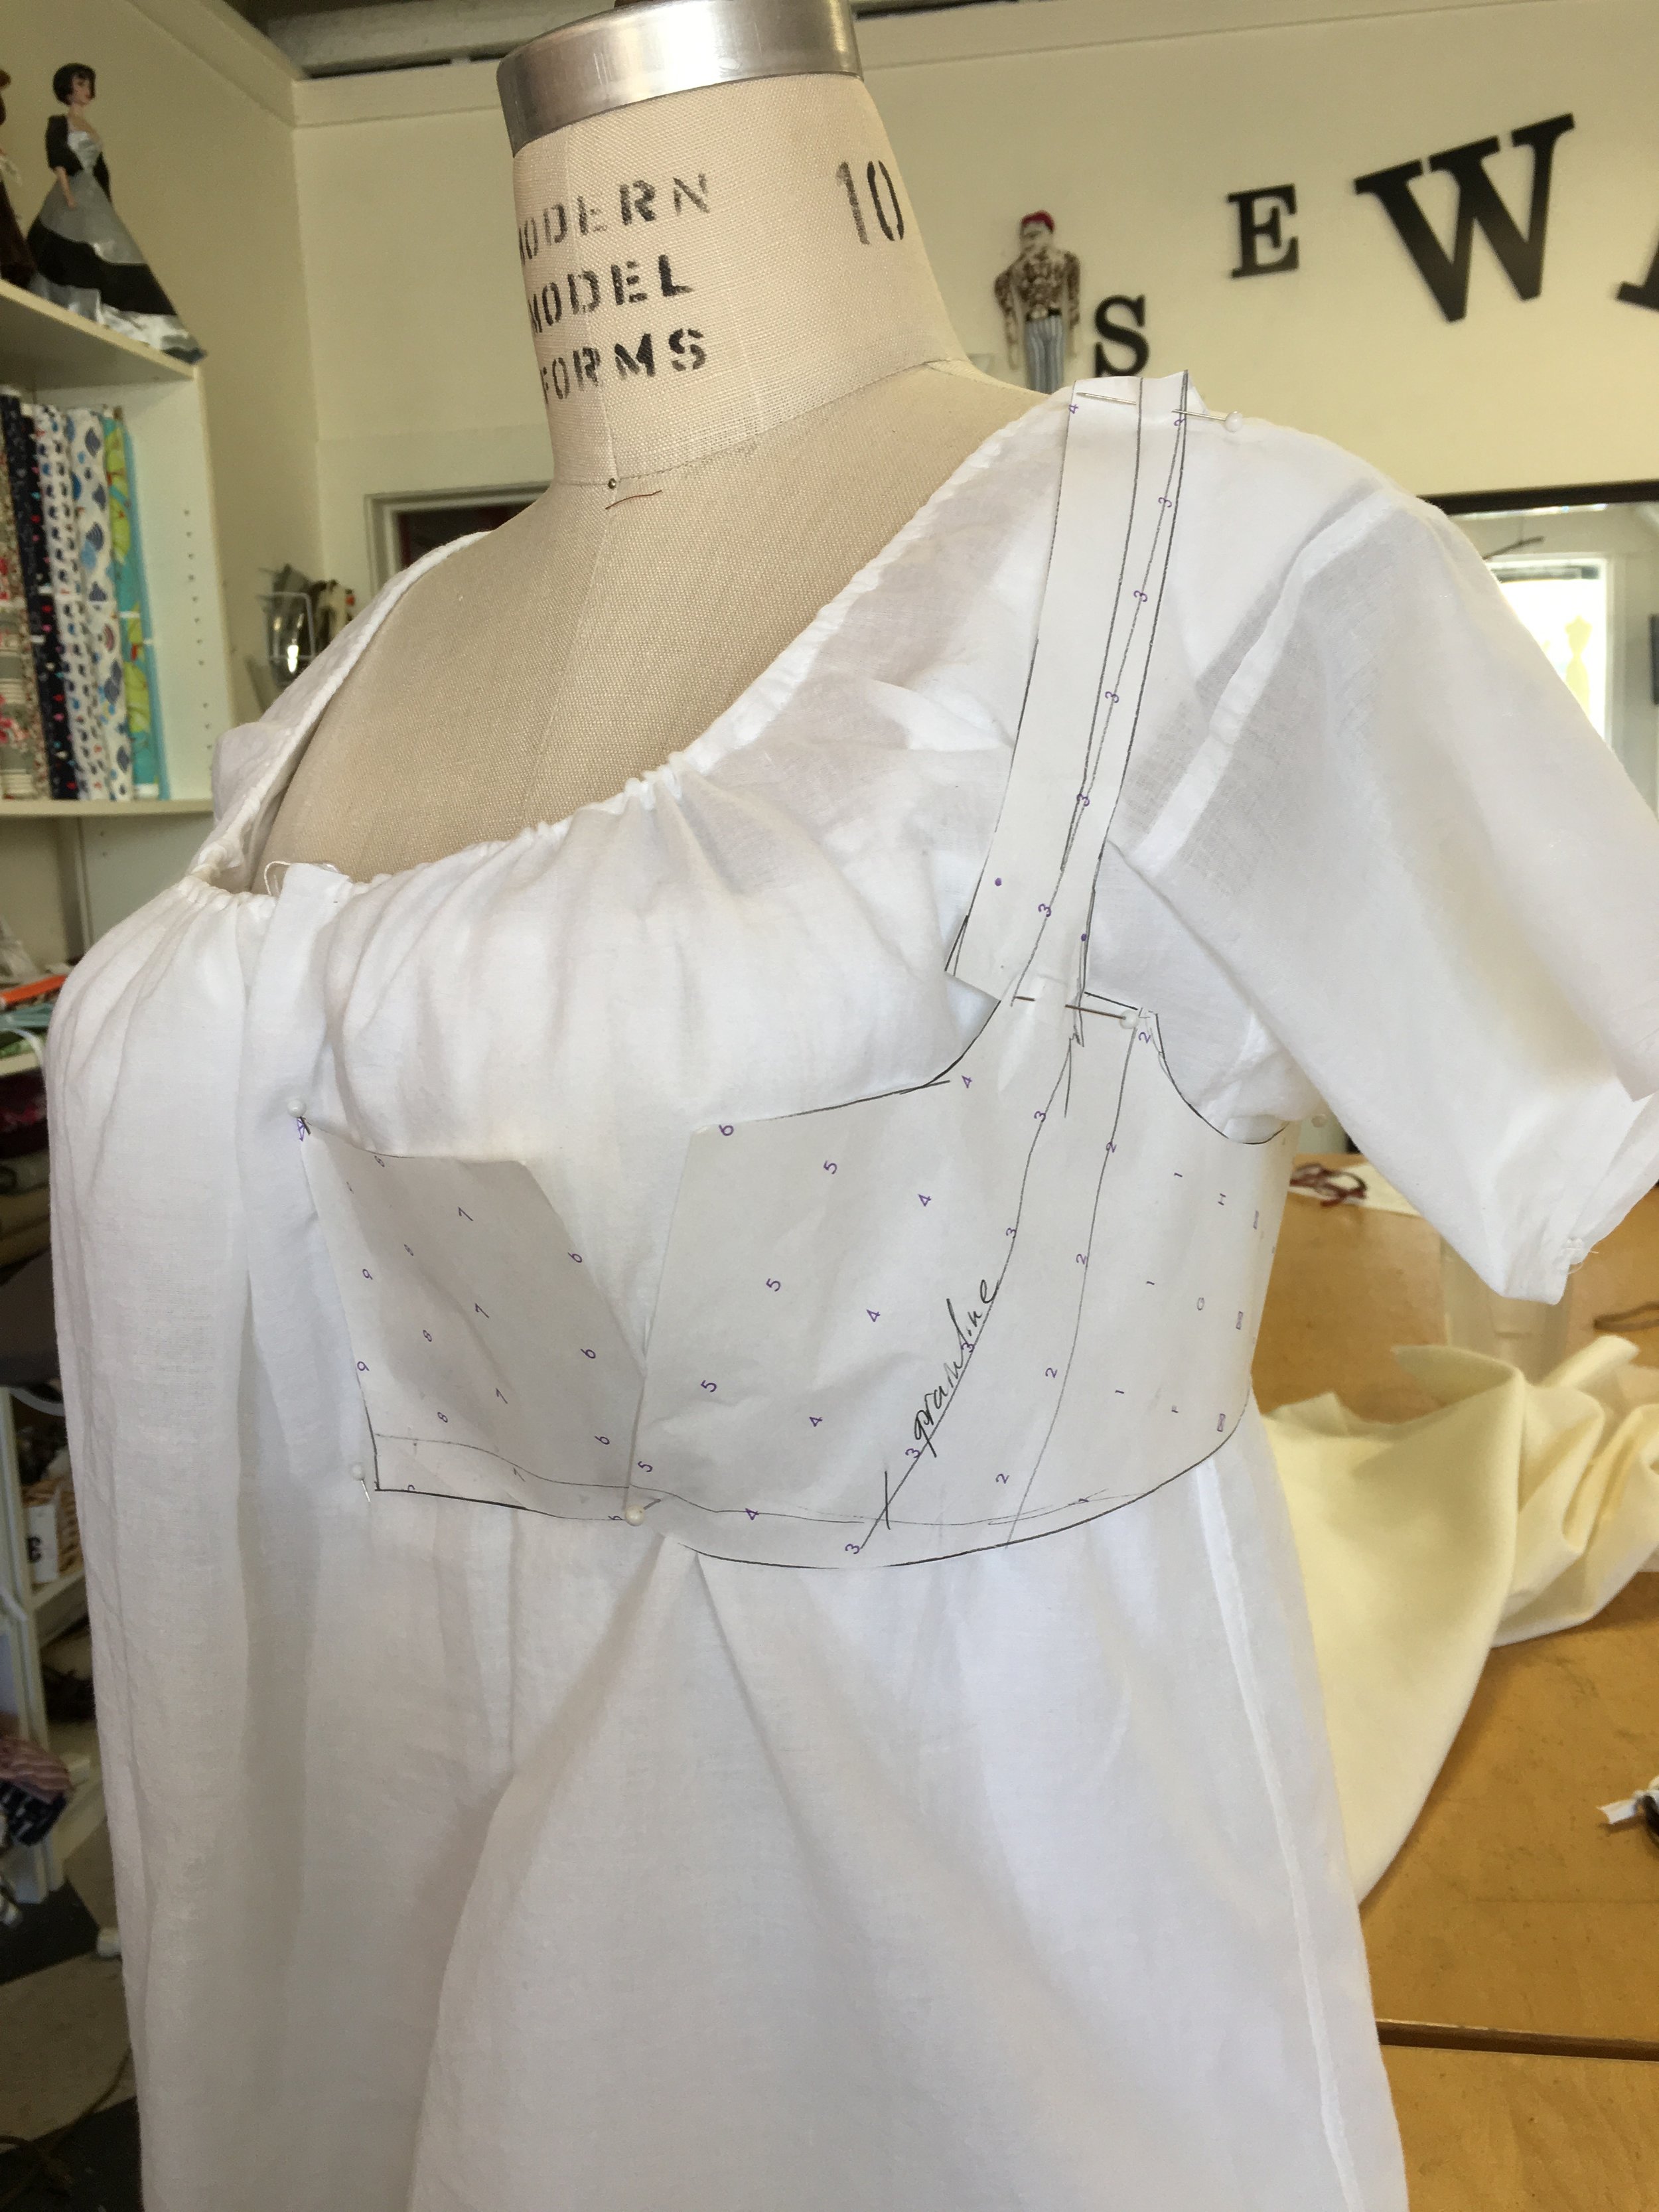
Here you can see the paper fitting I did with the first pattern. The bust needed to be increased and the front height increased as weli. The straps were a bit too short and not quite the right shape, but the back of the bodice looks pretty good.
The bodice pattern, flattened. And the bodice where i’ve pivoted the fullness from the neckline into the waist (with darts) and added to the bodice height.
This is the first fitting in muslin. Not bad but the neckline needed reshaping and also needed it’s own “stays” so as not to get stretch out. I idid that by sewing twill tape in a pre-measured length to the neckline curve on the back side of the fabric.
After sewing it up in linen, you can see, above that it got really puffy on the sides. and that the straps were actually now, much too long. Lots of seam ripping and several tries later, I got the result I was looking for. I actually took the skirt completely apart and reshaped the front panel so that it was angled where it opens up in front. This meant re-doing both sides of the front opening and restitching the bib on as well as taking one side seam apart and re-stitching the seam along with the pleats.
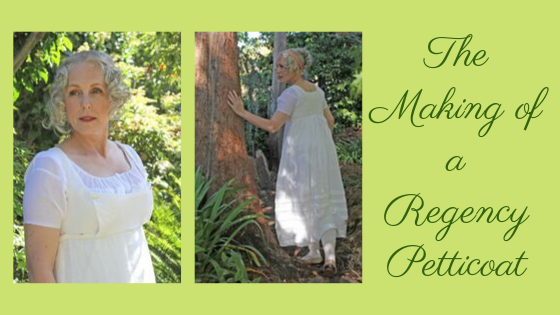
The finished petticoat is photographed above at the top of the post. I’m happy with the result and looking forward to trying it on with my costume or with a new gown.
Here are the details:
Shift fabric - purchased from Etsy but the shop doesn’t seem to be there anymore.
Linen - Fabric-Store.com - IL021 BLEACHED - 100% Linen - Sheer (2.5 oz/yd2)
Shoes & stockings - American Duchess - Dashwood
Stays - Made by me using the RedThreaded Regency Long Stays pattern
Hair Ribbon - Found in Christmas wrapping stash at home
Earrings - Given to me by a friend.
I’m super excited to jump into historic costuming although it does require a bit more effort (and fabric) than costuming early 20th century styles. Worry not, however, as I have lots of clothing planned from the more recent eras, I’m just a little obsessed with the 18th & 19th centuries at the moment.
Until Next Time, Happy Sewing!
xo Jennifer

