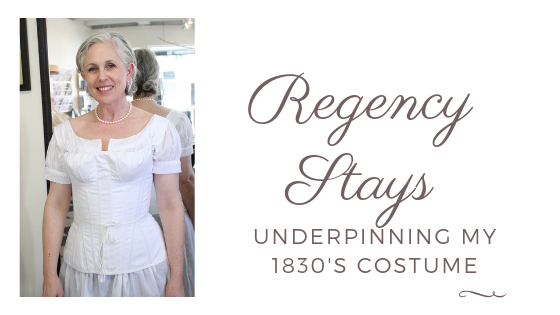
I've had a bee in my bonnet for dressing up "old-fashioned" style for about as long as I can remember. Now as a grown woman, when my friend says that the Greater Bay Area Costumer's Guild is hosting an 1830's picnic at Ardenwood Farm in June, I can't help but jump at the opportunity. At this point, I've finished some of the undergarments (Shift and Drawers) and started on my Regency Long Stays. In doing some research, I found that during the 1830's, ladies were still wearing their long "stays" or transitioned to slightly curvier long stays and haven't quite evolved into the corsetry of the later 1800's. The pattern for these "stays" came from Redthreaded and the fit is spot on, with very little alteration.
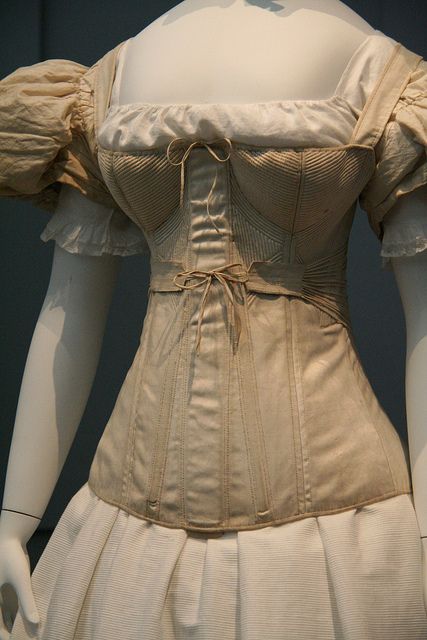
1830-40’s corset in the Los Angeles County Museum (M.63.54.7) as seen in page 86-7 in Fashioning Fashion
Image from Pinterest
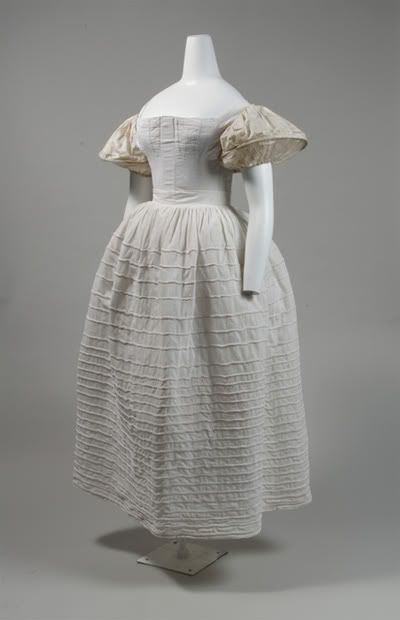
Drawers, 1834, UK, V collection: T.102-1931. Pictured with shift (T.386-1960) and stays (T.3-1929). Image from Pinterest
Above are 3 inspiration photos found on Pinterest that illustrate the some of the undergarments below the surface of 1830’s gowns. We start with the Shift or Chemise which is the nightgown-ish dress that goes underneath it all, the Bloomers (or Drawers), the Stays (aka Corset) and also a Corded Petticoat. Apparently, there is also a petticoat to go over the corded petticoat. Oh and lest I forget, there are also sleeve puffers which help the enormous sleeves from this era, hold their shape.
So far, I have the Split bloomers (so I can use the restroom) & Shift nearly finished as well as my stays. Next up is the Corded Petticoat, which is made stiff by cords sewn between two layers of fabric, in rows, from Hem to hipline. There is a great video by American Duchess that explains the process for both petticoat and puffers and if you join their Patreon, you will get access to the patterns for both.
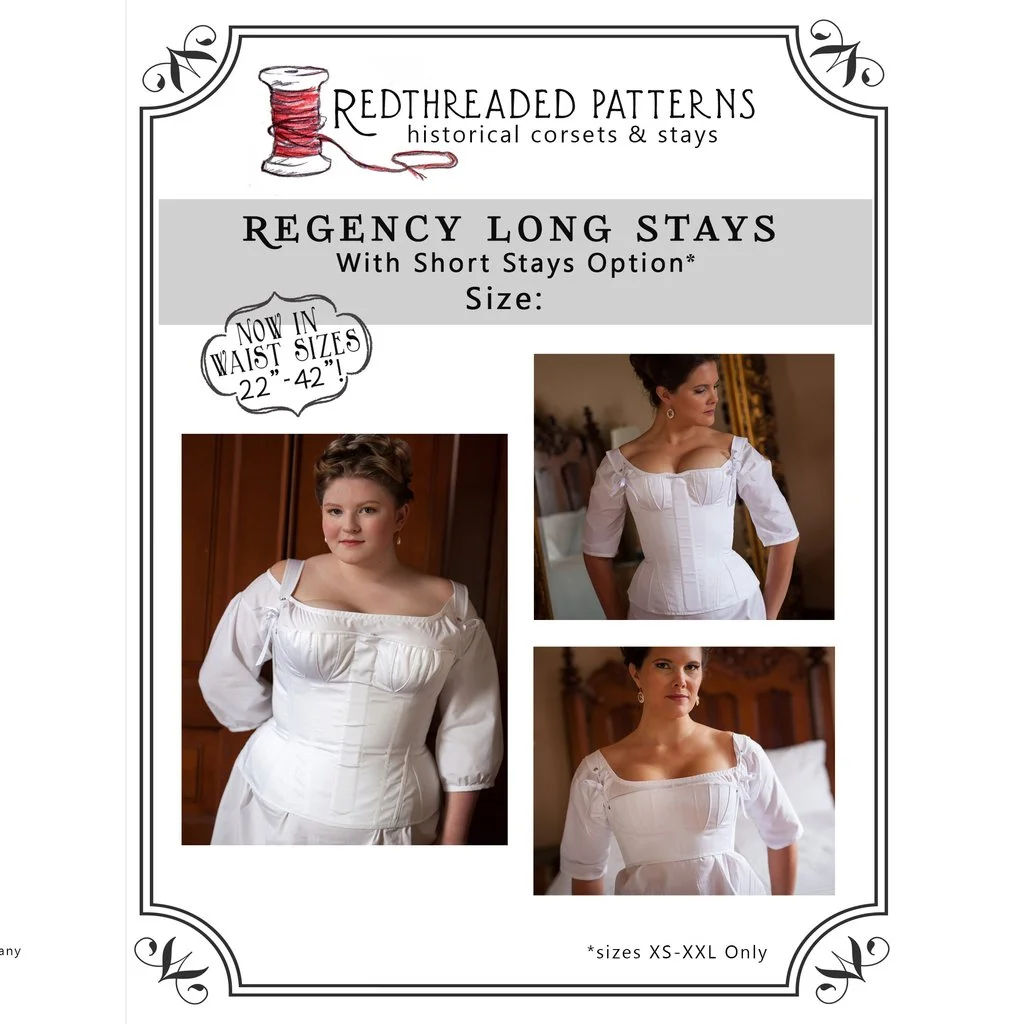
You can find this pattern on Etsy
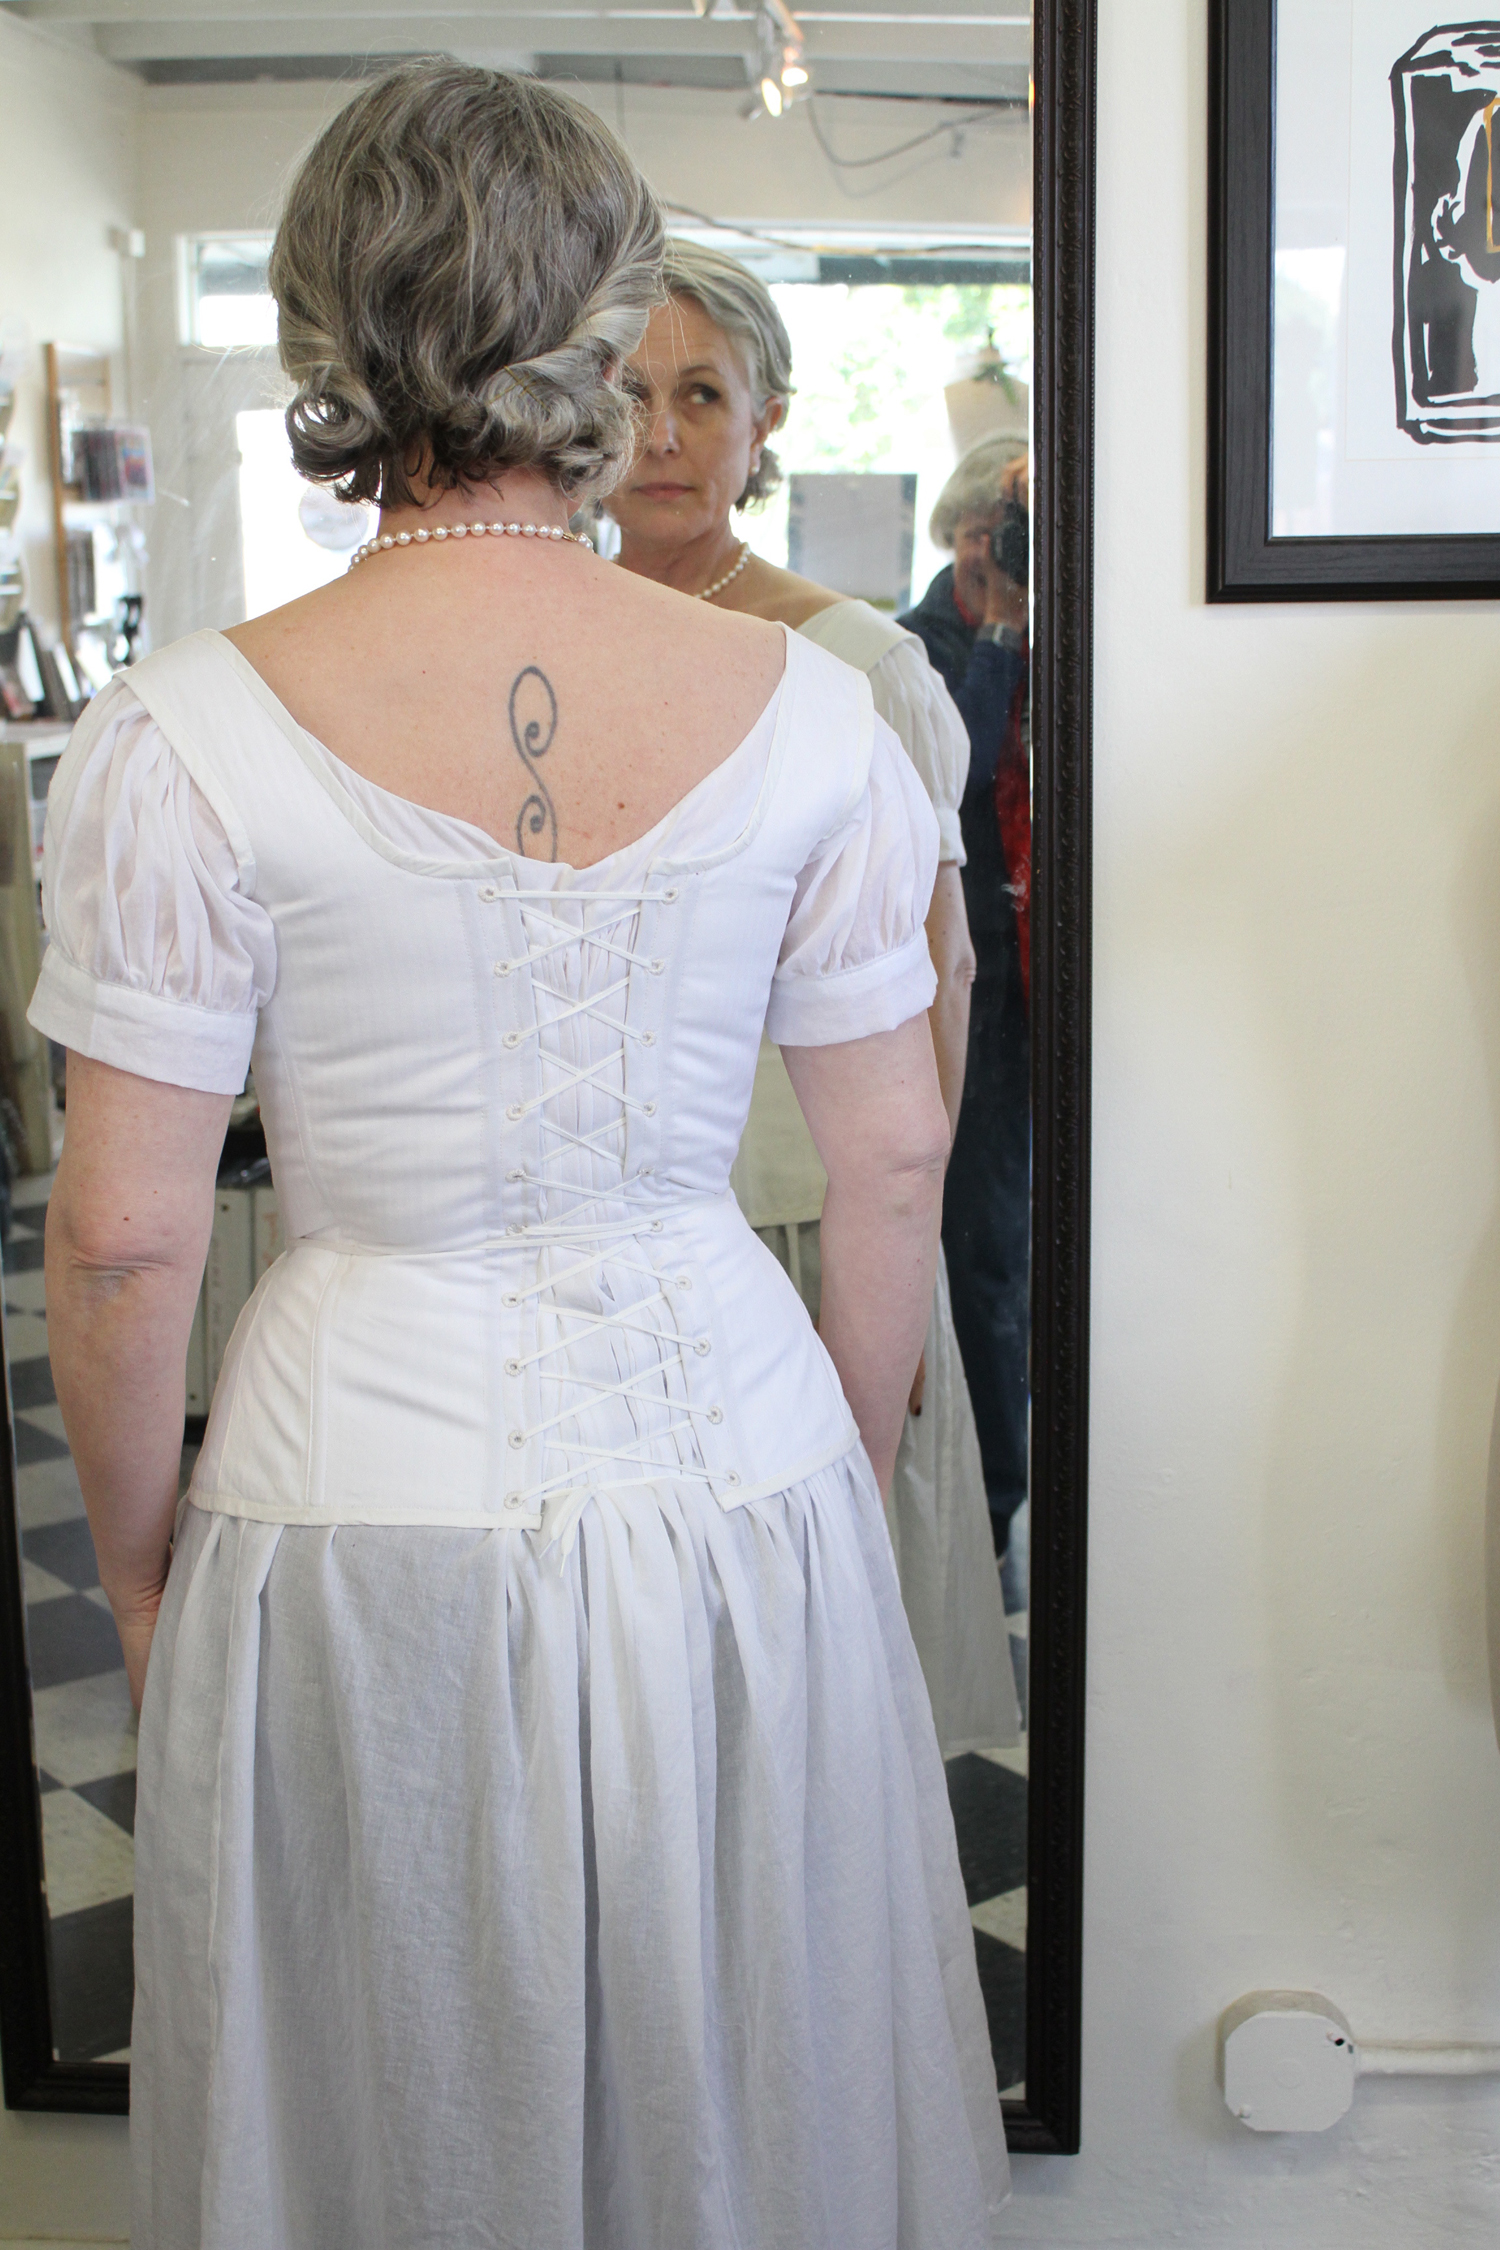
I used the Redthreaded Regency Long Stays pattern for my stays and added, as they advised, to my bust gussets and hip gussets and only made one other small change (angling my straps out a bit so that they hit right at my shoulders. I think the silhouette of these stays, while technically not accurate for the 1830’s, is close enough for my first foray into this historical costume world.
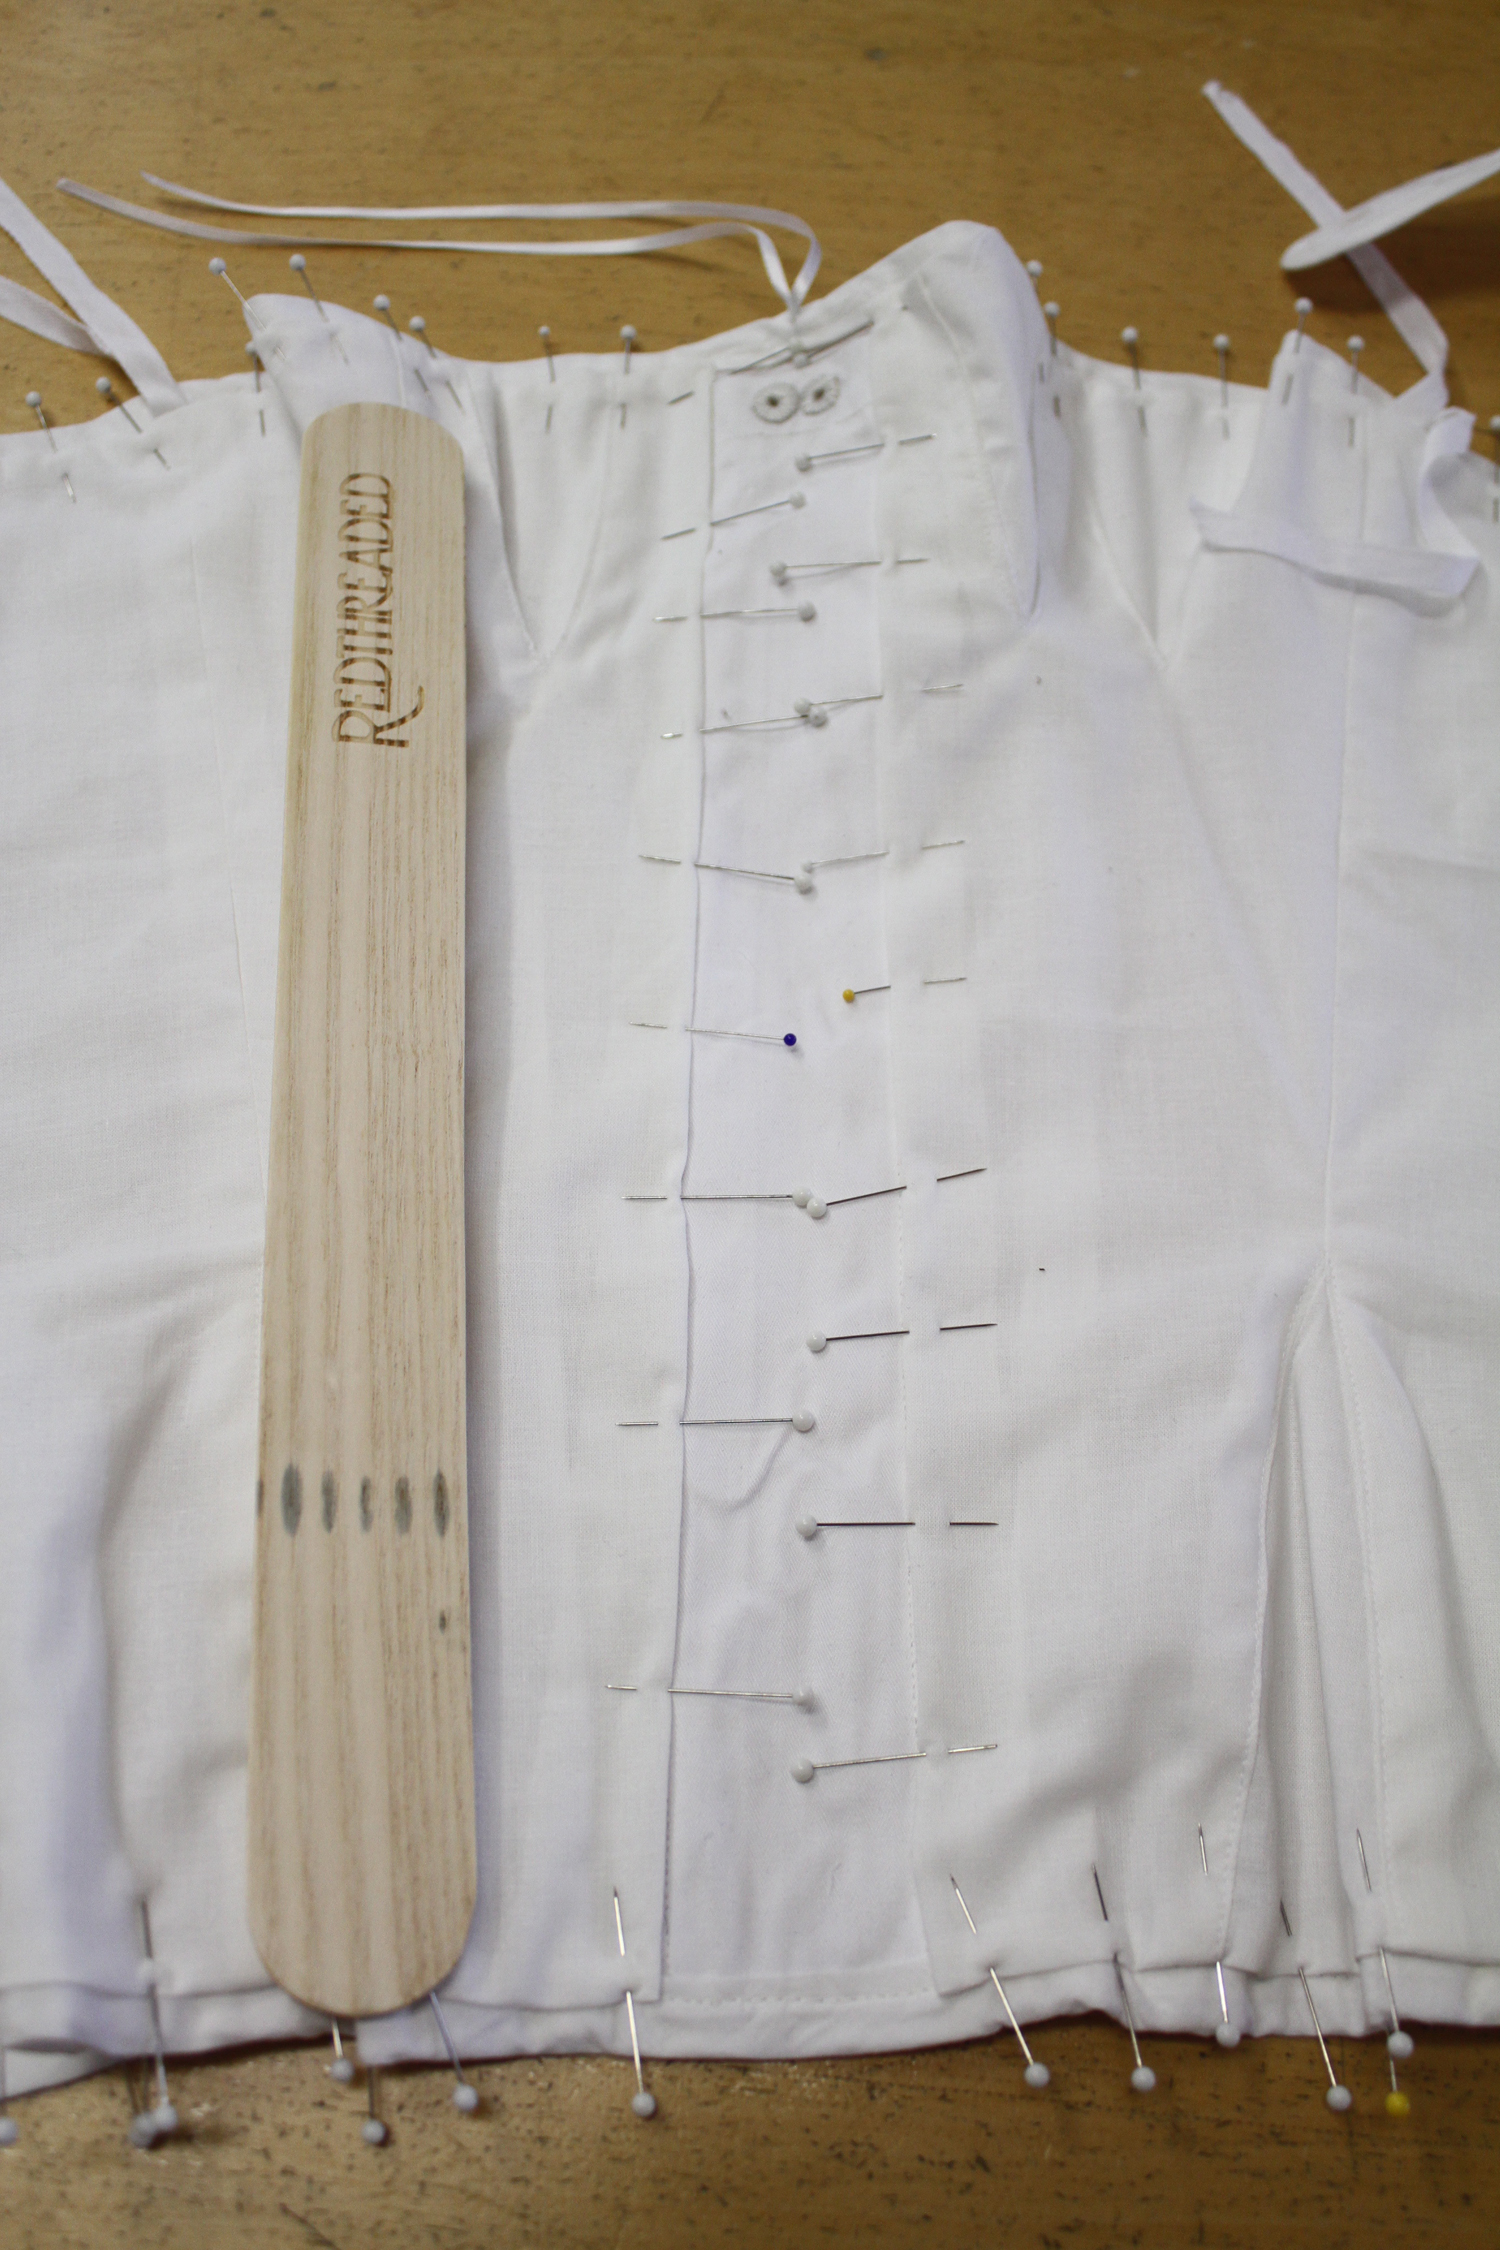
What you see in the photo above is a prototype of these stays made from something called Hair Canvas. In lieu of the traditional busk (front wooden stiffener) that haven't arrived yet, my friend Kelly threw some chopsticks down the front pocket to straighten it up.
I bought the digital version of the pattern and had to piece and tape it together. That part was actually very easy.
This is the Busk Pocket and I decided to try thread eyelets because that is what they would have used in the era, and also because the metal eyelets that I purchased did not go into the fabric as easily as I had hoped. I really enjoy hand sewing and thought these eyelets came out fairly well, so the decision to do the rest of the eyelets was fairly easy.
Binding at the lower edge of the stays.
Bust gussets topstitched
There are inserted gussets at both the hip and also the bust that are placed using the lap seam method and stitched together from the outside. Bias binding covers all the edges after the boning has been inserted into the channels.
While I didn’t prefer the metal grommets, I did use the grommet tool to make the holes for the back lacing. It worked splendidly. Finally after the Stays were finished, I added a light lining.
The lining was set in by hand after the binding was finished and also butts up to the busk pocket so I can take the busk in and out, easily, for laundering. I purchased the Busk directly from Redthreaded as they do not sell it in their Etsy shop.
Throughout this process, I've been watching the amazing videos that American Duchesshas, on their YouTube Channel. When I say amazing, I mean it. They have an arsenal of videos that explain different aspects of historical sewing. And they are a joy to watch because of their silliness. Go check them out if you have a chance. I’ve also been watching the videos of Angela Clayton, who inspired me to do the thread eyelets on these stays. She is just fabulous and spends enormous amounts of time on historical costuming.
I will post more as I get further which each part of the puzzle that is this costume. Until Next time, Happy Sewing!
xo Jennifer
